Soft & Chewy Cinnamon Spice Cookies (Gluten-Free!)

x

Put away those beachy flip-flops and bring on the boots!

x

It’s time for apple picking and winery tours and scarves and blazers…

x

After all, it’s almost FALL :)

x


Okay, okay. I know it’s technically still summer (and you can most certainly get in a few more beach weekends before it’s all said and done) but you have to admit… September snuck up on us  just a tad quicker than usual this year.

x

And I’m going to be very honest.

x

I still don’t know quite how to handle the changing of the seasons without expecting some sort of major life transition to go right along with it. I mean, this will be my third fall not going back to college…

x

My third.

x

Holy smokes I am OLD.

x

And yet, three years later, I still feel like I should be making those infamous trips to Target, packing up the car with oversized storage bins, and buying fluffy pink decor to pretty-fy my generic, empty apartment shared by four 20-something year old girls.

x

Now, instead, I’m making weekly trips to the grocery store, packing a well-balanced lunch for work everyday, and running to Homegoods and Bed Bath and Beyond in an attempt to purchase sophisticated decor and grown-up-ify my simple, one bedroom apartment–which I now share with a boy.

x

Oh how the times have changed…(even though I do still miss those pink fluffy pillows :) )

x

Still, there’s something pretty darn nice about not having to spend the weekend in the library or pulling all-nighters studying for exams. That leaves me plenty of time for vegan recipe testing, tasting, and blogging.

x

Oh yeah…

And working full-time means I can now afford wine that comes in a bottle instead of a box ;)

x

Bonus!


Other fall traditions to look forward to?

  1. Football (GO PATS!)
  2. Cinnamon-inspired baking
  3. Nashoba Valley Blueberry wine (Seriously. This stuff is heavenly)
  4. A very hungry, football-watching boyfriend (aka professional taste-tester)

x

x

But the BEST part of all about the impending fall season…?

x

x

x

I can get a litttttle recipe crazy :)

x

x

x

And thank goodness I do.

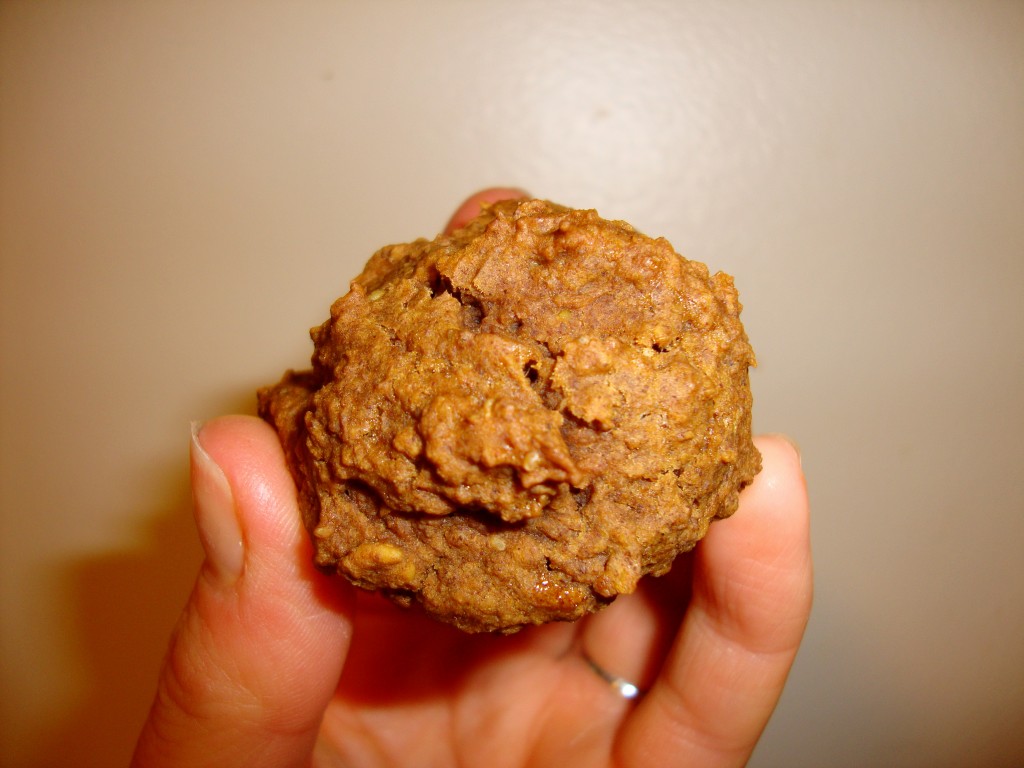
Or I wouldn’t have whipped up these little buggers!

x

(Ahem. I mean…healthy, fiber-rich, protein-filled, and gluten-free little buggers at that!)

x


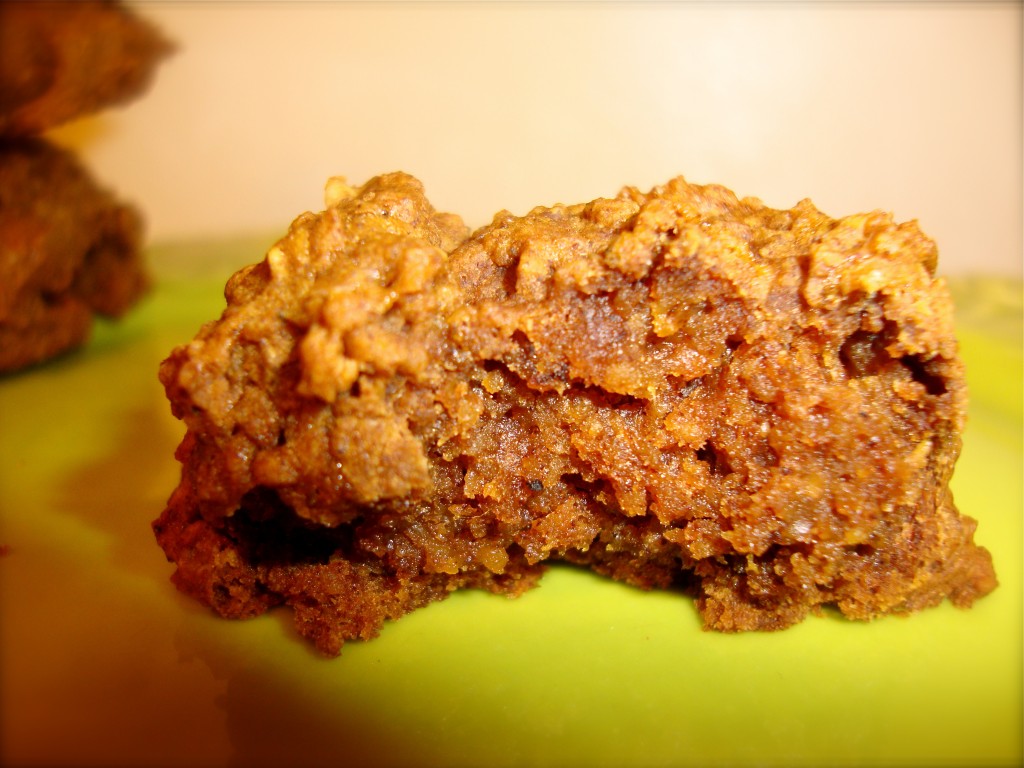
Soft & Chewy Cinnamon Spice Cookies

x

x

Ingredients:

  • 1 can garbanzo beans
  • 1 cup of whole grain oats (blended to a powder)
  • 1/3 cup of pumpkin puree (not pumpkin pie filling…100% pumpkin!)
  • 3 packets of stevia
  • 2 tablespoons of unsweetened almond milk
  • 1-2 tablespoons of coconut oil
  • 1 tablespoon plus 1 teaspoon of cinnamon
  • 1/4 cup of brown sugar (you could try to cut this amount in half and increase amount of stevia, or,  omit altogether– just be sure to add 1-2 more tablespoons of almond milk or the batter will be too thick. You could probably use dates instead of sugar to make this 100% sugar-free, however, the consistency may be a bit chewy).
  • 1 teaspoon of pure vanilla extract
  • 1 teaspoon of baking powder
  • Slightly under 1/2 teaspoon of baking soda
  • Dash of salt

x


Directions: 

(Makes roughly 15-20 cookies depending upon whether you want baby cookies or bigger cookies…or eat half the batter like me ;) )

**Be sure to use a VERY good food processor or a blender like a Magic Bullet or Nutribullet–you may have to split into batches if you choose the blender option, however**

x

x

x

  • Preheat the oven to 350º
  • Blend the garbanzo beans, pumpkin, milk, vanilla, and oil until smooth.
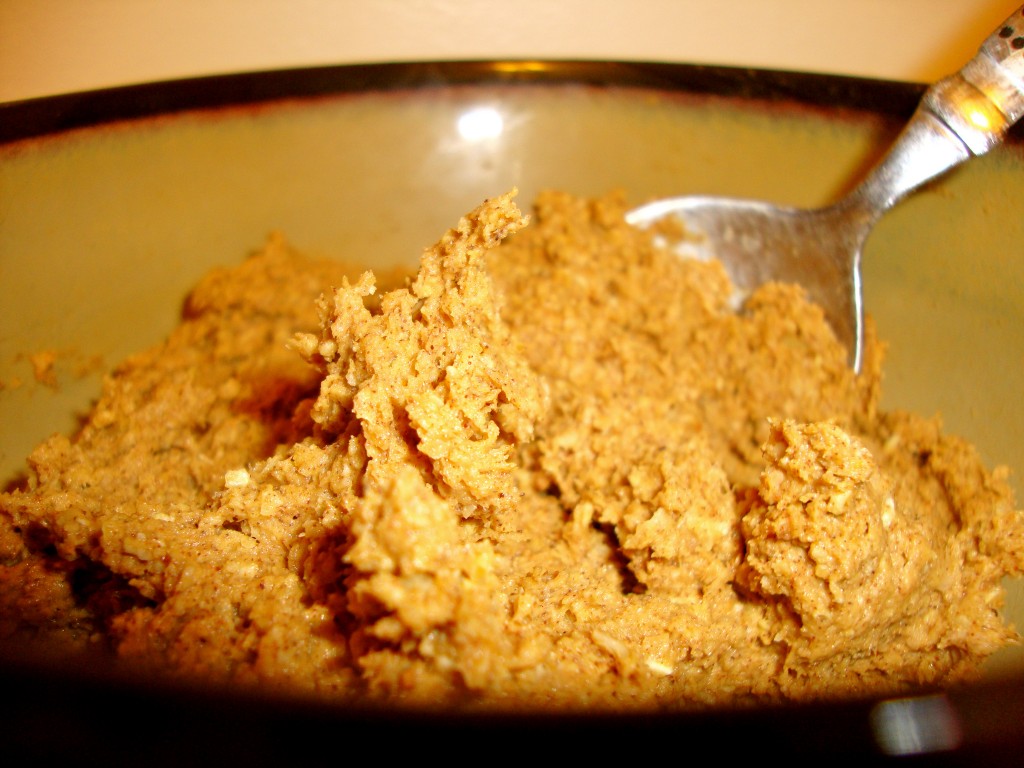
  • Add the rest of the ingredients to the bean mixture and blend VERY well (the mixture will be sticky)
  • Spray a cookie sheet with all-natural, non-stick cooking spray and form the dough into balls.
  • Cook for 16-18 minutes (or until tops start to brown).
x
I know you are obviously running off to the kitchen to make these yummy cookies right about, well,  NOW…so don’t worry–I won’t bore you with all the dirty details about the health benefits of these cookies’ ingredients. However, you can read all about the health benefits of cinnamon and pumpkin here while your waiting for your treats to come out of the oven ;)

x

x

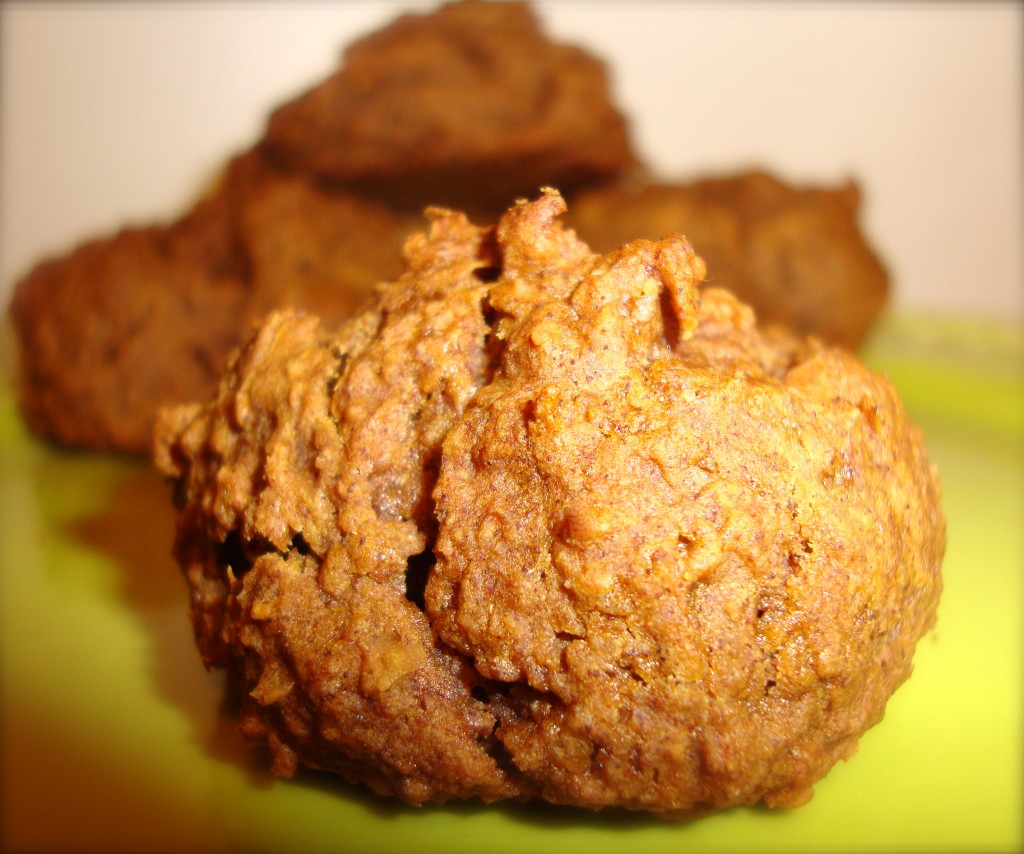
And when they do…

x

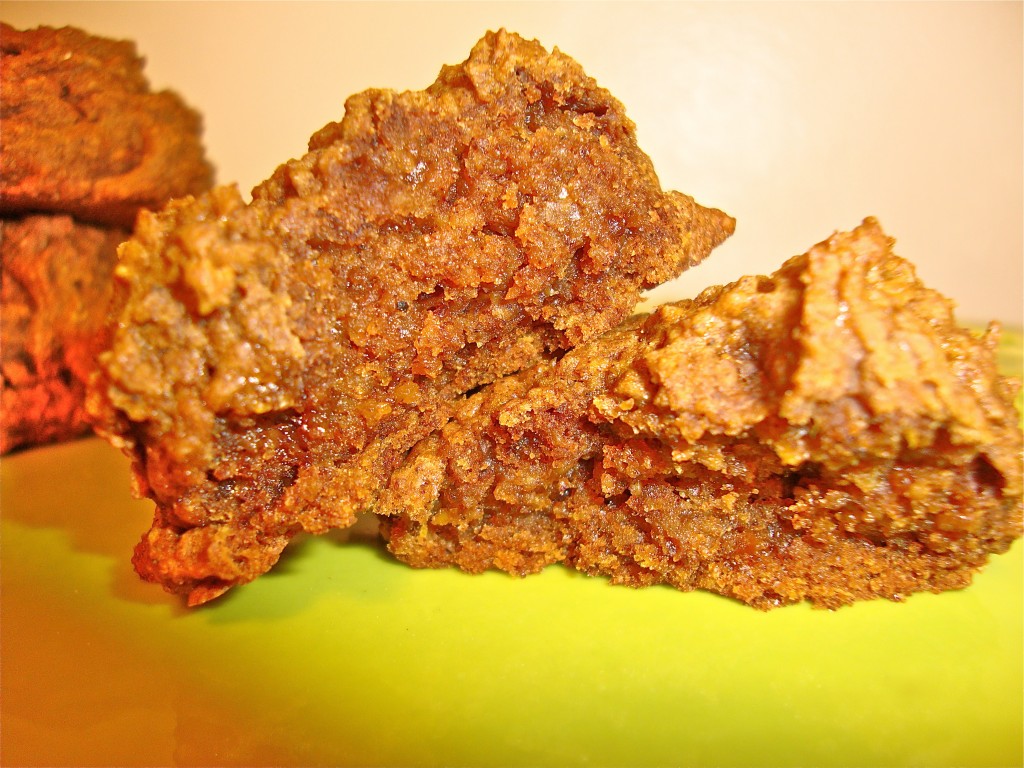
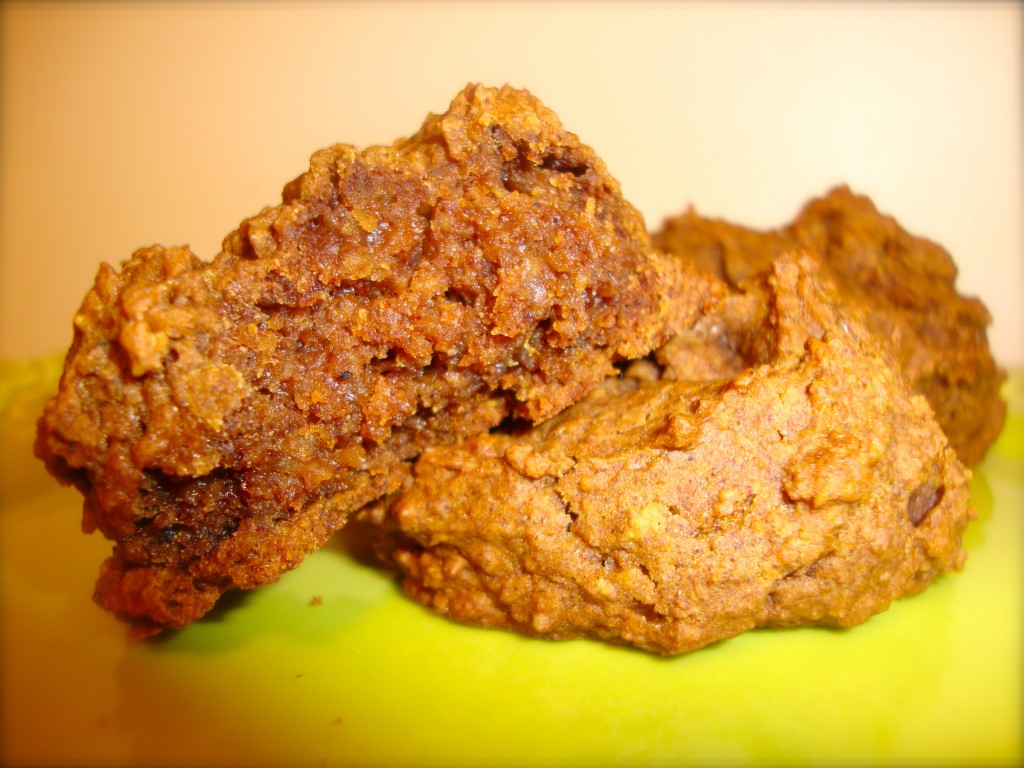
they’ll look like THIS.

x
x

x

So soft and chewy on the inside…

x


x


I DARE you to not take a bite… ;)

x

x

Healthfully yours,

x

Ashley Michelle


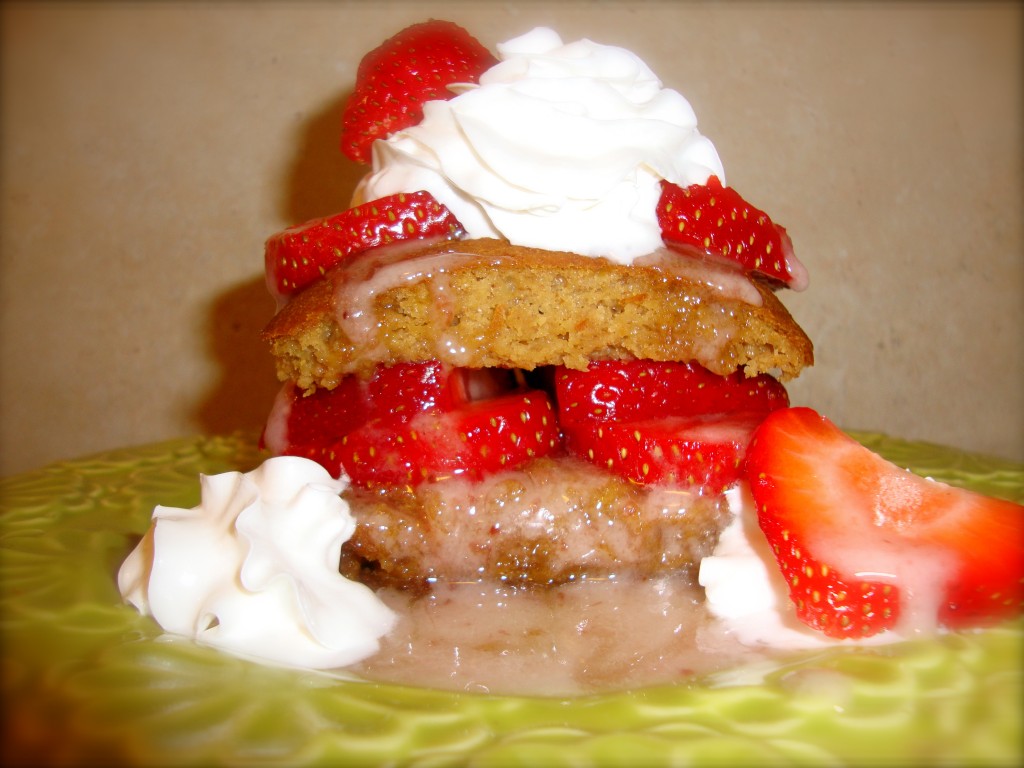
Oh So Sassy Strawberry Shortcake

Perfect for date night :)

Okay, so I know it’s only halfway through the work week…

but who says date-night is ONLY for the weekends?

x

Tonight…BREAK THE RULES.

x

Light a couple of candles, cue the romantic music, and grab a fork–because this decadent little recipe is BEST when shared. You now have permission to make Wednesday the sassiest night of the week. 

x

Little black dress optional ;) .

x

I don’t know about you, but I think strawberries make a pretty sexy addition to any dessert. They’re just sweet enough without being too saccharine, plus, they look  GREAT in red–and every girl already knows if you want to get noticed… you put on some red! Kind of sounds like a dating profile, huh?

x

But seriously, what’s NOT to love about a food that pairs so well with champagne? After all, nothing’s better than a date night that includes strawberries and a little bubbly. I mean, there’s GOT to be a reason Victoria’s Secret created a body spray named after this very combination…am I right?

x

Now, technically strawberry season doesn’t officially start until June, but when I walked into the grocery store yesterday and was greeted by a sign advertising  a “buy one get one free” special for containers of strawberries, I just couldn’t resist. They looked like shiny little boxes of rubies and to top it off they smelled incredible. Plus, who doesn’t love  a good deal?? Now what’s a girl to do with ALL THESE STRAWBERRIES?

x

Immediately my mind began racing with ideas for strawberry-inspired recipes (don’t worry, I came up with a whole bunch of them to share with you in some of my future posts!). But finally, after much back and forth, I settled on one that would be pleasing to the eye, yet simple enough to make on a weeknight (It serves just 2!).

x

And I was so due for a much-needed date night ;)

x

But before we get to the recipe…I wanted to share some of the amazing health benefits of strawberries. Don’t be fooled by their dainty appearance–these pretty little berries pack a whole lot of punch!

x

Health Benefits of Strawberries:

  • Boost immunity: Strawberries are high in vitamin C, which is a fast-acting antioxidant known to boost immunity. Just 1-cup of strawberries will give you 100% of your daily vitamin C requirement! It is important to obtain your daily vitamin C requirement from food, since humans are one of the only mammals who cannot produce it naturally.
  • Fight cancer: Given its high immunity properties, vitamin C can also help to fight cancer (first and foremost, a healthy body is always the best line of defense against any disease). In addition, strawberries also contain a phytochemical known as ellagic acid, which has the ability to suppress cancer cell growth. Strawberries also contain two powerful antioxidants, lutein and zeaxanthin, which work to neutralize free radicals that have a negative effect on cells.

**I’m sure you’ve heard the terms “free radicals” thrown around by the news and various health sources a lot lately, but you may not know exactly what they are. Free radicals are actually damaged, degenerated cells that, in an effort to repair and regenerate themselves, end up damaging and weakening the healthy cells around them. This can lead to cancer. This is why it’s important to fight those free radicals with proper nutrition!**

  • Fight aging: Along with its many health benefits already listed above, vitamin C is also crucial in the production of collagen, a known wrinkle preventer. Ellagic acid (also mentioned above) has also been known to prevent inflammation and collagen destruction after skin has been damaged by UV-B rays.
  • Protect your eyes: The antioxidants in strawberries may help prevent harmful cataracts, which can lead to blindness later in life. Our eyes need vitamin C to protect against free radicals from the sun’s harmful UV rays, otherwise the sun can damage our lens. Vitamin C also plays a vital role in strengthening the retina and cornea.
  • Fight cholesterol: You already know ellagic acid and flavonoids/phytochemicals work as anti-inflammatories, but they can also help counteract the effect of LDL (bad cholesterol). Studies have concluded that by incorporating strawberries into your diet, you can reduce harmful blood lipids and oxidative damage—two markers for heart disease and diabetes.
  • Regulate blood pressure: Strawberries are a great source of potassium, a heart-healthy nutrient that can help to regulate, and potentially lower, blood pressure by negating the effects of harmful sodium.
  • Reduce inflammation: Antioxidants and phytochemicals/flavonoids in strawberries may aid in reducing joint inflammation and arthritis. In a study, those who ate at least 16 strawberries a week have lower levels of C-reactive protein(CRP), which is a key indicator that inflammation is present in the body. Inflammation is a precursor to cancer.
  • Aid digestion- Strawberries are a good source of fiber, which is important for healthy digestion. Fiber can also help to fight type-2 diabetes due to its ability to slow the absorption of glucose into the bloodstream. This is why strawberries are healthy snack choice for diabetics.
  • Promote pre-natal health:  Strawberries are a good source of folate, the beneficial B-Vitaminrecommended for women who are pregnant or trying to get pregnant. Folate is important in the early stages of pregnancy as it aids in proper development of the baby’s spinal cord, brain, and skull. Folic acid, also found in strawberries, may help to prevent serious birth defects like spina bifida.
  • They keep your middle little!: Strawberries are  low-calorie, low-sugar, low-sodium, and fat-free! One and a half cups charts in at less than 100 calories. They are a perfect addition to any breakfast and serve as a great alternative to an unhealthy, sugar-filled 3:00 pm snack. What better excuse do you need to eat these tasty little guys?

 x

Oh yea…they also make a HECK of a dessert.


Dry Ingredients:

  • 1/2 cup of flour (spelt, whole-wheat, all-purpose, choose whatever “whole grain” kind you’d like)
  • 1/2 teaspoon baking soda
  • 4 packets of stevia (or 2 heaping tablespoons of another dry sweetener– feel free to adjust the sugar to your sweet tooth’s preference)


Wet Ingredients:

  • 6 tablespoons almond milk
  • 3 tablespoons apple sauce
  • 1 and 1/2 teaspoons of vanilla (The next time I make this I want to try adding a smidge under one teaspoon of almond extract instead of vanilla…the boyfriend isn’t crazy about desserts with a strong, almond-y taste, but I bet it will pair fabulously with the strawberries! Feel free to try it and let me know how it goes :) )
  • 1 teaspoon maple extract (you can replace this with vanilla extract or omit if using the almond extract)
  • 1 teaspoon Earth Balance buttery spread (you can add a couple extract teaspoons if you or your date prefer a buttery, more decadent taste– it will still be lower in fat. Just be sure to decrease the almond milk by a couple teaspoons).

 x

Directions:

  • Mix the dry ingredients in a bowl and set aside.
  • Mix all the wet ingredients in another bowl (make sure you melt the butter first).
  • Add the wet ingredients into the dry ingredients. Mix JUST until blended (try not to over-mix or your cake may not rise as well).
  • Lightly spray an individual casserole dish with all-natural cooking spray (I use this one, but you could always divide the batter into two tiny ramekins if you don’t have a mini casserole dish. You could probably even make them in a muffin tin! Just be sure to adjust the cooking time)
  •  Pour the batter into the casserole dish (be sure to spread the batter evenly–give the casserole dish a good tap on the counter to fill any empty spots)
  • Cook for 25 minutes (or until the top is light brown and begins to crack. The sides should also turn light brown and will begin to separate from the edges of the dish– every oven is a little different, and I find vegan cakes to be very sensitive to baking time/temperature, so you may need to keep checking on this one).
  • Let the cake cool. One cool enough to handle, slice it in half (across) so your cake resembles two slices of bread.
x

 NOW for the fun part!

x

  • Add a thick layer of strawberries, strawberry icing (see below), and Soyatoo vegan whipped cream in between the two shortcake slices, then do the same thing on top!
  • To make the strawberry icing: mix together 4 heaping tablespoons of organic, all-natural powdered sugar, 2 teaspoons of almond milk, and a couple teaspoons of all-natural strawberry jam. Then, drizzle it all over your cake! (Add more powder sugar if you want the icing thicker)
x

And voila! Instant date night. 

Now, go pour some champagne.

I’ll cheers to that!

 x

Fabulously yours,

Ashley Michelle

 x

Sources:

Health Benefits of Strawberries

Wikipedia: Strawberries

Best Health Magazine

Why Cancer and Inflammation?


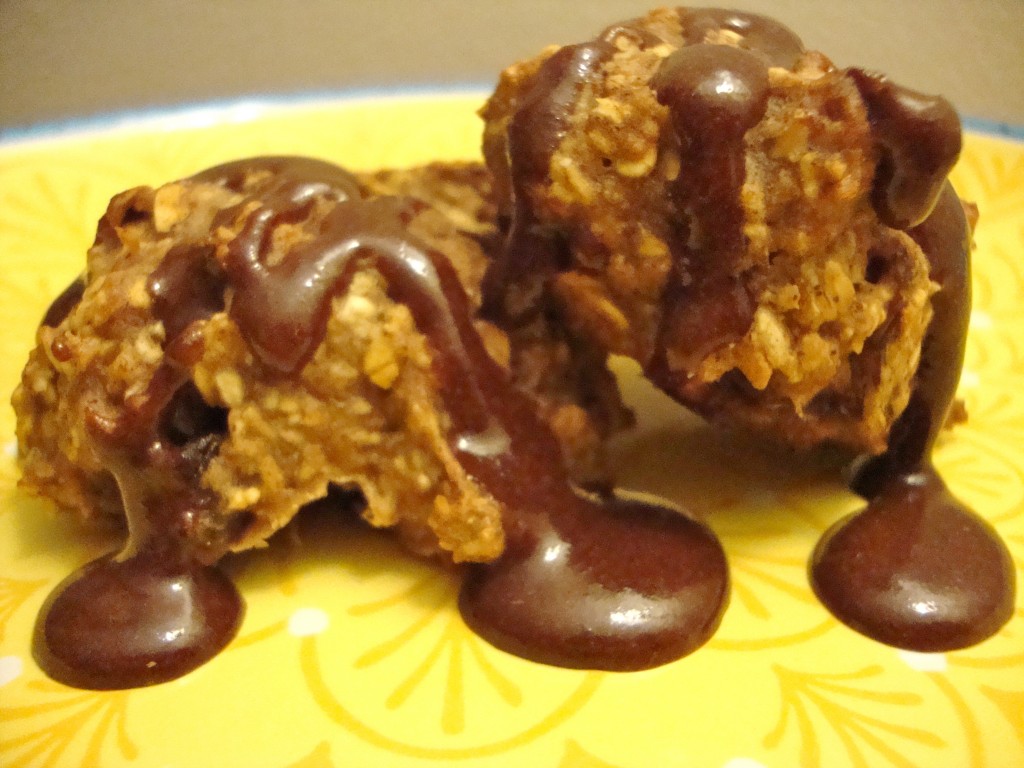
On-The-Run Oatmeal Cookie Breakfast Bites

I'm wayyyy better than a Munchkin!

x

It’s  Monday…

x

And you’re already running late.

x

I bet you’re wishing you didn’t hit that snooze button THREE TIMES in a row right about now. 

On a day like today, I’d guess you’ve hardly had enough time to shower, never mind make a healthy breakfast. But that’s okay…I’ve SO got you covered :)

x

Skip the drive-thru and grab a few of these On-The-Run Oatmeal Cookie Breakfast Bites on your way out the door instead.

x

This easy recipe can be whipped up the night before and will stay fresh in an airtight container all week-long. Plus, it’s QUICK to make and HEALTHY to eat!

x

Dry Ingredients:

  • 1 cup whole grain oats
  • 1/4 cup all-purpose whole-wheat flour (or spelt flour/another whole- wheat flour will work)
  • 2 teaspoons Truvia (or a little under 1/4 cup of sugar, or 4 packets of stevia)
  • 1/4 teaspoon salt
  • 2 teaspoons cinnamon (I LOVE cinnamon, so I often will add more than 2 tsp. Sometimes I add a sprinkle of nutmeg in as well– it’s totally up to you depending upon how spiced you want your cookie bites. I’d suggest lots of batter testing until it’s juuuust right ;) )
  • Heaping 1/3 cup raisins
x
Wet Ingredients:
  • 1 very ripe banana, mashed
  • 1/4 cup apple sauce
  • 1 teaspoon pure vanilla extract
  • 1/2 teaspoon pure maple extract (or vanilla extract will do)
  • 1 heaping tablespoon of all-natural unsalted peanut butter (if you use salted peanut butter, reduce/omit salt above)


Directions:

(Recipe makes about 14 cookie bites– you could probably make a couple more but I ate some (okay A LOT) of the batter!)

  • Preheat oven to 350°.
  • Mix all the dry ingredients (minus the raisins) in a bowl.
  • Mash the ripe banana in another bowl until there are almost no lumps left.
  • Add the applesauce and the other wet ingredients (minus the peanut butter) to the mashed banana.
  • Mix the wet and dry ingredients together until well-combined.
  • Mix in the peanut butter and raisins.
  • Lightly spray a pan with natural non-stick cooking spray.
  • Drop small spoonfuls of the oatmeal mixture onto the cookie sheet, shaping them into little balls.
  • Bake for 15 minutes or until the bottoms start to lightly brown (they should look a little underdone, but will firm up once sitting for a bit).
  • OPTIONAL: add a little drizzle of creamy chocolate glaze for an extra touch of sweetness– or, omit the cocoa and you’ll have a sweet vanilla glaze instead!


Now, next time you’re on-the-run (or running late!), just grab a handful of these oatmeal breakfast bites when you’re in need of a little energy boost on the way out the door!

x

Healthfully yours,

Ashley Michelle


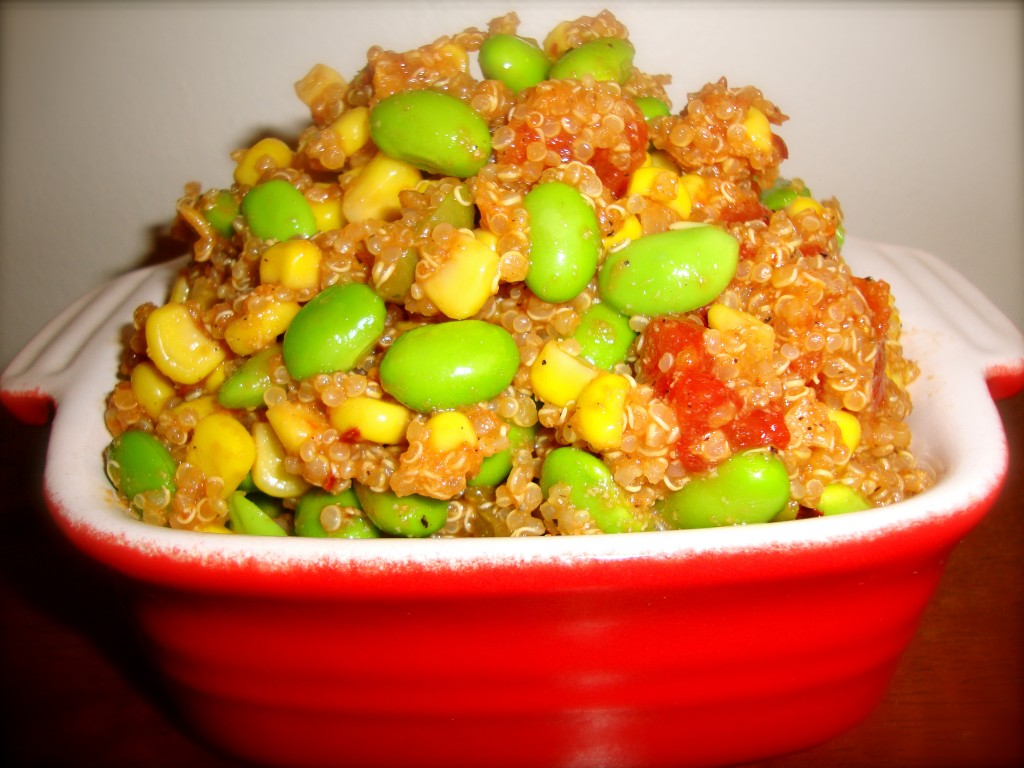
Protein-Packed Confetti Quinoa

x

Cheap and Easy…

x

It’s only a good thing when you’re talking about DINNER! ;)

x

If you happened to miss my post yesterday, I discussed the many sources of plant-based protein out there. Contrary to many people’s beliefs, there are actually plenty of protein sources available to those following a vegan or vegetarian diet. Two of my personal favorite sources of protein happen to be quinoa and edamame. Not only do these taste delicious, but they also have all 9 essential amino acids that the body can obtain from diet ALONE. This recipe below is a quick, easy, and cheap way to toss together a protein source that can be eaten on its own as a meal, added as a side dish, or thrown on top of salads.

It’s so colorful, doesn’t it remind you of confetti?!

The whole recipe makes a pretty big batch, which is great because you can whip it up on the weekend and keep it in the fridge all week long. It can be eaten both hot or chilled. My favorite happens to be the chilled version, but I’ll let you be the judge!

Now you have NO EXCUSES for not getting in your protein ;)


Ingredients:

  • 1 cup uncooked quinoa
  • 2 cups low-sodium vegetable stock (you can use water, but the vegetable stock gives the quinoa a ton of flavor. I use Trader Joe’s brand)
  • 1 cup canned/or frozen corn (thawed)
  • 1 cup shelled edamame (thawed)
  • 1 can all-natural, organic, diced tomatoes (preferably low-sodium)
  • 1/2 cup all-natural, organic tomato sauce (preferably low-sodium)
  • 1/2 teaspoon garlic powder
  • 1/2 teaspoon onion powder
  • 1/2 teaspoon ground black pepper
  • 1 tablespoon nutritional yeast (optional, but it definitely gives the quinoa a yummy and nutty/cheesy flavor)
  • Sprinkle of crushed red pepper (optional)
  • 1 whole avocado, diced (optional– but adds a source of healthy fat plus some extra protein)
Directions:
  • Heat the quinoa and vegetable stock in a pot on high until it comes to a full boil.
  • Reduce the quinoa to medium heat and cover 10-15 minutes until liquid evaporates. Fluff with a fork.
  • Transfer the quinoa to a large bowl (If making the “cold version,” cool quinoa for an hour in refrigerator and then follow the rest of the steps.  If making the warm version, continue with the rest of the steps now).
  • Add in the corn, edamame, can of tomatoes, and 1/2 cup of tomato sauce. Mix well.
  • Mix in the spices and nutritional yeast.
  • Gently fold in the ripe avocado (be careful not to mush it!).

x

Pretty easy, huh?

x

x
Healthfully yours,
Ashley Michelle


x


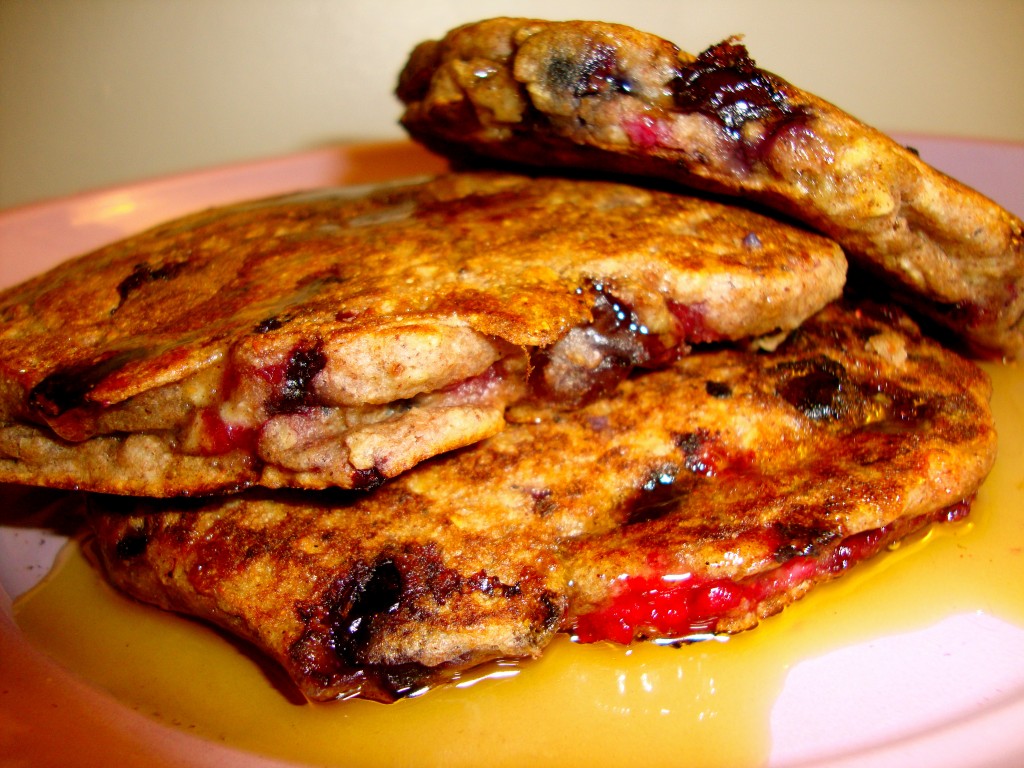
Very Berry Vegan Pancakes

Happy Mother’s Day to all you FABULOUS Moms out there!

Good morning :)

x

Now, go beg your kids to make you THESE.

x

Immediately.

x

And if you ARE the kid, it’s time to get cooking… you’ll be Mom’s favorite after she takes JUST ONE BITE :)

This breakfast delight is quick, easy, and healthier than your typical pancake, so you really have no excuse NOT to make them. And the best part is, they sound pretty darn fancy, so it will seem as though you spent all morning preparing this tasty little spread.

x

Recipe:

(Makes 3 large pancakes)

Dry Ingredients:

  • 2/3 cup of spelt flour (or any whole wheat flour– you can read why I like spelt here)
  • 1/4 cup of whole grain oats
  • 1 plus 1/3 teaspoon of baking powder
  • 1 heaping teaspoon of cinnamon
  • 1/4 heaping teaspoon of nutmeg
  • a little under 1/4 teaspoon of salt
  • 2 packets of Stevia (or 1 teaspoon of another type of all-natural granulated sugar)

Wet Ingredients:

  • 1 teaspoon of all-natural maple flavor (I’m sure all-natural vanilla or almond extract would taste amazing too!)
  • 2/3 cup of unsweetened almond milk (or another non-dairy milk)
  • 1 plus 1/2 tablespoon of melted coconut oil (You can use another all natural oil, or melted non-dairy buttery spread,  but I think the coconut gives the cakes a distinctly delicious flavor. You could also substitute applesauce for the oil and make these fat-free, but they WILL be a little chewier and less fluffier than normal. I personally prefer either way, but if you are not used to fat-free baking, I’d keep the oil in.)
  •  1 cup of mixed berries (I like the Trader Joe’s Very Cherry Blend– cherries, blackberries, raspberries AND blueberries!)
  • Optional: Top with a drizzle of all-natural maple syrup (I personally think the berries and maple extract give these enough flavor and gooeyness without the syrup, but feel free to add it if you’d like.)
Please Note: The batter will be much thicker than your typical non-vegan pancake batter


Directions:

  • Mix the dry ingredients in a bowl and then add in the wet ingredients (minus the berries).
  • **Be sure to add the berries LAST and DO NOT OVER-MIX, unless you want purple pancakes!** (Which actually, now that I think about it, could be quite pretty!)
  • Lightly spray a pan with all-natural non-stick spray and set the stove at medium heat.
  • Spoon 1/3 of the batter into the pan, flattening and molding it into a thick “pancake” shape.
  • Flip after 2 minutes (depending on the strength of your stove you may need to cook a bit longer–but keep checking so you don’t burn your pancake!)
  • Repeat 2 more times with the rest of the batter.
x

Now go serve Mom breakfast in bed :)


Healthfully Yours,

Ashley Michelle


P.S.– As you all know by now, my non-vegan boyfriend has unsuspectingly become my official taste-tester (tough life, I know). So, just to prove these babies were omnivore/vegetarian friendly, I decided to use his new title to my advantage and conduct a little taste-testing experiment (Muahaha!). Before I hit the gym this morning, when the boyfriend was still sleeping, I cooked up a plate of Very Berry Vegan Pancakes and left them on the counter. Wouldn’t you know, when I came home, the pancakes were magically gone. Hmmm…I wonder where they went…


Five-Minute Chocolate, Maple, Banana Cake for ONE!

x

There's cake under there somewhere...

x

If you LOVE quick and easy desserts…get excited.

x

Because this recipe is going to BLOW YOUR MIND.

x

Best part of all? It takes FIVE minutes to make.

Yup. NO. OVEN. REQUIRED.

Let me guess…NOW you’re excited :)

I came up with this little gem of an idea while rummaging through the cupboards last night desperately trying to find some recipe inspiration. Instead, all I found were a couple of sad-looking bananas, an almost empty container of almond milk,  a few spoonfuls of flour, and the depressing realization that I needed to do some serious grocery shopping this weekend.

But I was still in the mood for a healthy, yet totally DECADENT treat.

That’s when I had an epiphany.

x

Single-serving microwave cake.

x

This cake is SO good…even non-vegans will DEVOUR it. I promise.

Want proof?

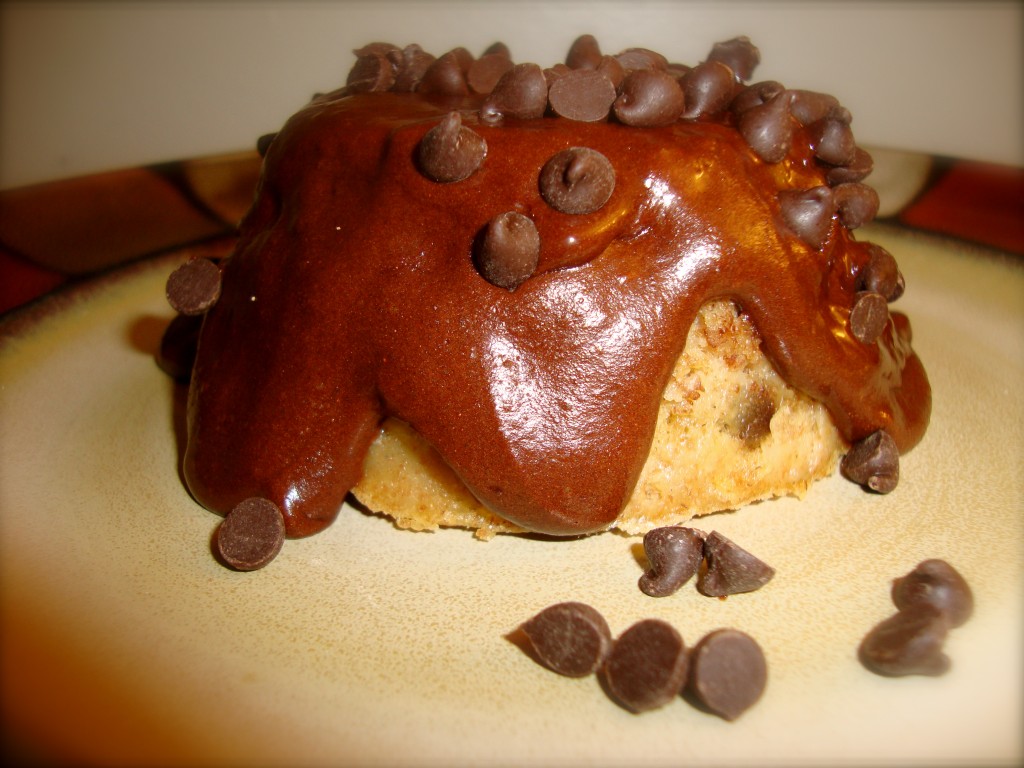
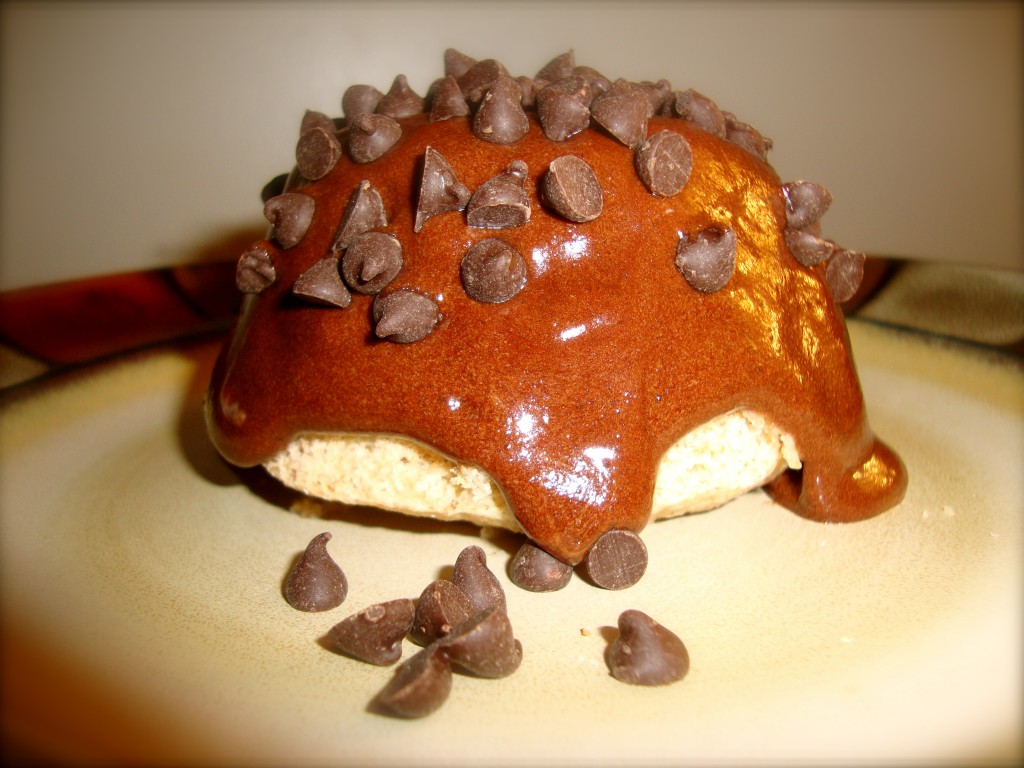
As soon as I took this gooey, chocolaty dessert out of the microwave, I hardly had enough time to glaze it and take a picture before the boyfriend gobbled it up. He even went as far as to say it’s the BEST dessert he’s ever had–and this is coming from a guy who’s not crazy about dessert in general!

All I can say is, good thing I made two so I could keep one for myself ;)

So what are you waiting for? GET BAKING!

Cake Ingredients:

  • 1/4 cup of spelt flour or other whole wheat flour (I like spelt flour because it has only moderate amounts of gluten and it can be tolerated by those who have wheat allergies and/or a wheat sensitivities. However, it is NOT gluten-free and NOT suitable for those with celiac disease)
  • a little under 1/2 teaspoon of baking soda
  • 2 packets of stevia (1/2 teaspoon) or 1 teaspoon of another natural sweetener
  • 3 tablespoons of unsweetened almond milk (or any non-dairy milk)
  • 1 1/2 teaspoon of natural maple flavor
  • 1 teaspoon of Earth Balance (or any non-dairy buttery spread– I actually prefer to NOT use any butter and add a heaping teaspoon of natural, no sugar added applesauce instead, but my boyfriend–who isn’t a fan of low-fat desserts– LOVED the texture of the cake with the Earth Balance better. It’s totally up to you! One teaspoon isn’t that much anyway.)
  • 1/2 of a medium-sized and VERY ripe organic banana, chopped
  • About 2 teaspoons of mini chocolate chips (I like dairy free, nut, and soy free Enjoy Life semi-sweet mini chocolate chips)

Directions:

  • Mix all the dry ingredients in a bowl, then add in the wet ingredients–including the banana and chocolate chips.
  • Mix until blended but do not over-mix.
  • Spray a small bowl, or ramekin (anything roughly 1-cup in size) with an all-natural non-stick spray (I’m sure a coffee mug would work, but you may have to cook it few seconds  longer)
  • Pour batter in the small bowl and microwave on high for about 2 minutes (depending on your microwave’s strength, your cake may need to cook a little longer. The top of the cake should give a little when you press down on it and should not be overly sticky/gooey on top).
  • While your cake is cooking…you can whip up the glaze! (See below)

Creamy Chocolate Glaze Ingredients:

  • 2 tablespoons of organic, all-natural powdered sugar (natural maple sugar and coconut sugar will also do–  if you don’t have powdered sugar, just blend regular sugar in a blender for a minute or so until it turns to powder).
  • 3 teaspoons of all-natural cocoa powder (I use the Trader Joe’s brand)
  • 2 teaspoons of almond milk (or any other non-dairy milk)

Directions:

  • Mix all the glaze ingredients together until smooth.
  • Slip a knife down around the cake to loosen it from the bowl, turn it over and pop it out onto a plate.
  • Pour you glaze ALL OVER your Five-Minute Chocolate, Maple, Banana Cake.
  • EAT YOUR FACE OFF.

Healthfully yours,

Ashley Michelle

x

P.S. Technically I categorized this as a dessert…but seeing as it’s the weekend and all…if you really want to eat it for breakfast, I won’t tell ;)