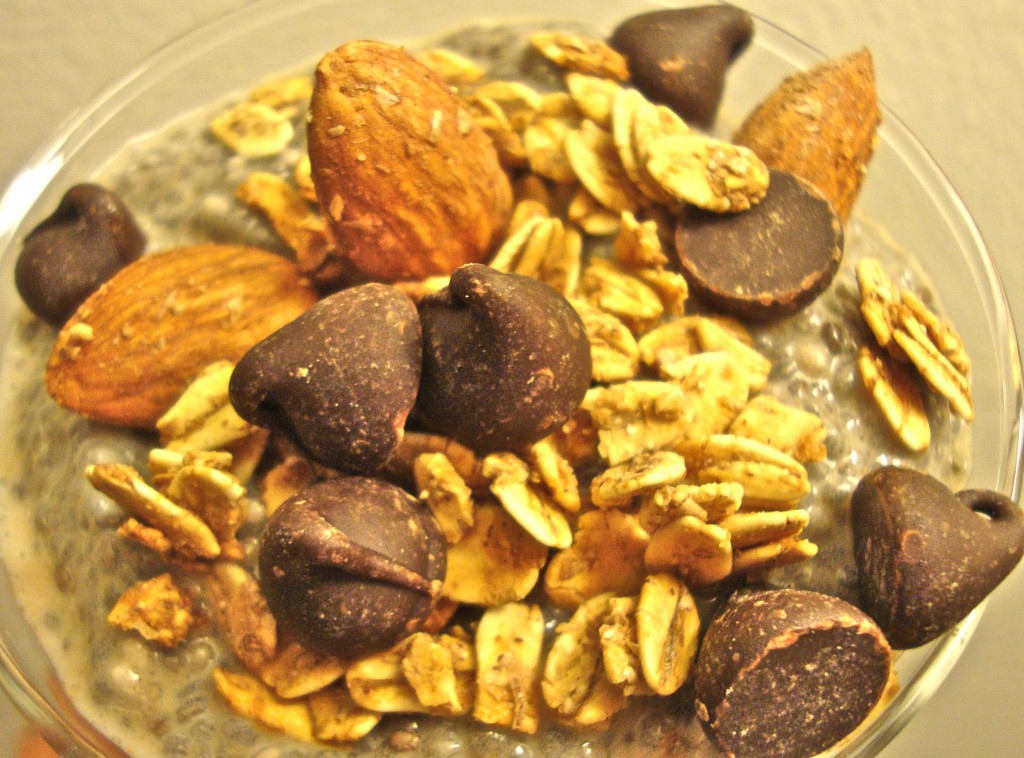
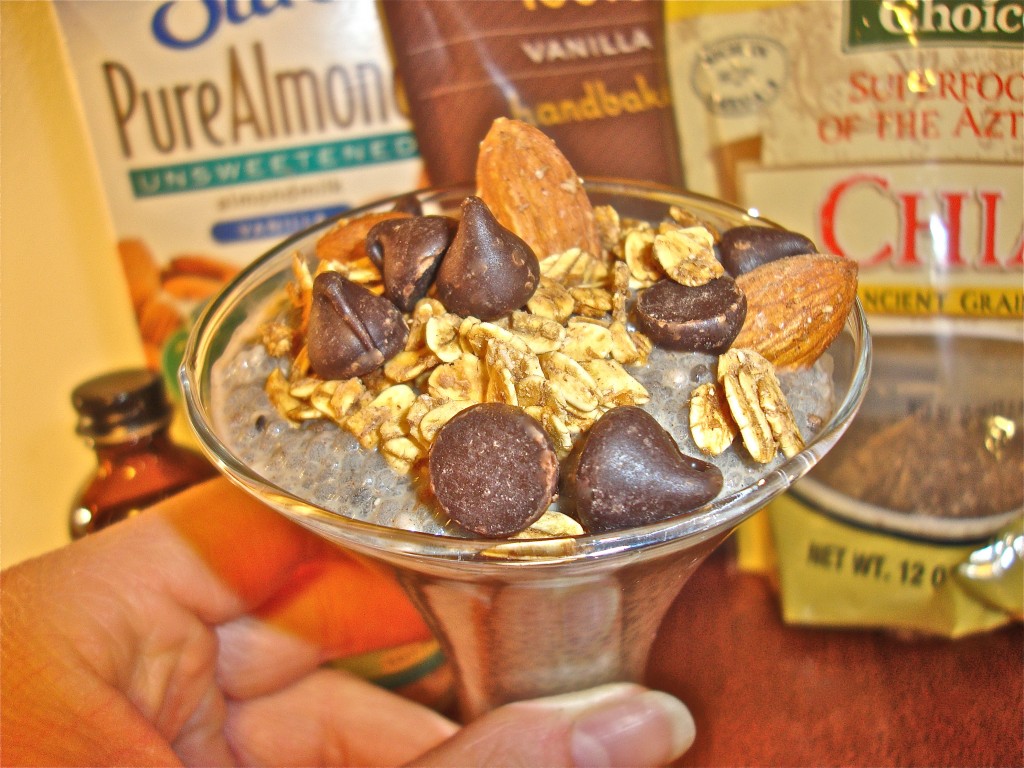
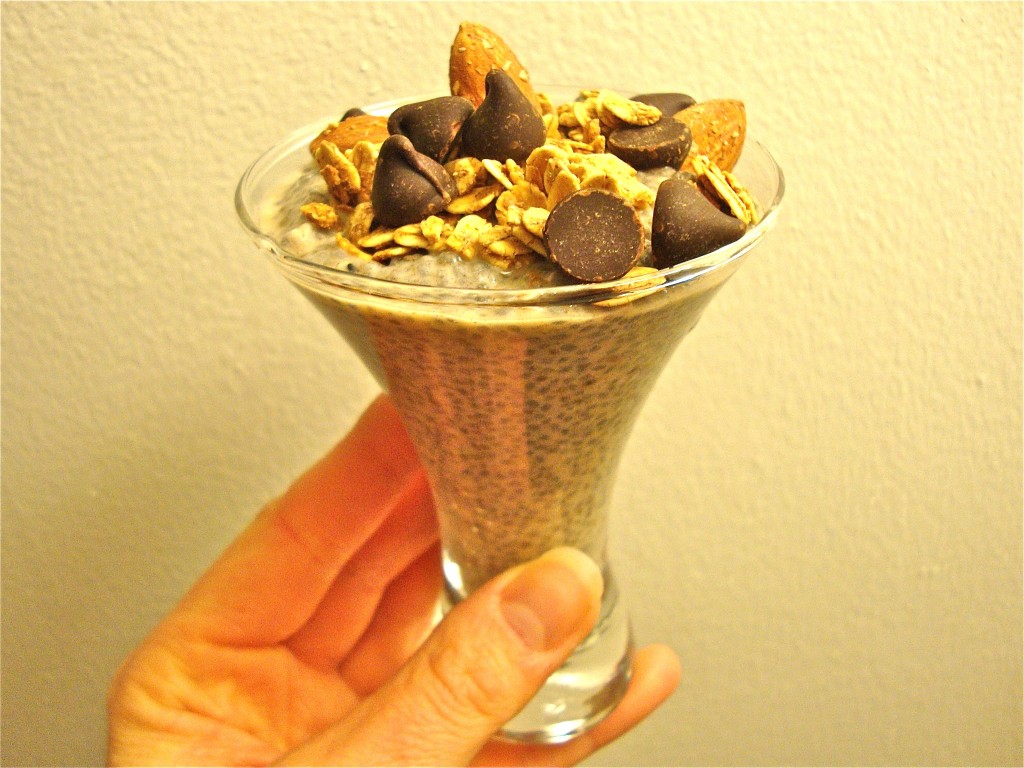
Build a Better Smoothie: A Step by Step Guide

CONFESSION: 

.

I have a dangerous addiction…

.


.


.


.


To smoothies, that is.


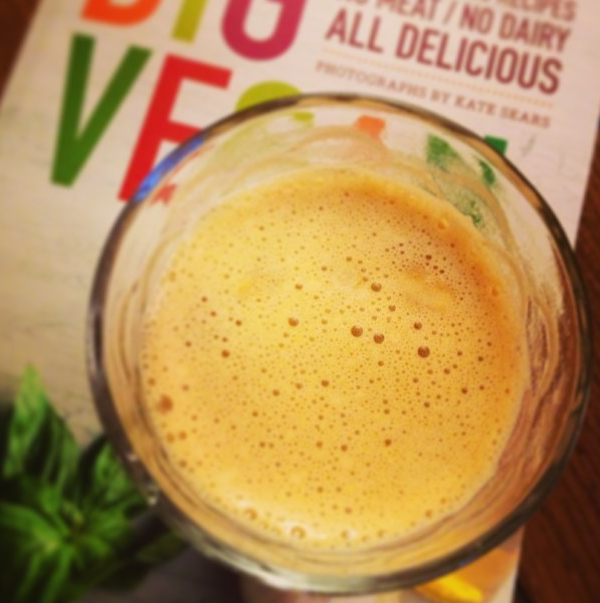
Okay…so “dangerous” might seem like too strong a word, but that’s exactly what my smoothie concoctions are…dangerously delicious :) . In fact, I’ve rarely met a smoothie I haven’t liked. I mean, it’s pretty hard to make a mistake preparing something that gets pulverized into a drinkable form– no boiling, baking, sautéing, or julienne-ing necessary. Seriously. It’s pretty much the easiest snack, meal, or treat you can (quite literally) whip up!


Pressed for time? Make a smoothie!

Hungover? Make a smoothie!

Looking to revamp your diet? MAKE A SMOOTHIE!


Okay, okay. I know what you’re thinking– I understand how booties, baubles, and a killer pair of heels can make a girl go wild, but can a smoothie really be that exciting? In one word, YES! And after taking a quick trip to the grocery store you’ll be creating healthier, tastier smoothies while increasing their nutritional value in no time at all. JUST BEWARE– not all smoothies are created equal! If you’re not careful, your “healthy” beverage can quickly become a sugar and fat trap. But don’t worry! With a little guidance you’ll be drinking your way to heath and wellness. Thankfully, I’m just the gal to show you how it’s done :) .


Step 1 : Choose your base

(Ready to have your mind completely blown? THERE AREN’T ANY SPECIAL HEALTH BENEFITS OR NUTRIENTS EXCLUSIVE TO DAIRY MILK! You can easily get vitamins, minerals, protein, and healthy fats from a variety of non-dairy milks– and YES– this includes calcium. But buyer beware– make sure the milk you purchase is fortified, and ALWAYS choose the unsweetened version to avoid excess sugar).

  • Almond milk
  • Cashew milk
  • Coconut milk
  • Coconut water (coconut water contains a decent amount of sugar– take care to cut back on high-sugar fruit like bananas, mangos, figs, tangerines, cherries, and grapes when incorporating a base with high sugar content). 
  • Hazelnut milk
  • Hemp milk
  • Oat milk
  • Soy milk
  • Water
  • Pretty Fit Note: Stay away from juice! If you are already adding fruit to your smoothie this will cause it to have wayyy too many grams of sugar and carbs (and not to mention calories)  for one drink.  

Organic nut, soy, hemp and oat milks are fantastic alternatives for those  trying to cut dairy from their diet. Personally, almond milk is my favorite smoothie base. The creamy texture and nutty taste give my smoothies just the right consistency and flavor I’m looking for. Plus, almond milk is super low in calories (only 35 to 40 calories per cup in the unsweetened brands) and contains the calcium and vitamin D my vegan body needs! With any of the milks mentioned above, be sure to buy the unsweetened versions or you could find yourself unknowingly drinking over 15 grams of sugar before you even add anything else to the blender. Yikes! I also suggest taking a look at the ingredients list and aim to avoid purchasing milk with the ingredient carrageenan– a seaweed-derived texturizer found in meat, dairy, toothpaste, processed foods (even some organic products and infant formula!) which can lead to severe gastrointestinal inflammation among other health risks. My favorite (safe!) brand is Whole Food’s 365 Plain Unsweetened or Unsweetened Vanilla Almond Milk. (Research regarding the side effects of this controversial additive is still new but growing. I encourage you to do some research on your own, or check out some helpful links in my Sources List below).


Step 2 : Pick your greens

(Leafy greens –full of vitamins, minerals and disease-fighting phytochemicals– are some of the healthiest foods you could ever eat. Their high water content keeps you hydrated, while their high fiber content fills you up, lowers your blood-pressure, and lowers your bad cholesterol. For more detailed information about the specific health benefits of the greens below, visit this link).

  • Collard greens (rich in calcium!)
  • Cucumber
  • Dandelion greens
  • Kale (rich in calcium!)
  • Lettuce
  • Mustard greens
  • Spinach
  • Sprouts (Sprouts can contain up to 100 times more enzymes than raw veggies and fruit– this helps your body to extract more amino acids, vitamins, minerals, and essential fats from foods you consume– so eat up!). 
  • Swiss chard
  • Turnip greens
  • Watercress


According to the latest dietary guidelines, the average person should aim to consume at least 2.5 cups of vegetables a day (Pretty Fit Note: For lettuces and other raw leafy greens, you would need to eat 2 cups to get the equivalent of 1 cup of vegetables). Now, for someone like me who eats veggies with every meal, hitting 2.5 cups doesn’t seem like much trouble, however, the majority of Americans don’t reach the recommended daily dosage–and that’s where I come in :) . Adding greens to your smoothie is the easiest and most painless way to help get proper the nutrients you need in one quick and easy swoop. I go through bags upon bags of spinach in one week alone– I find it’s the easiest to blend. Still weirded out by the green tint in your drink? Don’t worry! You’ll be adding so many other tasty ingredients to your smoothie you won’t be able to taste a thing– I promise. So don’t go holding back on me now! This is your chance to get a little nutrient crazy. Your body will thank you.


Step 3 : Get fruity!

(Fruit is full of fiber, vitamins, minerals, antioxidants, and phytonutrients that ward off disease and keep you healthy! The bonus? It will satisfy your pesky sweet tooth too! The natural sugar is a better alternative to the unhealthy, refined stuff.)

  • Apples
  • Apricots
  • Bananas
  • Blackberries
  • Blueberries
  • Cantaloupe
  • Cherries
  • Guava
  • Honeydew melon
  • Kiwis
  • Lemons
  • Limes
  • Mangos
  • Oranges
  • Papaya
  • Peaches
  • Pears
  • Pineapple
  • Raspberries
  • Strawberries
  • Watermelon
.
Now it’s time for the fun part! The fruit you add to your smoothie really sets the flavor profile of your beverage– so don’t be shy…get inspired! If I’m craving something tasty and tropical, I’ll throw half a cup of pineapple and a few chunks of banana in the blender. If I’m feeling sluggish and run-down, I’ll make an antioxidant-rich smoothie with a cup of mixed berries and watermelon. If I want to detox my body and improve digestion, I’ll whip up my Green Superstar Smoothie using half of a pear and half of an apple. Just take care not to go overboard– fruit is full of fiber, minerals and nutrients that are good for you, but too much fruit can equal lots of extra sugar, carbs, and calories! According to the latest dietary guidelines, the average adult should aim for 2 cups of fruit in a day (if you exercise less than 30 minutes each day). I try to use no more than one cup of fruit in my smoothies since I often have fruit for a snack during the day. However, if I’m feeling extra fruity on a particular occasion (ha-ha-ha ;) ) and one cup just won’t do it, I aim to pick fruits with a low sugar content like raspberries and blackberries. Check out this helpful link for more information about the sugar content of popular fruits.


Step 4 : Mix it up!

  • All-natural extracts (almond, anise, chocolate, cinnamon, coconut, hazelnut, peppermint, vanilla).
  • Almond meal (for when you need a dose of healthy fats and extra protein!)
  • Avocado (this ingredient creates a silky, smooth, indulgent smoothie!)
  • Bee pollen (not for strict vegans– bee pollen is said to enhance energy, boost the immune system, and support the cardiovascular system).
  • Canned pumpkin (full of vitamin A, iron, and fiber)
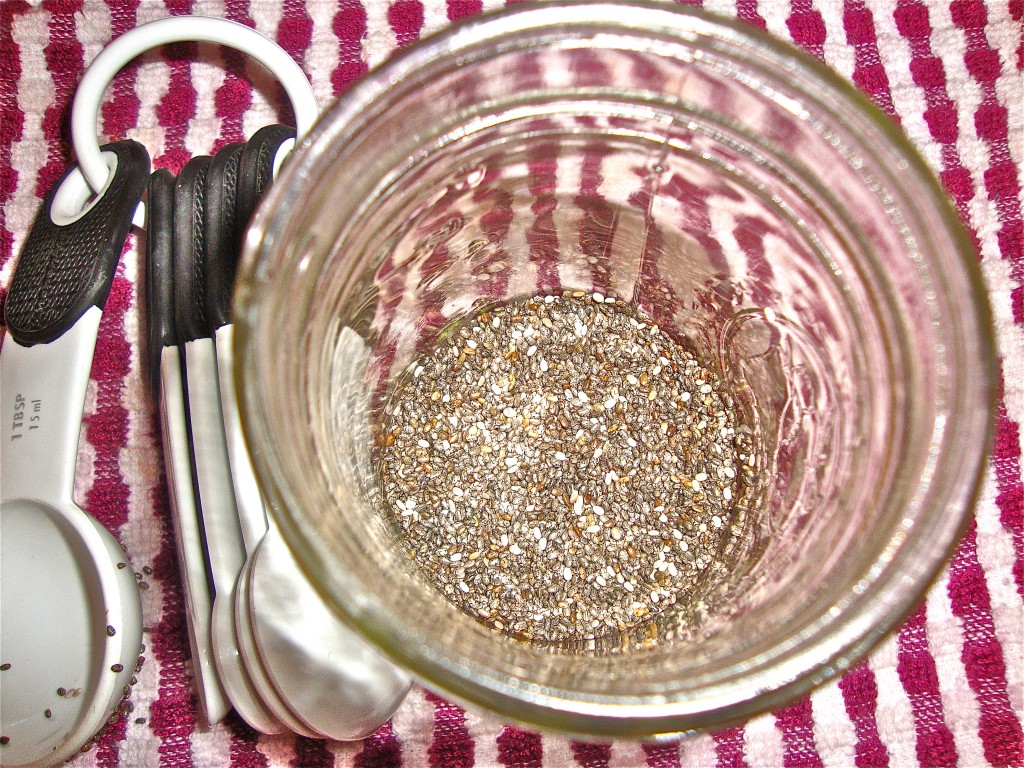
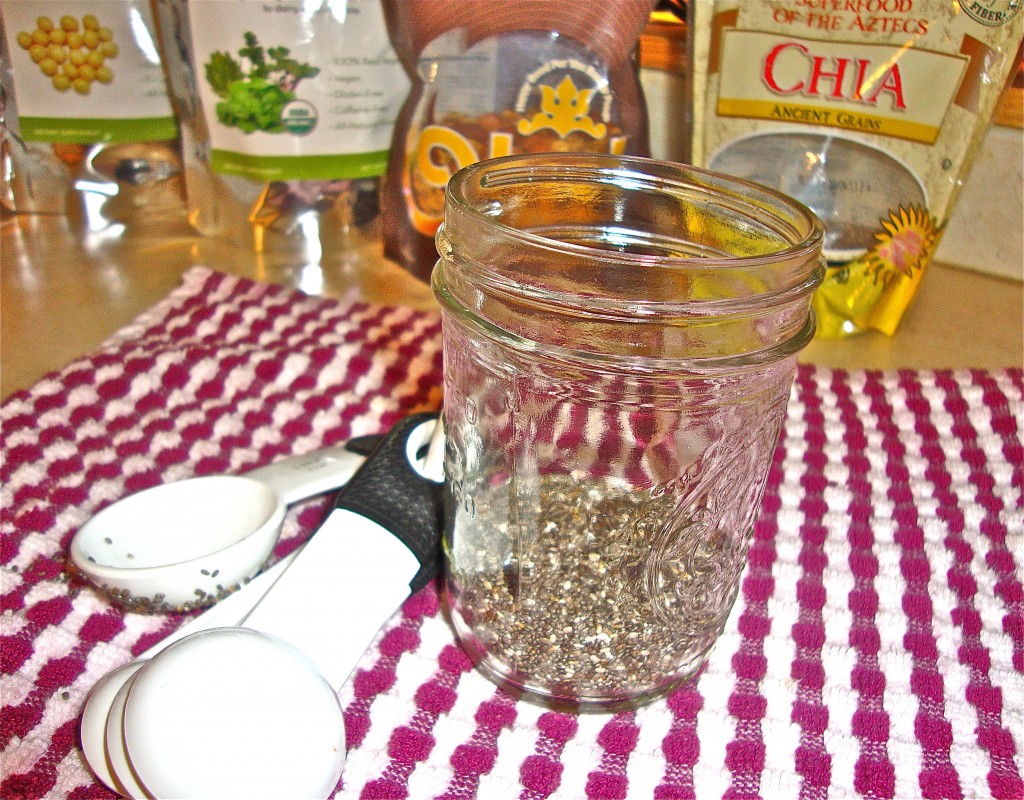
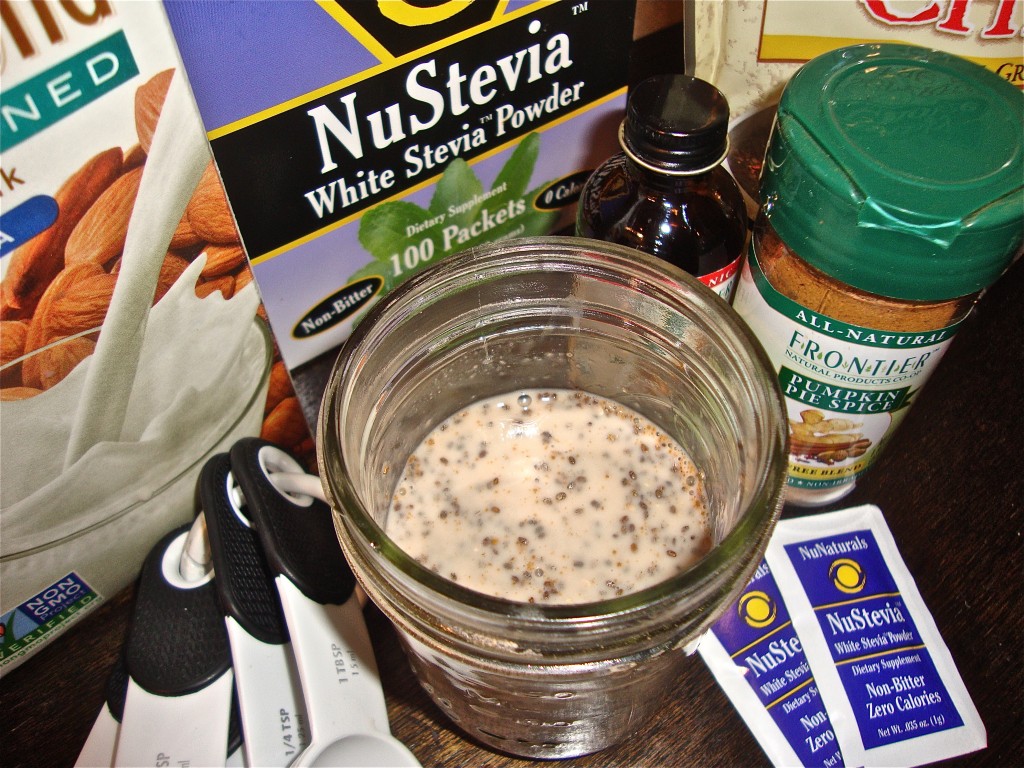
  • Chia seeds (blend or mix these in at the very end and let you smoothie sit for 20 minutes or so– the chia seeds will expand in size and thicken your beverage right up. Plus they’ll give you a healthy dose of Omega-3 fatty acids to boot!).
  • Coconut oil (full of medium chain triglycerides that have the ability to raise HDL– good cholesterol. Coconut oil may also help to encourage weight loss).
  • Dates (a heathy alternative to sugar)
  • Flavor-infused liquid stevia (you can find this at Whole Foods or online– I love the SweetLeaf or NuNaturals brands). 
  • Flax seeds (always choose ground flax– this allows for better absorption).
  • Honey (in moderation! Not for strict vegans).
  • Maple syrup (in moderation!).
  • Molasses (in moderation!).
  • Powdered stevia
  • Powdered peanut butter (100% organic, 95% less fat, and 45% fewer calories than regular peanut butter– perfect for when you’re craving that peanut taste without all the extra fat calories!).
  • Protein powder (I stick to organic, raw protein powders like Garden of Life RAW and limit protein powders that contain soy protein isolate-- a genetically modified type of soy that resembles estrogen). 
  • Shredded carrots
  • Spirulina
  • Sweet potato (gives your smoothie great texture).
  • Tofu (preferably mori-nu silken tofu– it comes in a small cardboard box and lacks the aftertaste present in your typical water-packed tofu).
  • Vanilla beans (enhances flavor BIG TIME).
  • Yogurt (plain soy or coconut-milk based–sometimes I like to use a few tablespoons to thicken up my smoothie. Just keep an eye out for sugar content on those nutrition labels!)
  • Xanthan gum (a thickening agent that will make your smoothies more pudding-like–but BE WARNED! A little pinch goes a long way!).
.
Now here’s where the real danger begins. Pump up the nutritional value and play around with flavor, sweetness, and consistency by adding some unique ingredients to your smoothie (I gave a little more commentary in this section because some of these ingredients might not be as well-known to everyone). Some of my favorite healthy add-ins are almond extract, canned pumpkin, chia seeds, dates, ground flax seeds, raw protein powder, and vanilla flavored liquid stevia.

.

Step 5 : Get spicy!

  • Cilantro (a powerful, natural cleansing agent).
  • Cinnamon (regulates blood sugar, lowers LDL (bad) cholesterol, contains natural anti-infectious compounds).
  • Nutmeg  (aids in sleep, strengthens your immune system, acts as an anti-microbial, helps ease digestive troubles, keeps your brain sharp/may help protect it from degenerative diseases).
  • Cayenne pepper (boosts your metabolism, fights inflammation, prevents stomach ulcers, and reduces bad cholesterol levels).
  • Ginger (eases digestion, eases nausea, reduces inflammation, and protects against certain cancers such as colon and ovarian).
  • Parsley (protects against rheumatoid arthritis and is a rich source of anti-oxidants and folic acid).
  • Raw Cocoa Powder (cocoa is one of the highest polyphenol-containing foods!).
  • Turmeric (turmeric is a powerful, natural anti-inflammatory– I take turmeric pills every day).


Spices have incredible health benefits–some  have the ability to curb inflammation, detox the body, boost flavor, curb appetite, and lower blood pressure. They’re also the perfect addition to any smoothie! I adore the combination of cocoa powder and cayenne pepper (spicy chocolate is one of my FAVORITE flavors) as well as nutmeg and cinnamon (it reminds me of the cozy holiday season!). For my water-based green smoothies, I’ll throw in a handful of cilantro and parsley to help balance my body and get it back to an alkaline state. (For more information about transitioning your diet and body to an alkaline state, check out this link).


Step 6 : Ice, ice baby

This one’s easy. Toss in a few ice cubes to make your smoothie extra cold and creamy :) . I wouldn’t have mine any other way!


Step 7 : Blend it up

If you are lucky enough to own a Vitamix, you can blend any and every ingredient under the sun in one of those babies. While I don’t personally own a Vitamix (yet!) I do own a Ninja blender (which I use on the regular) and it’s pretty amazing. I’ve also used the Magic Bullet and Nutribullet in the past– they can blend most things pretty well, but I prefer to make big batches of smoothies at a time so I can prepare/freeze them for the whole work week (therefore, upgrading to a blender-style Ninja was the best option for me). Now, all that’s left for you to do is blend up all those crazy ingredients you pulled together and let the magic begin!


Step 8 : Top it off

  • Almonds
  • Chopped walnuts
  • Coconut butter
  • Coconut cream (stick a can of full-fat coconut milk in your fridge overnight, pour off the liquid that has risen to the top, whip it up in a bowl with some vanilla and stevia, and you have thick and creamy coconut whipped cream! Perfect for a dessert smoothie). 
  • Dark chocolate shavings (in moderation!).
  • Hazelnuts
  • Hemp hearts (increases satiety, prevents spikes in blood sugar, acts as an anti-inflammatory, improves digestion, and is full of amino acids, Omega-3 fatty acids, and metabolism-regulating Omega-6 fatty acids). 
  • Honey (not for strict vegans).
  • Goji berries
  • Granola (watch out for too much sugar!).
  • Macadamia nuts
  • Nut butters (almond, hazelnut, cashew, peanut butter…).
  • Peanuts
  • Pecans
  • Pistachios
  • Raisins
  • Raw cocoa nibs (a healthier, lower-sugar alternative to chocolate!).
  • Sea salt (just a pinch can create a tasty flavor profile).
  • Sesame seeds
  • Soyatoo (soy-based, canned whipped cream– you can purchase this in the milk section at Whole Foods).
  • Soy nuts
  • Spices (see above)
  • Unsweetened coconut


I just can’t deal with a naked smoothie! As soon as I pour the final product into a big tall glass, I have this incessant need to get all fancy smancy– I MUST make my smoothies pretty after they’re done (hence why my Instagram is filled with #smoothie pics ;) #sorryimnotsorry). Aside from looking lovely and tasting great, many of these toppings have a variety of health benefits that can also boost the health benefits of your beverage. Some of my favorite toppers are hemp hearts, raw cocoa nibs, and unsweetened coconut.


Well. There you have it folks! For all of you who thought smoothies were boring…THINK AGAIN! If these lists don’t get your imagination going, I don’t know what will :) . And don’t be afraid to get a little crazy— after all…that’s where the fun begins! I’d love to see all the creative combinations you come up with, so feel free to tag me on Instagram @prettyfitlife, or use the hashtag #prettyfitlifeHAPPY BLENDING!


.

Healthfully Yours,

.

Ashley Michelle

.


Sources:

Is Carrageenan Safe?

Doubts surface aboutsafety of common food additive, carrageenan

Harvard– Vegetables and Fruits: Get Plenty Every Day

MyPlate Food Groups: Fruits 

8 Healthiest Leafy Greens 

Is Coconut Oil Healthy? 

5 Surprising Health Benefits of Hemp 

Cocoa Powder Health Benefits 

Health Benefits of Cinnamon 

Health Benefits of Cilantro 

Health Benefits of Ginger

Health Benefits of Cayenne Pepper

Health Benefits of Parsley

Health Benefits of Sprouts 

Difference Between Non-Dairy Milks

Eating Vegan in California

.

I think I’ve found my calling.

.

Eating…

.

& traveling…

.

& eating some MORE!

.


.

Eating healthy, that is ;)

.

(New TV show perhaps? I’m looking at you Food Network!)

.

A couple of weeks ago, the boyfriend and I took a quick trip to California to visit some family who live right outside of Los Angeles. I had never been to the West Coast before so I was looking forward to experiencing the warm weather and the laid back Cali lifestyle à la Katy Perry, KUWTK, Real Housewives, and The Hills (I know, I know…go on–judge me!). Yet, even though I had the chance to (window) shop along Rodeo Drive, catch a glimpse of the famous Hollywood sign, and experience the fabulous-ness of Beverly Hills–for me, the most exciting part of the trip was something different…
 

So what was my fav thing about this little getaway?

THE FOOD OF COURSE!

Duh ;)


Los Angeles is known for much more than its sexy beach bodies, high-profile celebrity residents, extravagant movie sets, and TV studios. Los Angeles also happens to be one of the most vegan-friendly cities in the United States! (Other cities include Austin, TX, Portland, OR, New York City, NY, Chicago, IL, Seattle, WA, Salt Lake City, UT, Las Vegas, NV, Boulder, CO, and Richmond, VA– according to PETA). So–naturally–as soon as we booked our flights I began Googling vegan restaurants in the area.


For once I finally knew that keeping in line with my plant-based diet while traveling would be a piece of (vegan) cake!

.

(Oh, and spending my early mornings running around the city in nothing but shorts and a tank top in mid-January was a pretty sweet bonus too :) ).

.

This was perhaps the first time I’ve gone away and felt completely nourished and healthy and didn’t suffer any travel-induced tummy troubles– large in part thanks to my Kimberly Snyder probiotics (for those of you who have been wondering, I highly recommend you give them a try–they’re worth every penny). So, rather than bore you with my itinerary day by day, I thought I’d keep this post short and sweet and give you what you really want…PHOTOS! Yes, you better believe I Instagrammed my little heart out all the way through every Cali breakfast, lunch, dinner, dessert and restaurant. I apologize in advance for any poor image quality– all of these photos were taken with my iPhone! And of course (as always), if you have any questions about my trips, or if you want some tips and tricks for easy vegan traveling, please comment, emailInstagram, or Tweet me! I LOVE hearing from my prettyfitlifers :) .


.

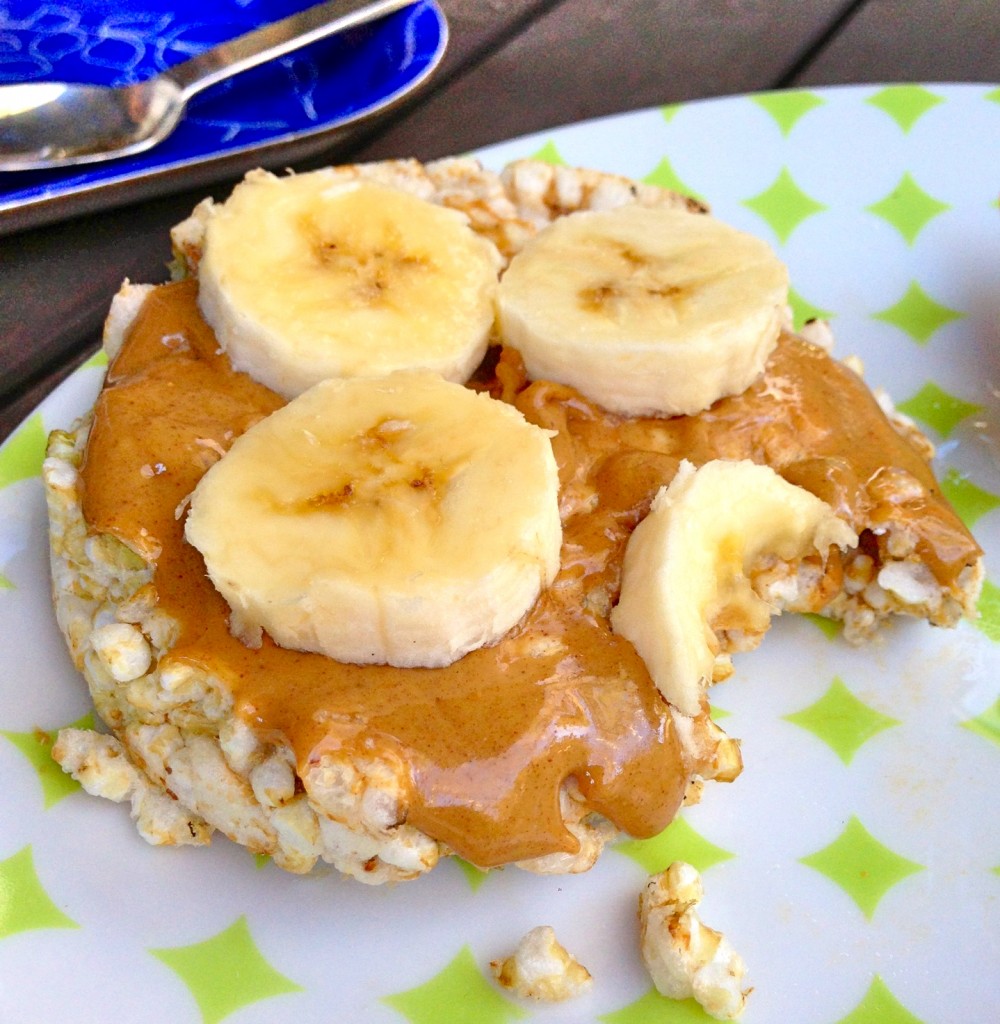
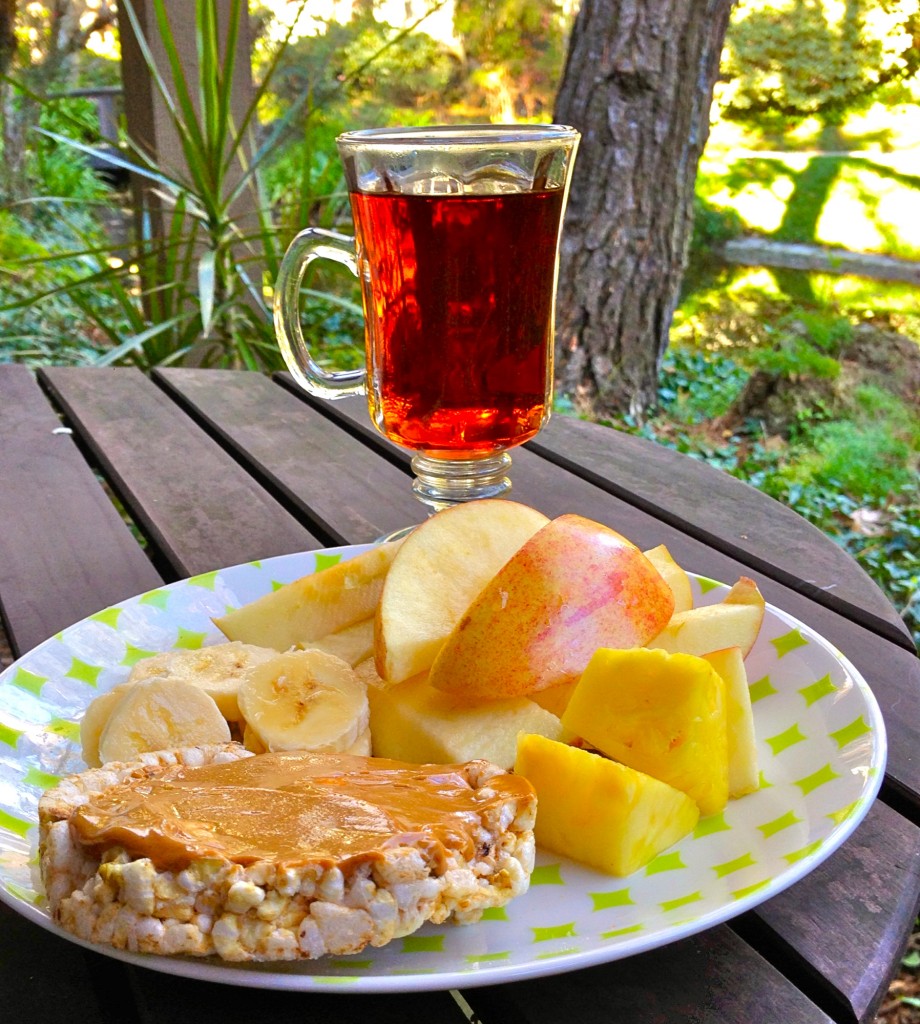
This became my typical Cali breakfast-- tea, fruit, and peanut butter on a rice cake (best enjoyed on an outdoor patio overlooking the water ;) ).

.

Sometimes I'd get a little creative... peanut butter + banana = love. TRUE LOVE.

.

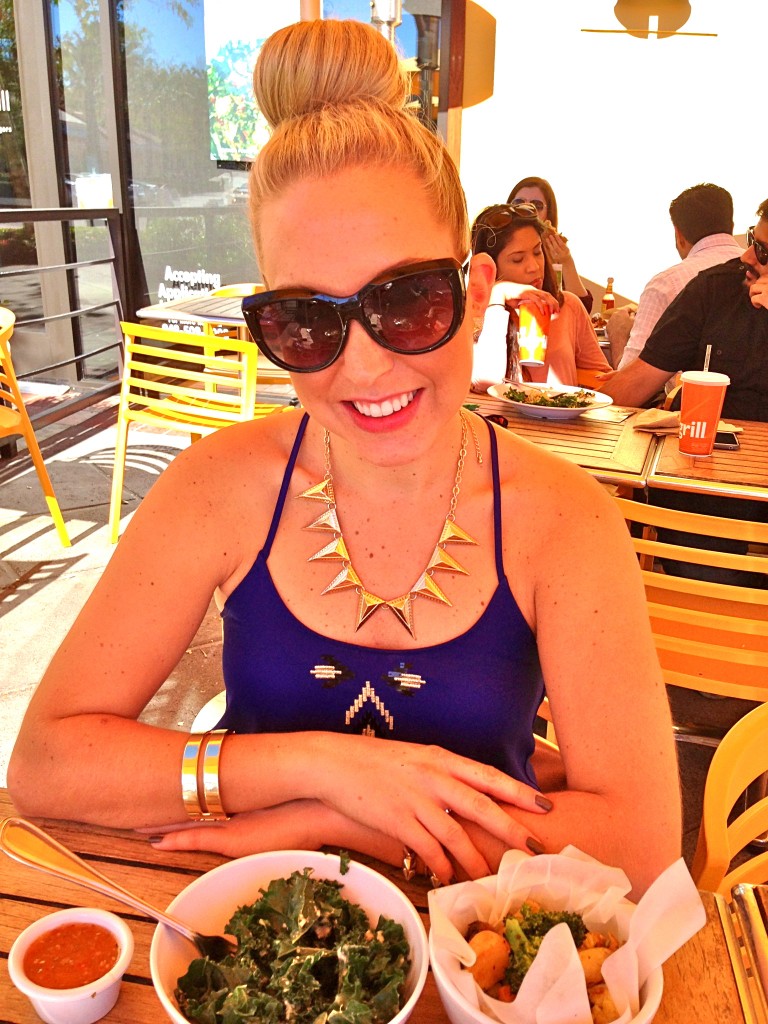
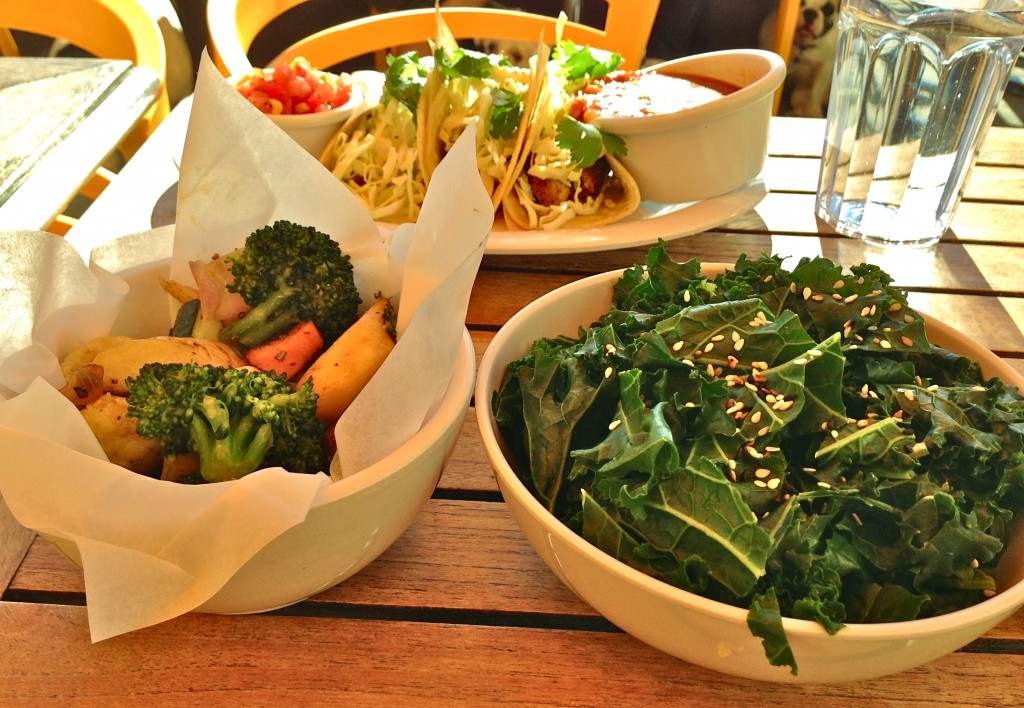
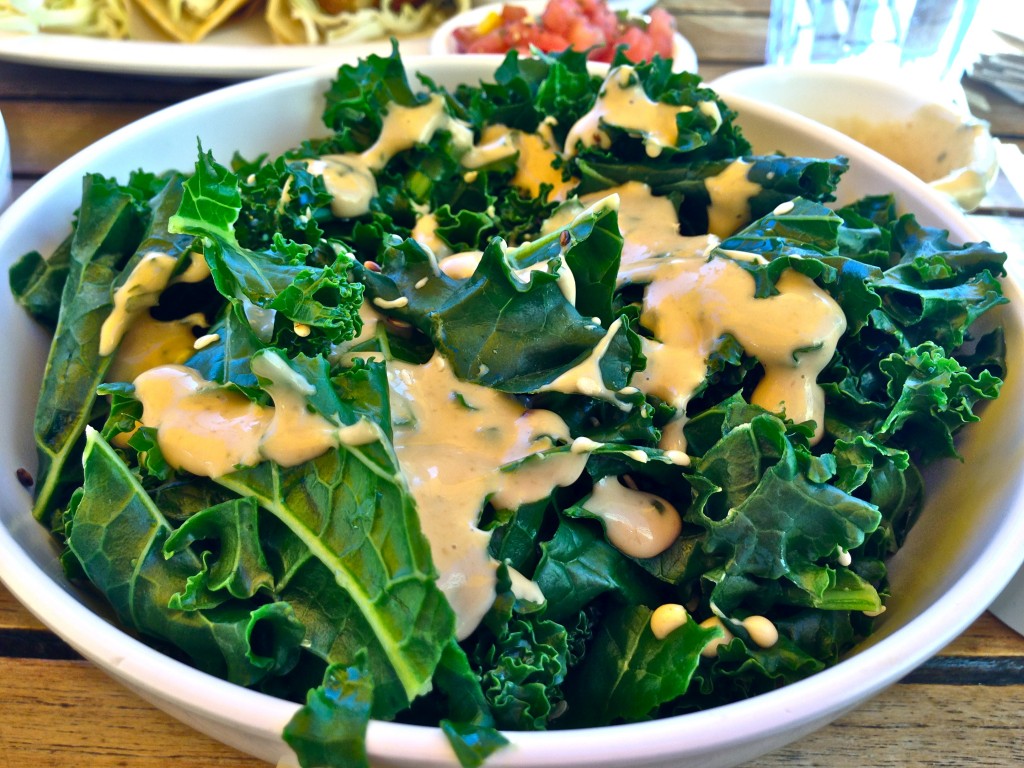
A shot from our first vegan lunch stop! We ventured to Veggie Grill-- a vegan/vegetarian-friendly, fast-food-type chain (think Panera). I got some roasted root veggies and a side of sesame kale. The boyfriend ordered fish tacos (see background) and loved them. ee wasn't quite up for a vegan challenge yet! Don't worry...he'll get there!

.

The kale needed a little extra somethin' somethin'-- so I asked for a side of creamy ginger-tahini sauce. Perfect.

.

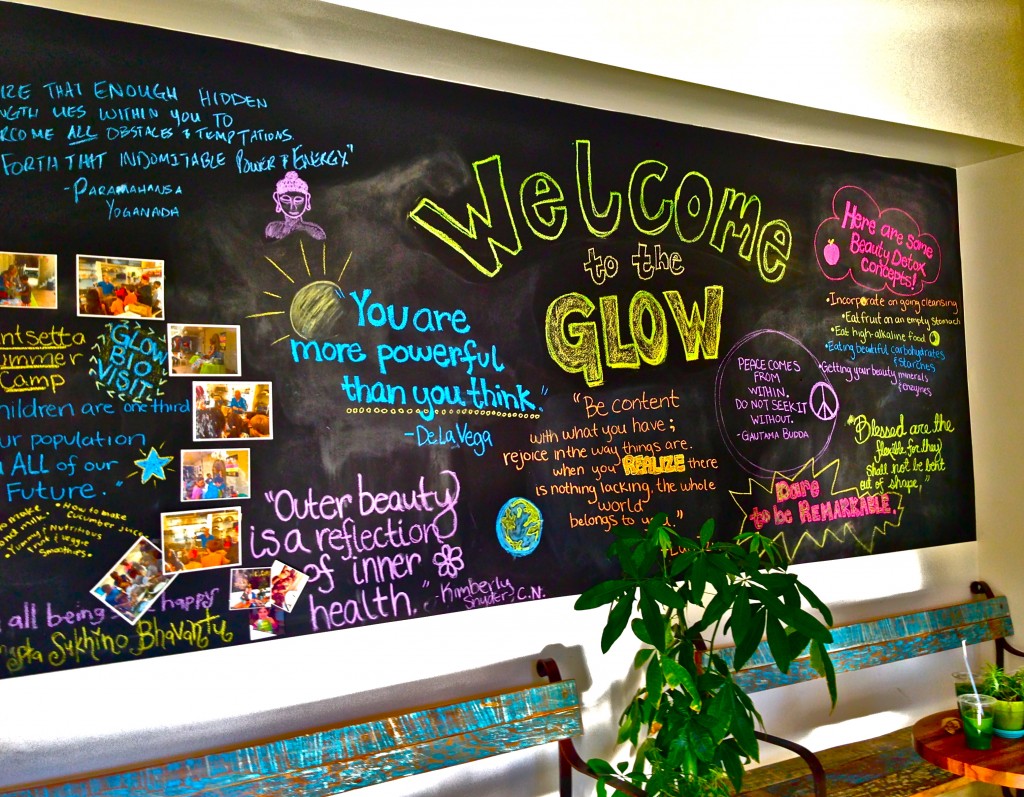
YES!!! WE MADE IT TO GLOW BIO! (The amazing organic café/restaurant created by the one and only--my idol-- Kimberly Snyder!). You might just catch one of her celebrity clients hanging around the café or drinking a Glowing Green Smoothie if you're lucky ;) .

.

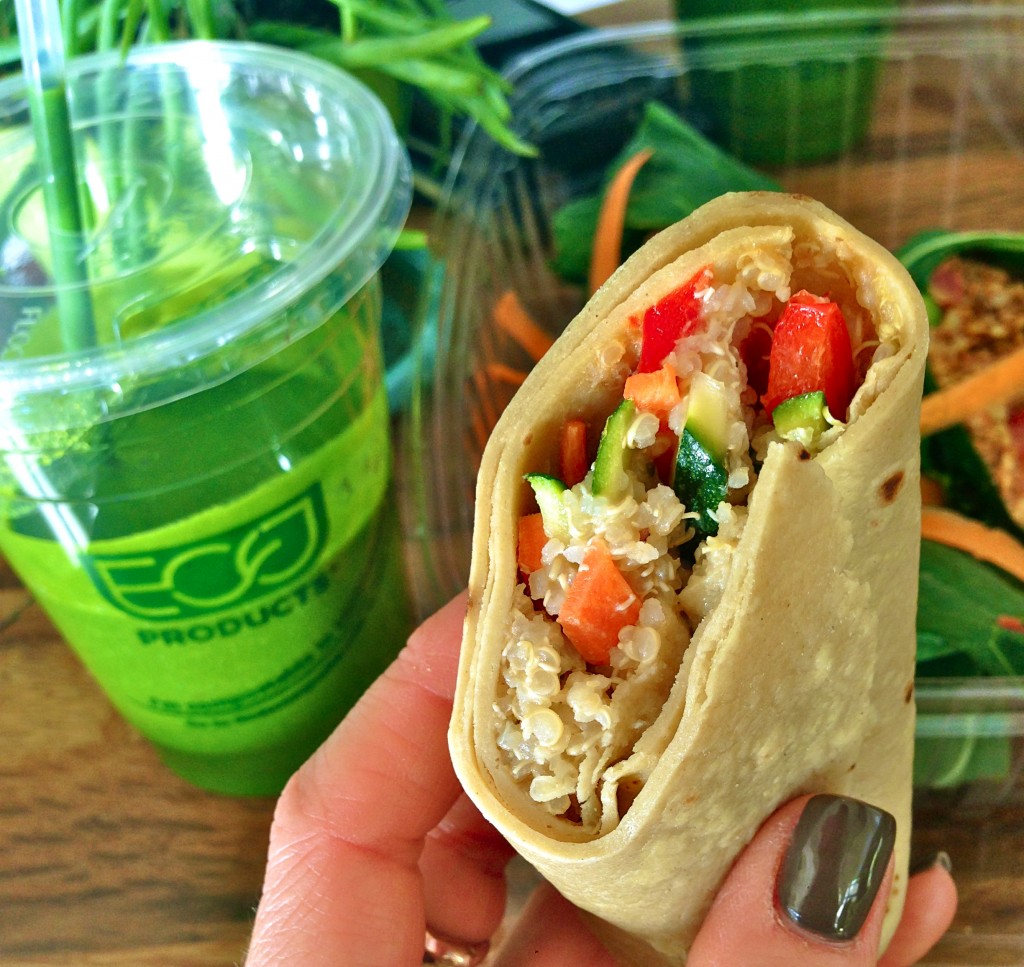
Of course I couldn't decide what to order. Everything looked amazing! Finally, I settled on a veggie and quinoa teff wrap (teff is a supremely healthy, gluten-free grain with amazing health benefits-- it's full of B-vitamins, minerals, and antioxidants). I've been avoiding gluten and heavy carbohydrates for a few weeks now and I feel incredible. Still, I often crave some substantial (yet healthy) carbs and this wrap was JUST what I needed. Oh. And obviously I had to order a "Glowing Green Smoothie" on the side-- even the boyfriend drank some!

.

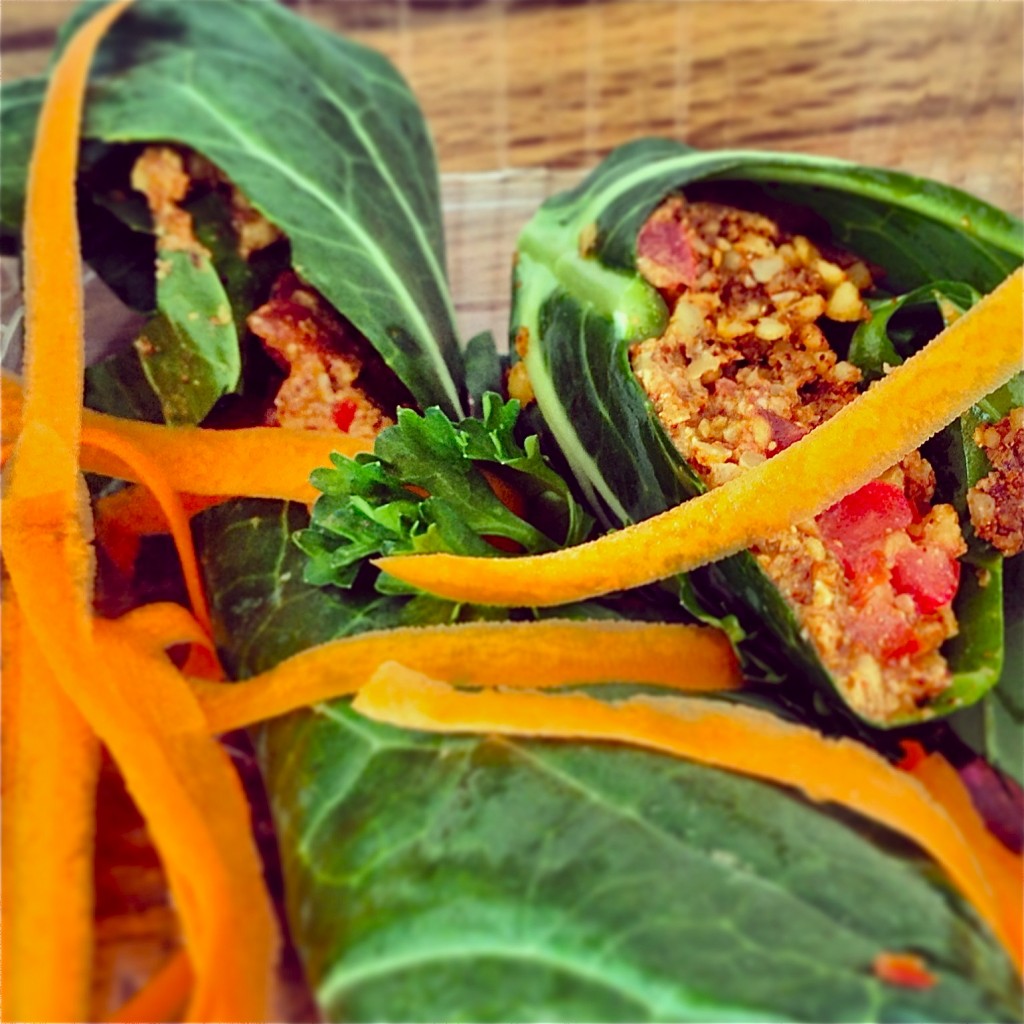
The boyfriend also tested out Kimberly's "Raw, Vegan, Taco, Gorilla Wraps" -- made with walnuts, cumin, coriander, salsa, tamari, chili powder, and collard greens. UM...YUM?? I deemed we were splitting our meals as soon as I had one bite of this incredible creation. The recipe is straight out of her Beauty Detox Foods book and you can bet I'll be replicating it myself!

.

After a day of walking around Long Beach later that week, the boyfriend and I needed some quick eats. We found a cozy Lebanese restaurant and ordered some appetizers to nibble on. This spicy hummus was particularly divine.

.

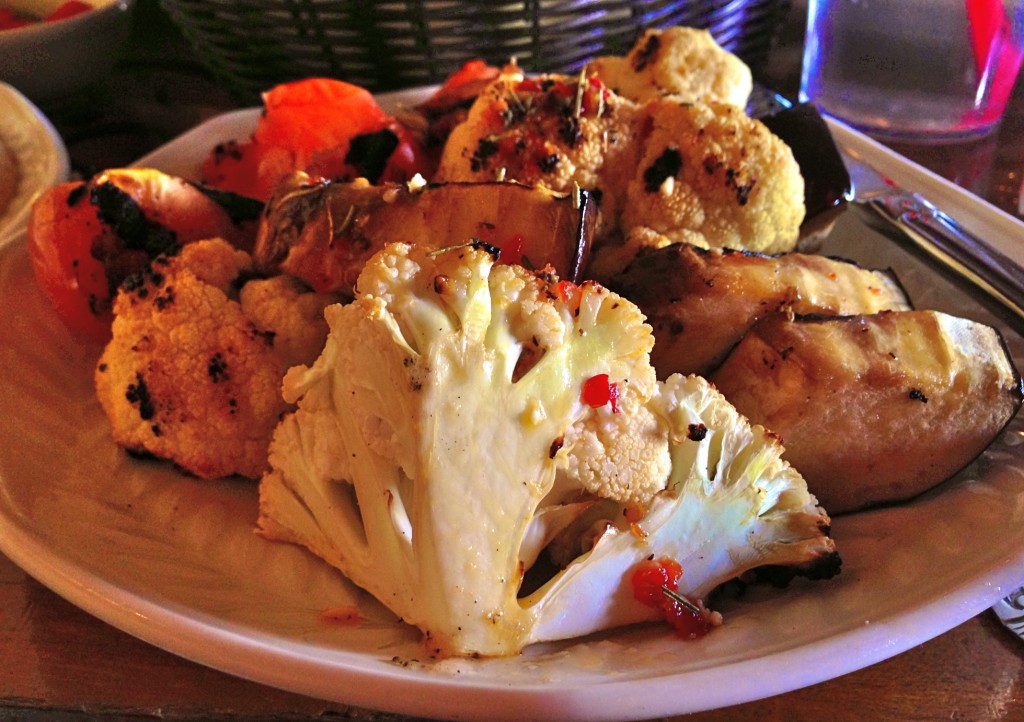
I also ordered a side of spicy roasted veggies-- I prefer dipping vegetables in hummus instead of filling up on empty pita bread calories.

.

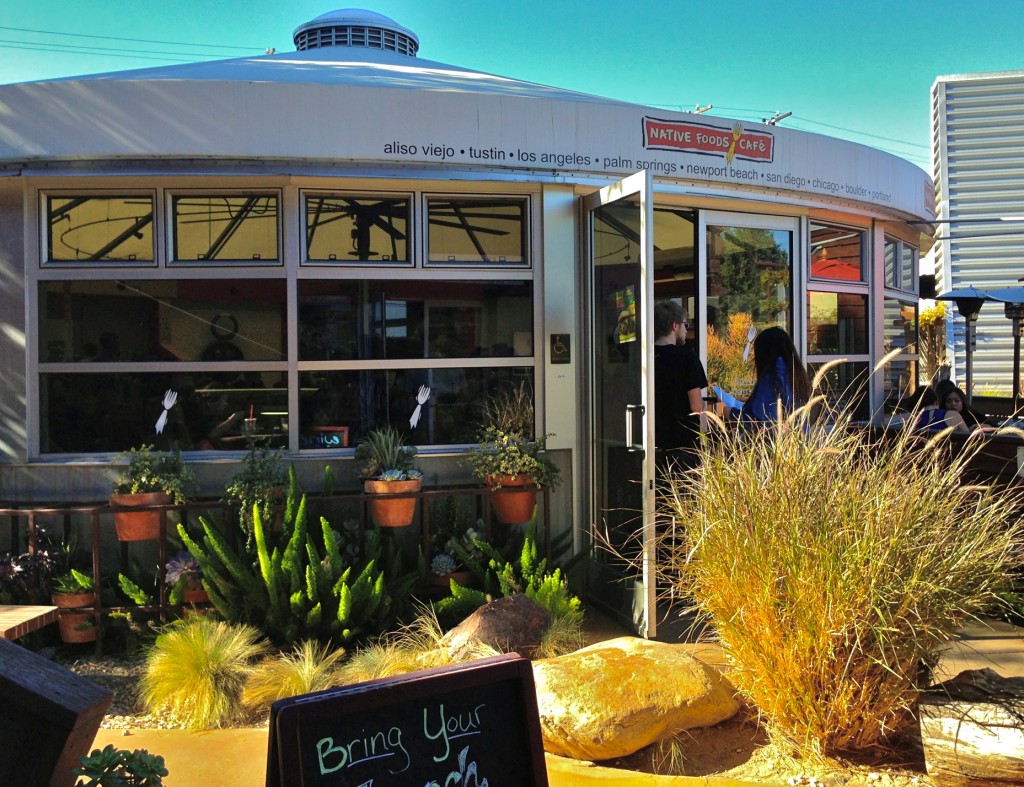
This was by far my favorite visit of the trip! Native Foods Cafe is the premier chef-crafted vegan restaurant in the Cali area. It has attracted praise from publications like VegNews, USA Today and Zagat (among others!). The boyfriend and his dad were kind enough to take me here on my birthday on our last day in California.

.

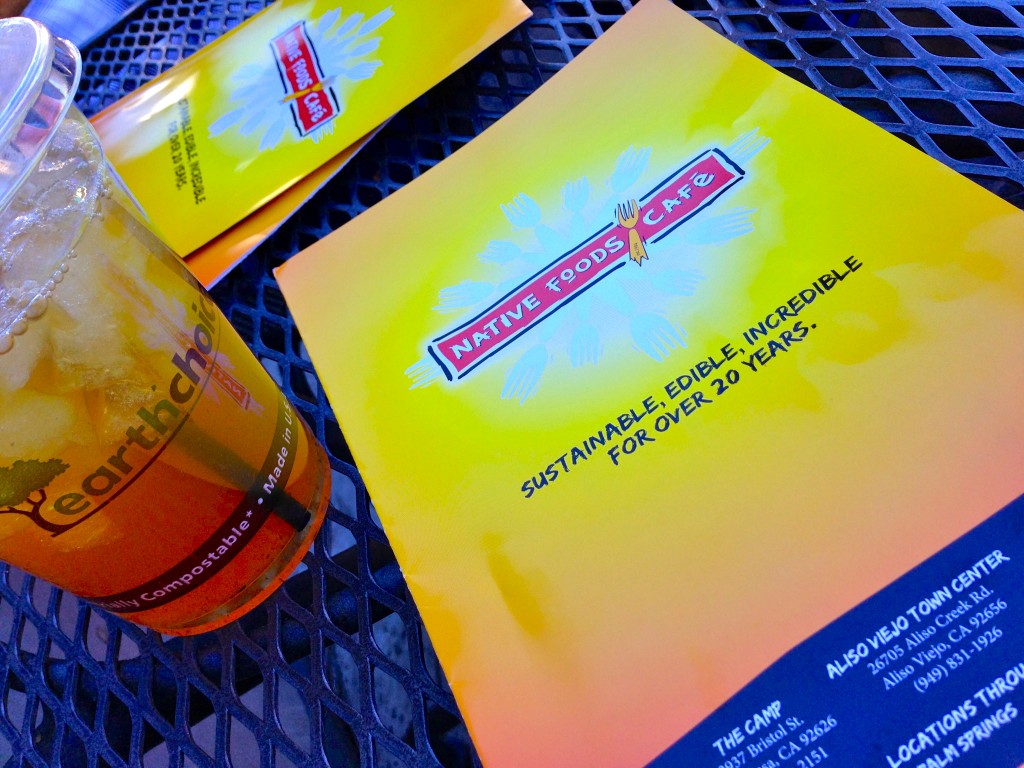
Native Foods Cafe has been around for over 20 years! So cool. They also have an incredible selection of infused waters and iced teas-- I mixed some citrus green tea with watermelon fresca. So tasty!


.

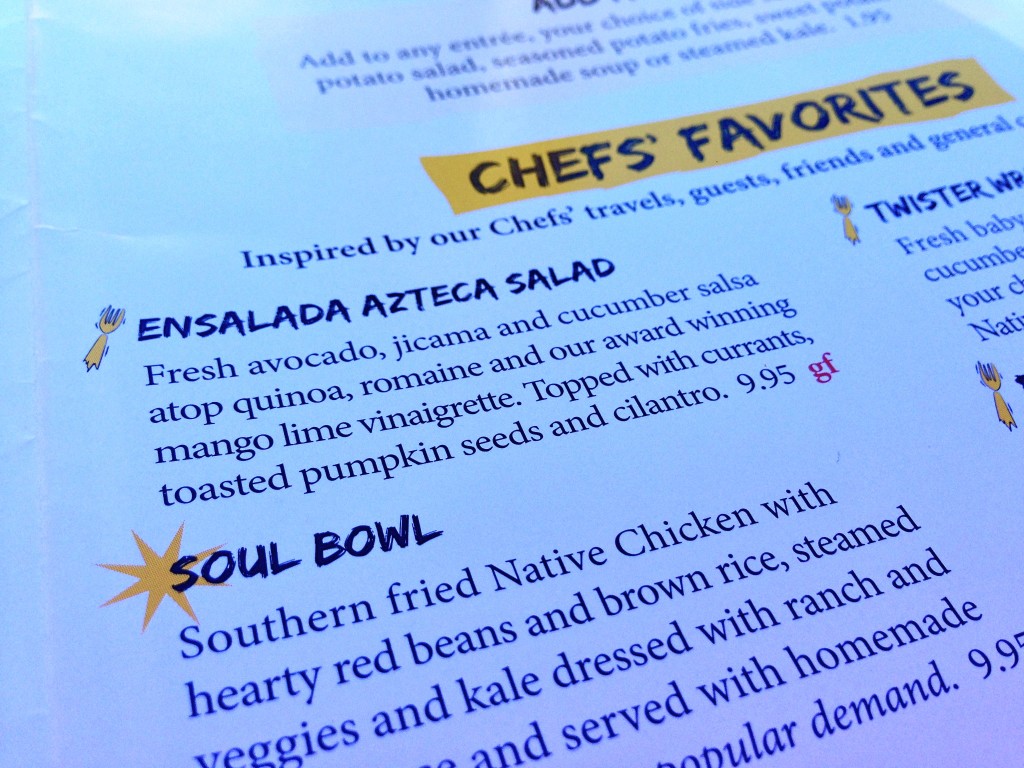
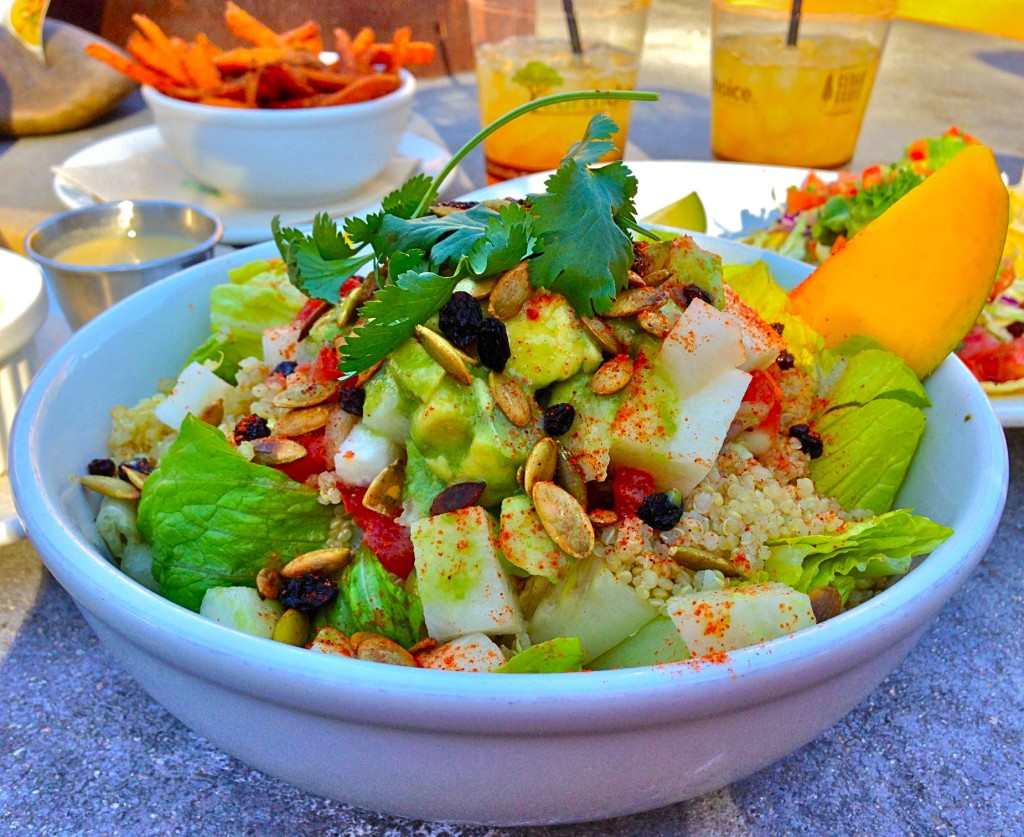
It was super hot out the day we went to lunch here, so I ordered the Ensalada Azteca Salad-- a cool and refreshing bowl of crunchy veggie goodness. I enjoyed my meal so much I mayyyyy or may not have begged the cashier to open a Native Foods Cafe back in Boston :) . Someday? Please??


.

Here's a close-up shot of my delicious lunch. The currants and pepitas were an excellent touch!


.

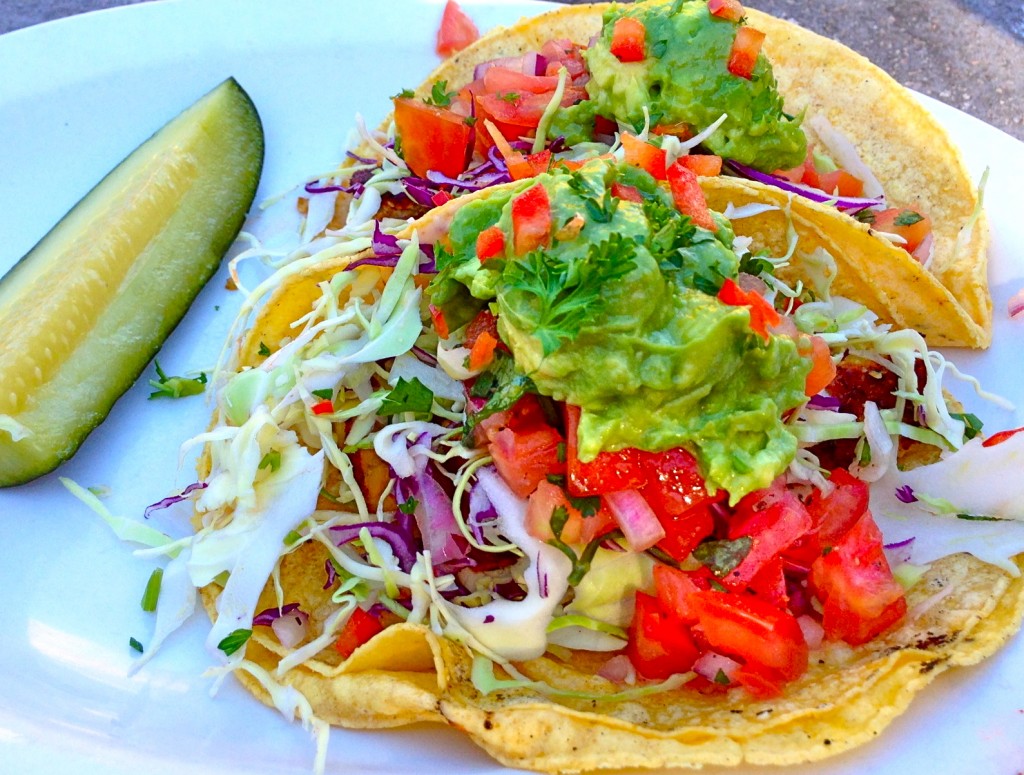
Here's the boyfriend's amazing looking meal-- he wasn't so amazing upon first glance at the menu however (I could see a small wave of panic hit his face as he scanned through the lunch options). I don't think he quite realized that this was truly a 100% VEGAN restaurant. With words like tofu, seitan, quinoa, and "Native Chicken" in every dish, I had a feeling he was regretting the suggestion. In the end however, he was a true sport and tried something new--tempeh tacos slathered in guacamole, cilantro, fresh veggies, and a creamy chipotle sauce. And you'll NEVER believe what happened...HE LOVED IT! In fact, as soon as we got home to Boston, he ran out to buy all the ingredients and made himself tempeh tacos for dinner 3 days in a row--Vegan. Win.


.

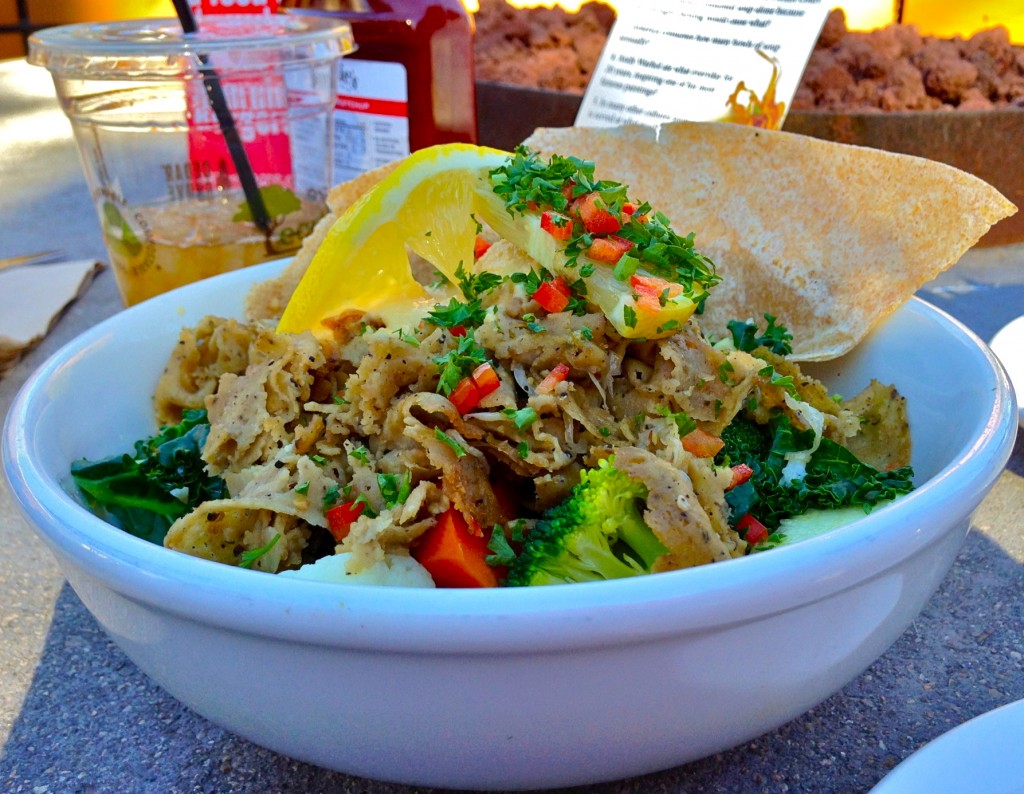
My boyfriend's Dad is a little more adventurous when it comes to vegan eats (he had been here before). He enjoyed a Greek Gyro Earth Bowl over quinoa and topped it off with peppered seitan, hummus, and a lemon-garlic sauce. Yum!


.

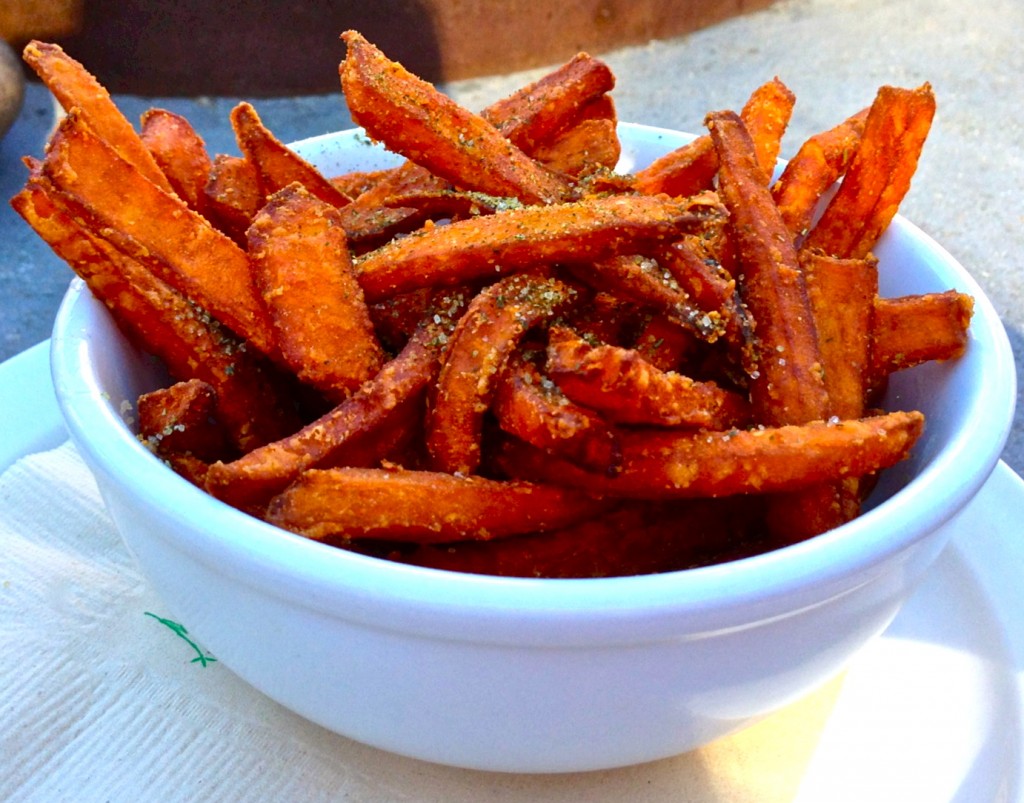
Okay...so it had to be done. I mean, COME ON! How could I turn down a big ol' bowl of these babies. These sweet potato fries were delectable--a hint of cinnamon really rounded out the overall sweetness of the dish.


.

Shot of the interior: The café looks simple but don't let that fool you-- the food is anything but.


.

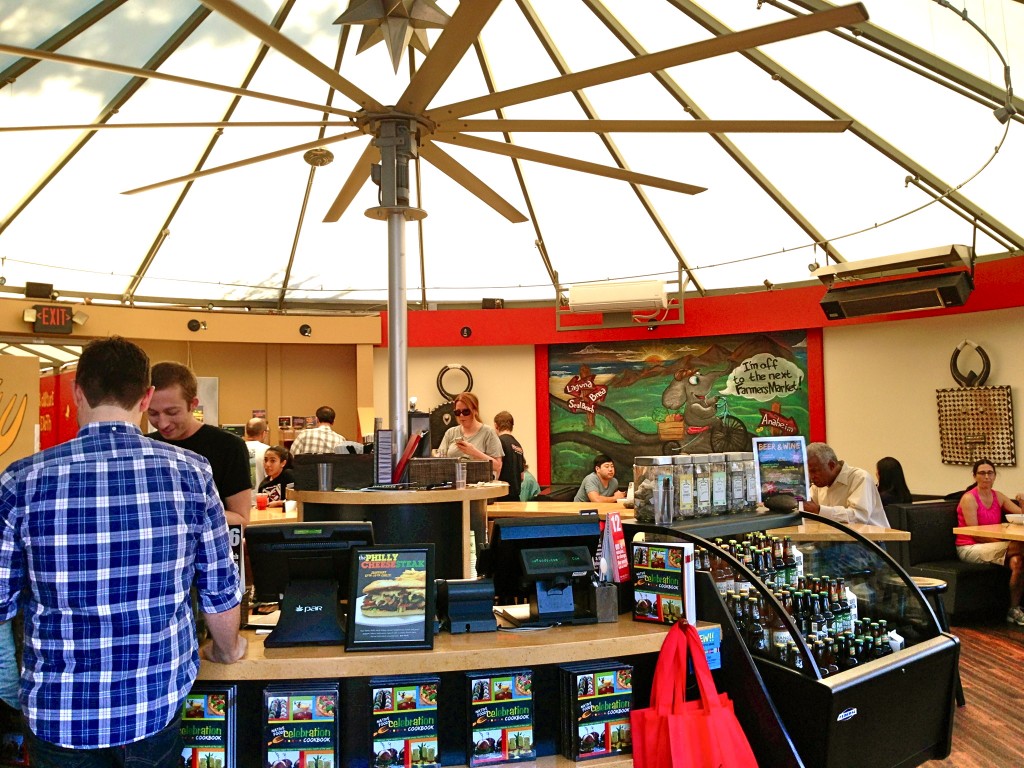
The Native Foods Cafe is in a unique little location-- it's centered among a little village of shops that pride themselves on offering organic/sustainable items. This little boutique is actually an organic nail salon! I didn't have time to stop for a quick mani, but I'd love to stop by the next time I visit.


.

This Vietnamese restaurant was right across from Native Foods Cafe. I love the natural look of the patio seating area. When I have a chance to go back to California, I want to test it out for sure.


.

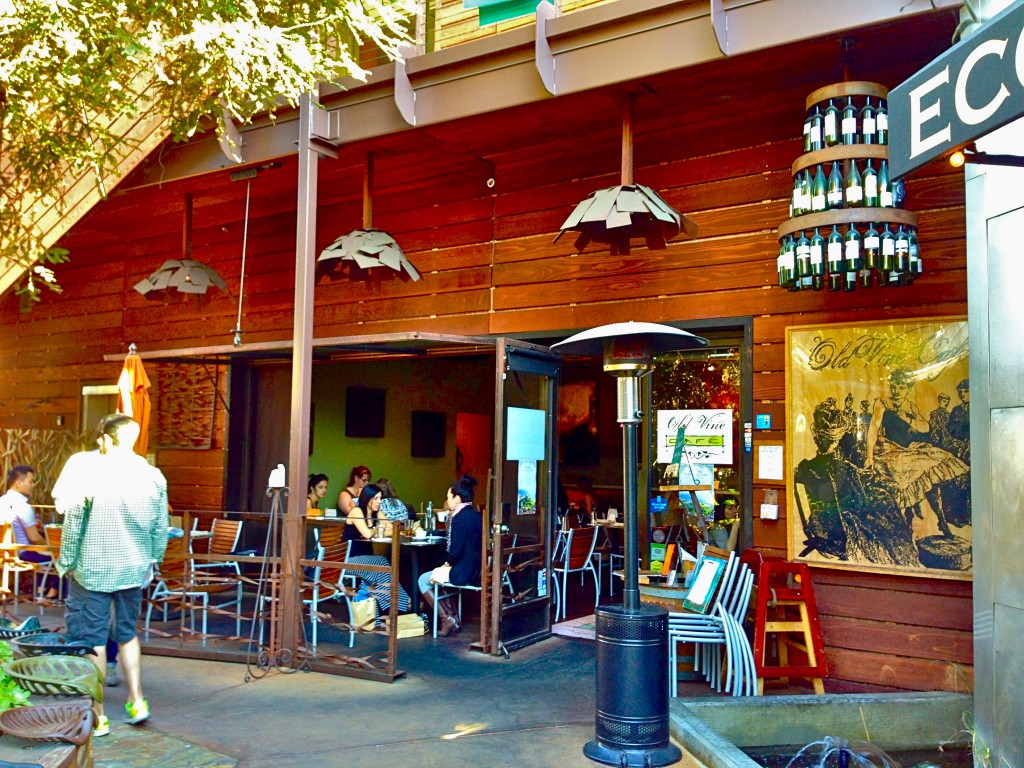
Right around the corner from Native Foods is a funky looking wine bar and restaurant-- check out those wine bottle chandeliers! Future craft project...?


.

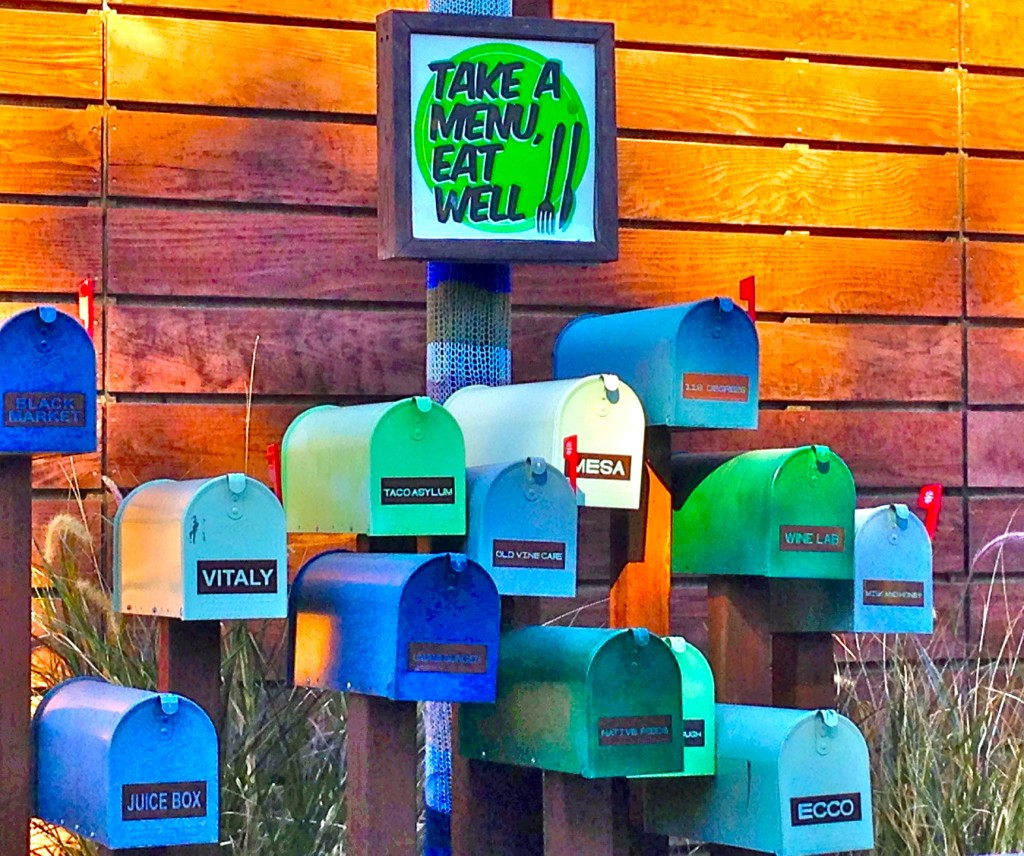
LOVE this idea! All of the restaurants in this little green community put their menus in their respective mailboxes. No more walking all over creation to find a restaurant that everyone agrees on :) .

.

I ADORE this-- a beautiful quote written on store-front stairs across from Native Foods Cafe.

.

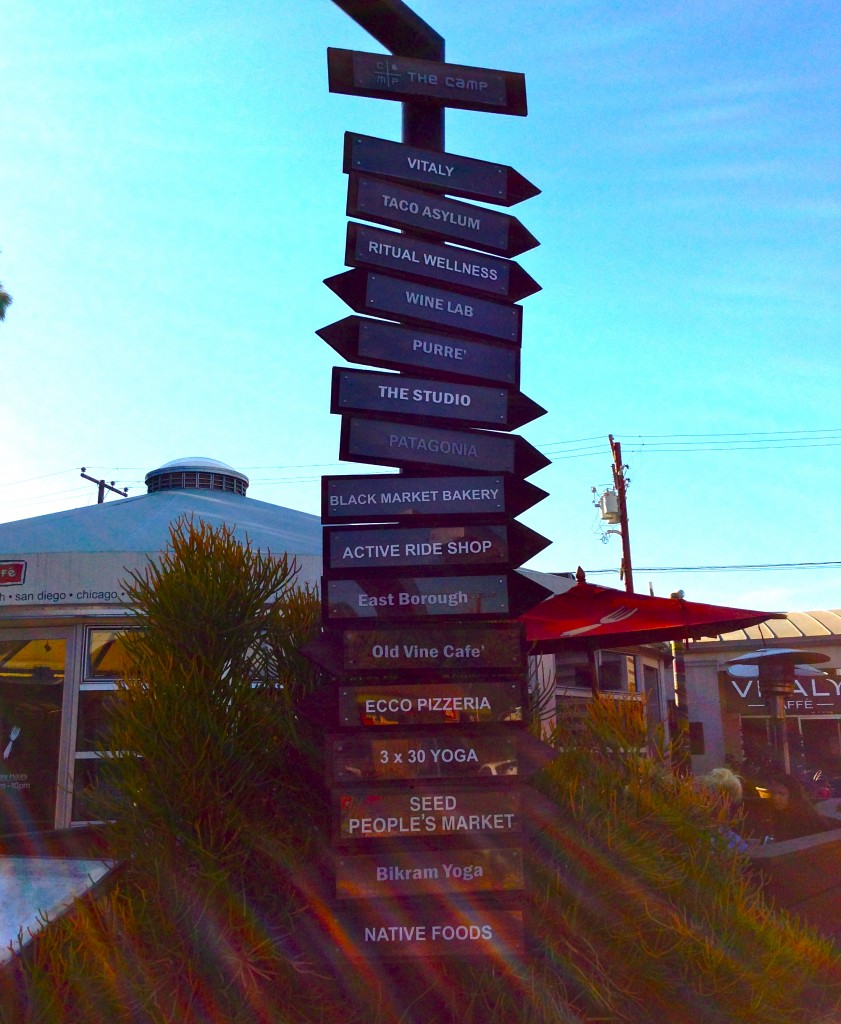
The sun wasn't cooperating, but I love this wooden sign "road map."

.

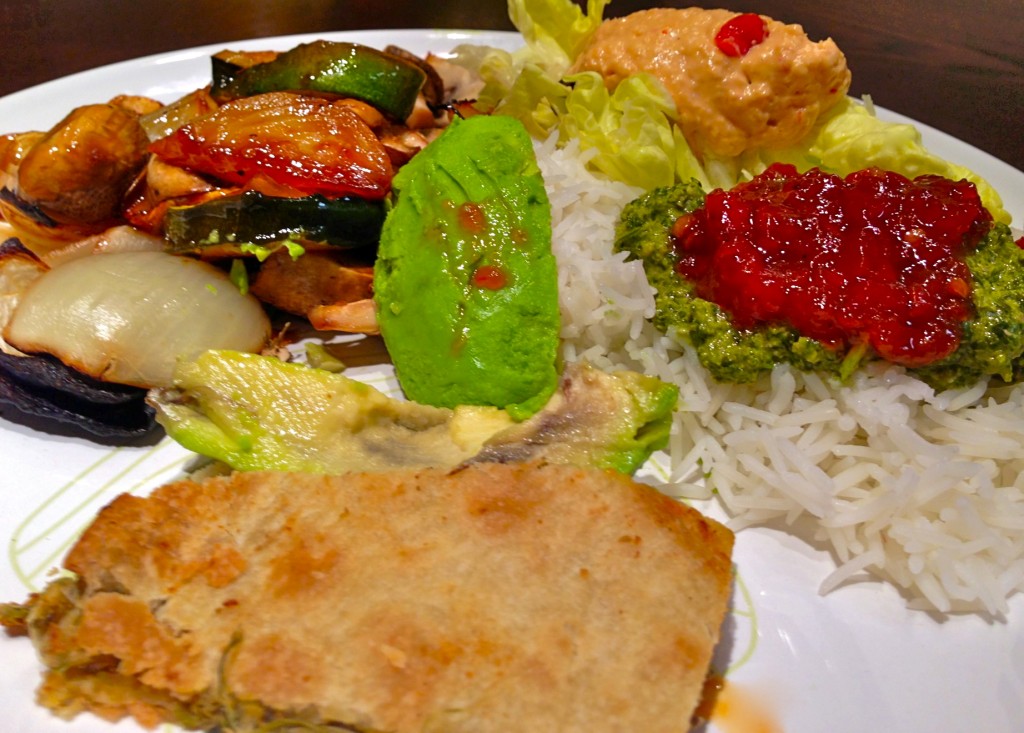
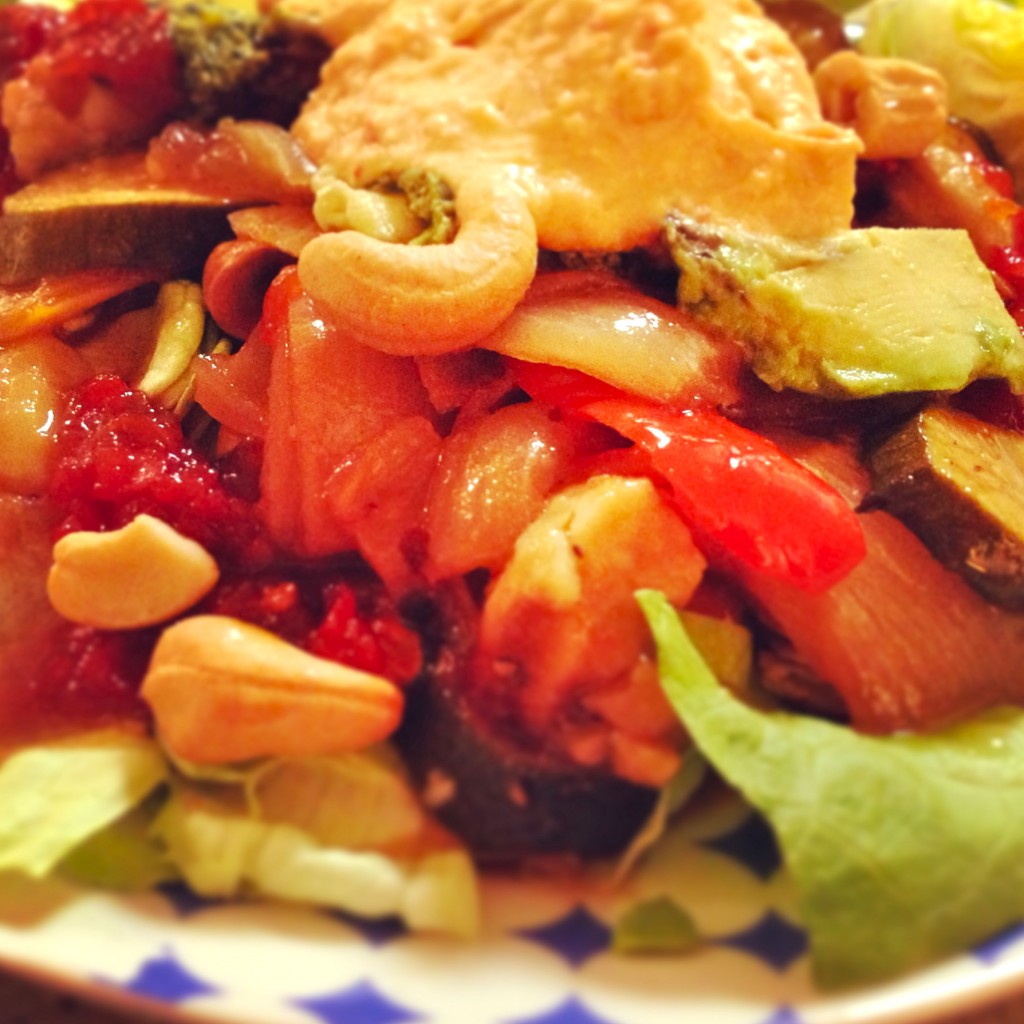
For dinner every night the boys fired up the grill to cook up some meat and other manly things, but I didn't mind--this meant I had the full reign of the kitchen! My dinners in California tended to be a slightly different version of the same meal in order to keep things quick and easy. I'd start by roasting a big pan of spicy garlic veggies (peppers, onions, mushroom, zucchini, summer squash etc...) drizzled with teriyaki sauce and tossed atop a salad with a dollop of hummus instead of dressing. Add a small scoop of rice on the side and voilà! dinner is complete. For this particular meal I added some low-fat cilantro pesto and sweet and spicy chipotle sauce to the rice (a Whole Foods find!) as well as a couple of slices of avocado to the mix. The pita bread in the front of the picture (also an impromptu Whole Foods buy) was quite a treat-- it was stuffed with lentils and spices and tasted incredible with a dab of the pesto and spicy chipotle sauce on top. Sadly, they don't make it here on the East Coast-- I practically tore apart our Whole Foods trying to find it! :( .

.

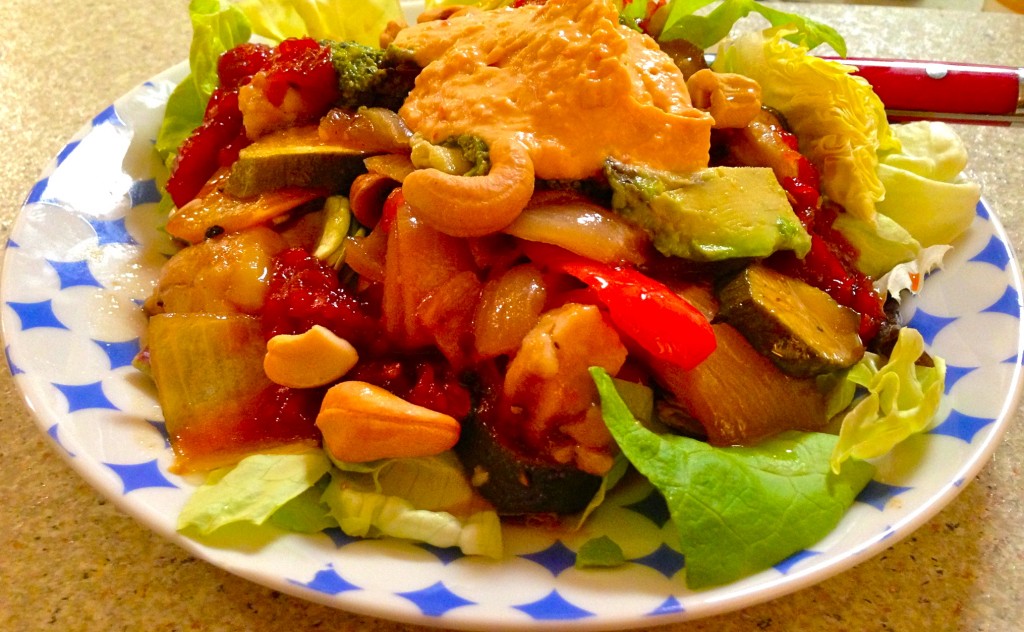
Another version of my roasted veggie dinner salad-- topped with mango salsa and cashews.

.

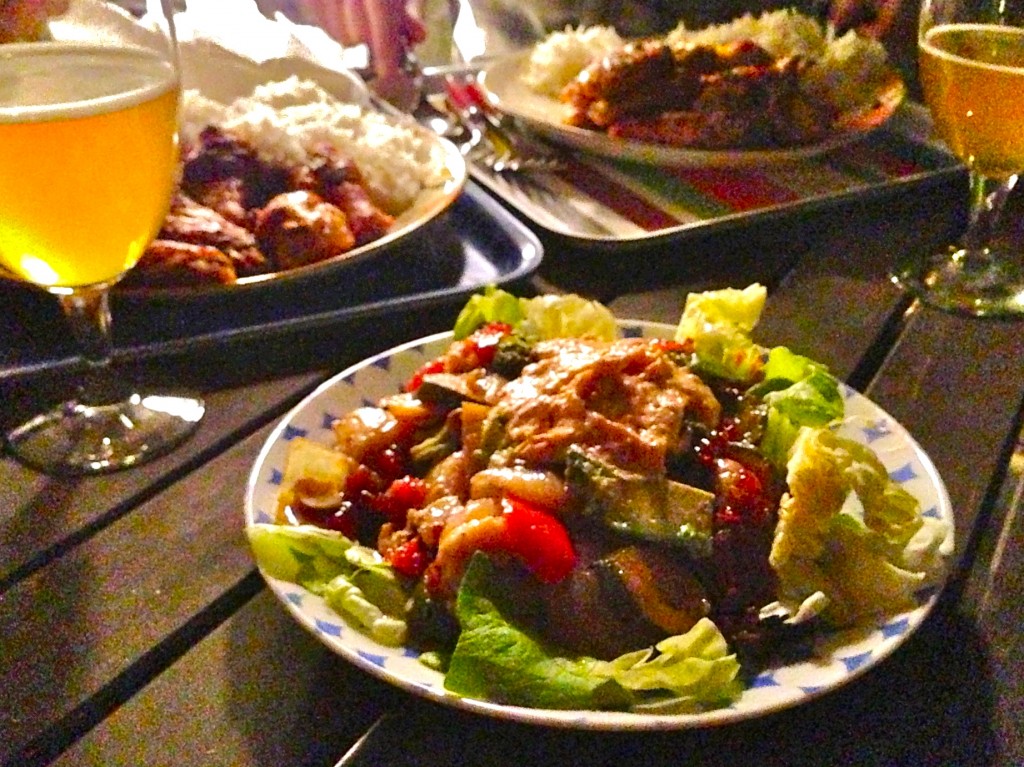
The lighting is rather harsh here, but this is the typical scene from our nightly patio dinners. Eating outside reminds me of family summers down the Cape...I can't wait for June to get here already!

.

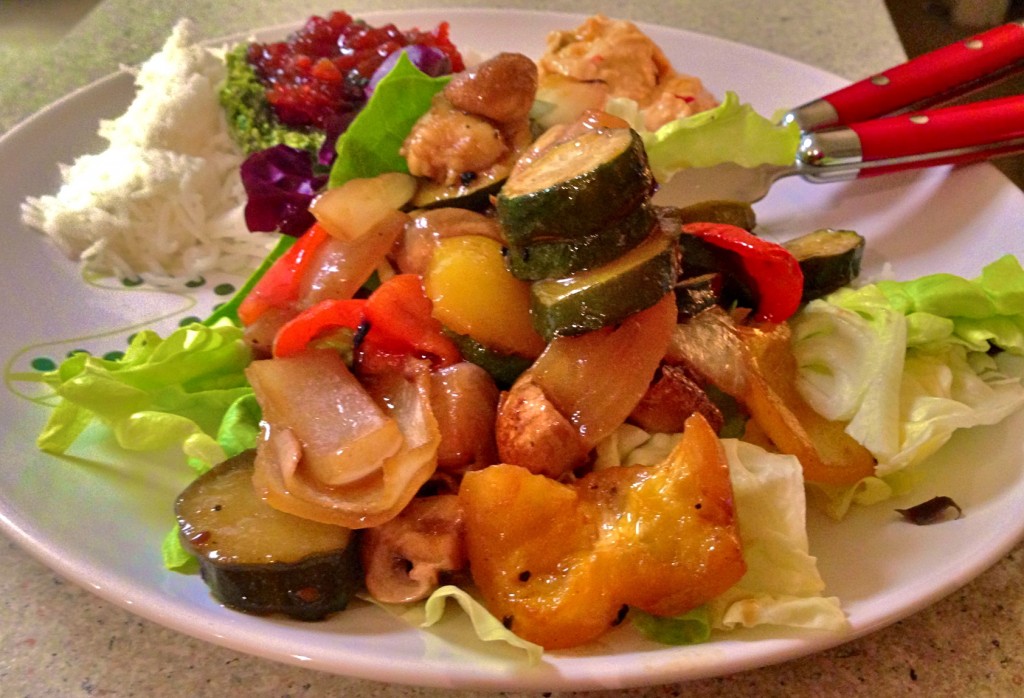
Another roasted veggie salad with spicy cilantro rice.

.

A close-up of my mango salsa veggie salad.

.

If I ever opened up a cupcake store-front, THIS is what I'd imagine it would look like. I mean, how adorable is this place?! The boyfriend and I stumbled upon the bakery (called Casey's Cupcakes) while shopping at Fashion Mall. Obviously I had to take a closer look...;)

.

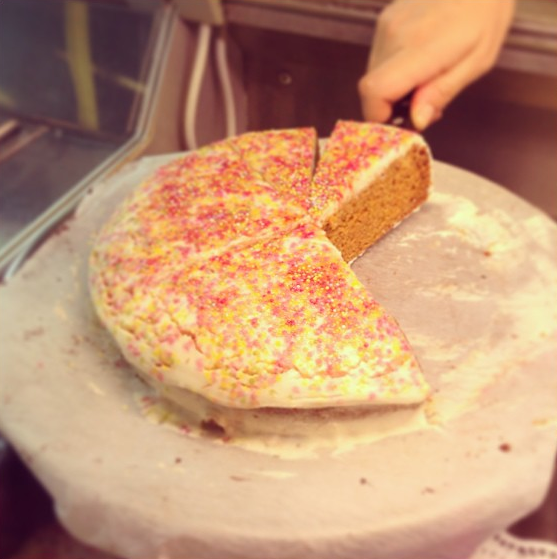
Not vegan, but this cake is so pink and girly I could die.

.

CHEAT ALERT!!! Wouldn't you know...a VEGAN cupcake ;) . This is possibly the BEST vegan cupcake I have ever tasted-- and I don't even like chocolate cake! The frosting was absolutely PERFECT (boyfriend agreed). Now, if only I could have smuggled a few more on the plane ride home...

.

Here's a shot of the interior. Check out the colorful cupcake display!

.

Okay, so I promise I did manage to purchase some non-edible souvenirs to take home from California. I'm a sucker for inspirational quotes and messages, so when I saw this bracelet at an adorable shop called Laurenly Boutique I had to snatch it up. After all, every now and then we should all remind ourselves that we're beautiful-- inside and out :) .

.

I also picked up an infinity knuckle ring (all the kids are doing it, right??).

.

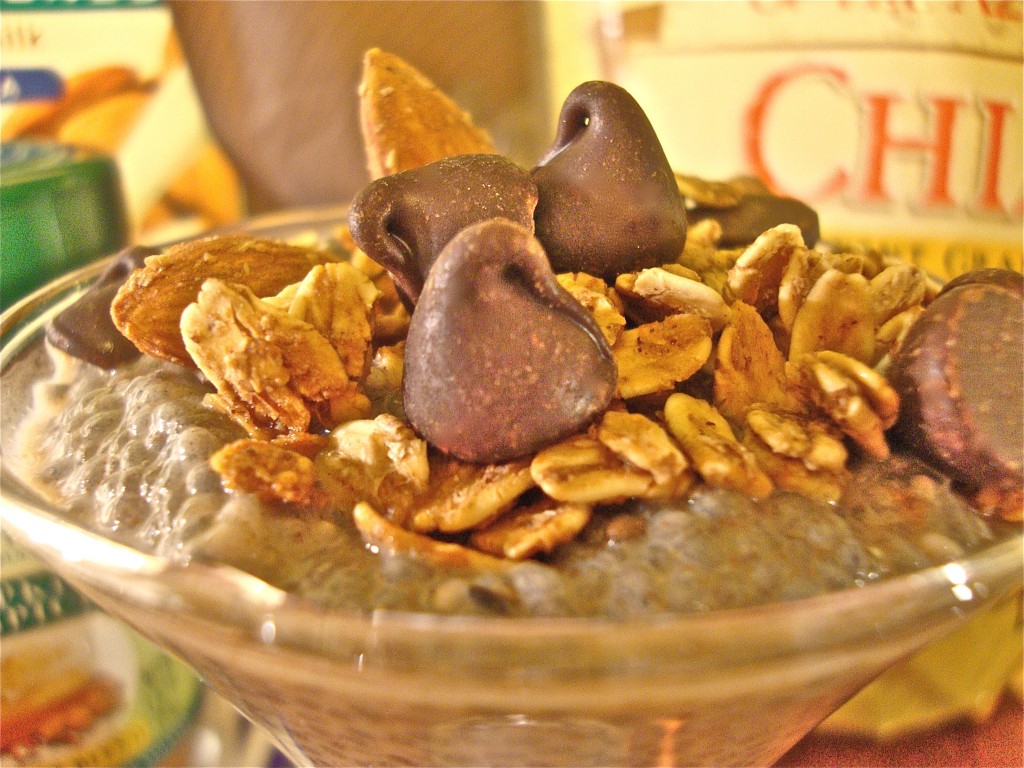
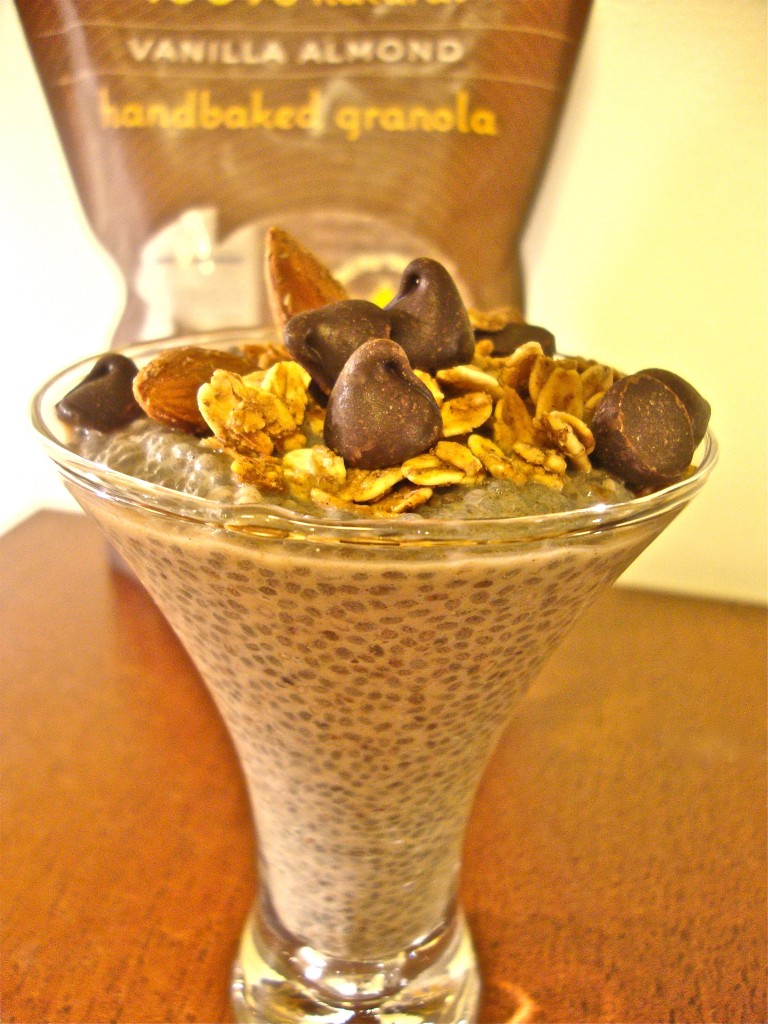
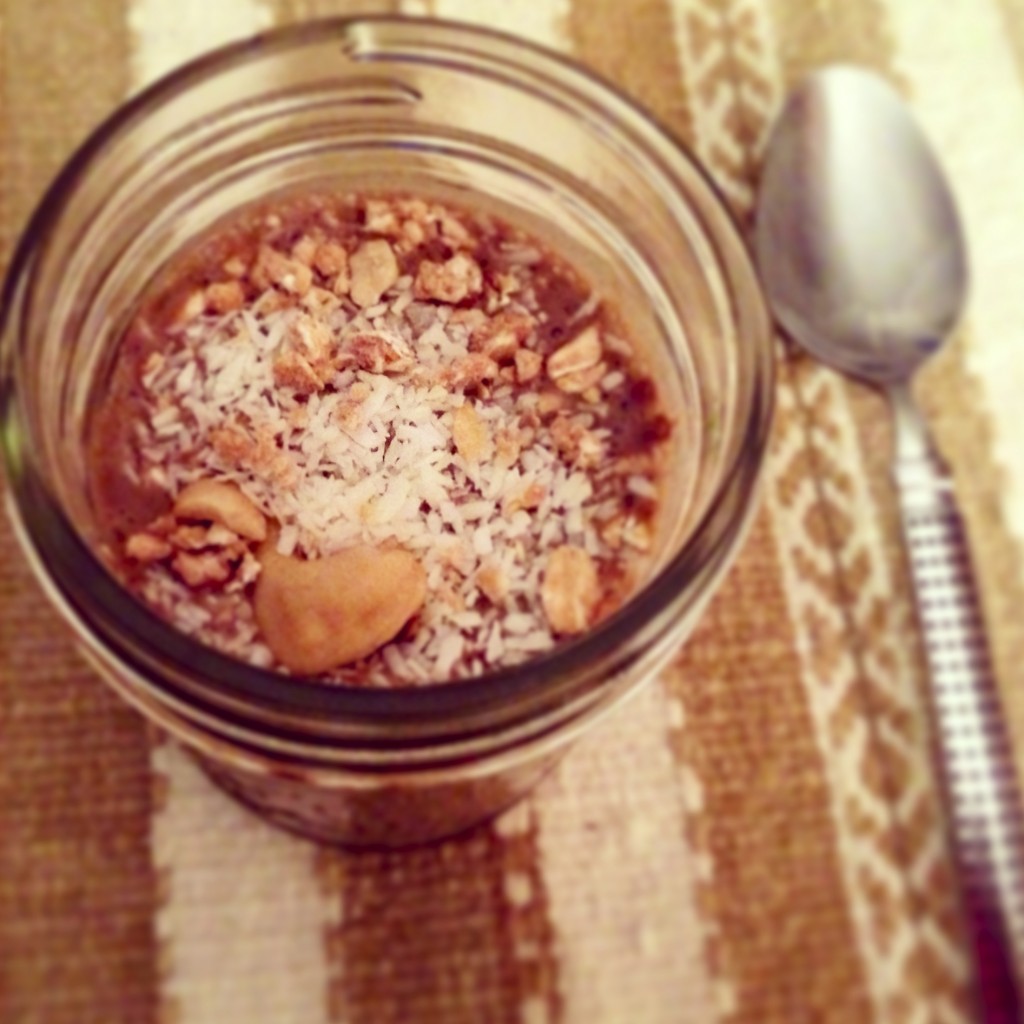
After a restless night of traveling home from California, my body was craving some healthy post-flying fuel. I made some almond cocoa chia pudding topped with coconut and honey roasted cashews to properly fuel up after a loooong flight and relaxing trip.

.

.

While I’ll gladly eat West Coast food any day, I’m still an East Coast girl at heart. Keep an eye out for a future post where I’ll share some of my favorite vegan hot spots around the Boston area. Who knows where my next adventure will take me… :)

.


Healthfully Yours,

.

Ashley Michelle


(Healthier!) Birthday Cupcake for One

It’s MY party…

.

.

And I’ll eat a vegan cupcake if I want to! 

.

.

Last weekend was my (gasp) 27th birthday.

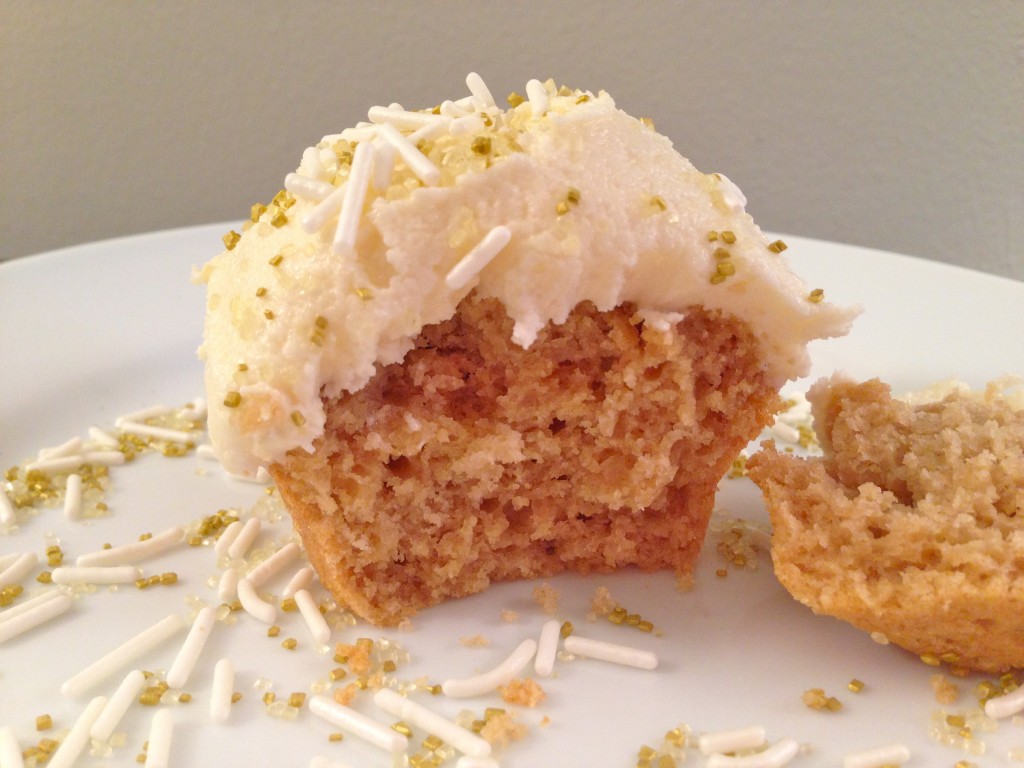
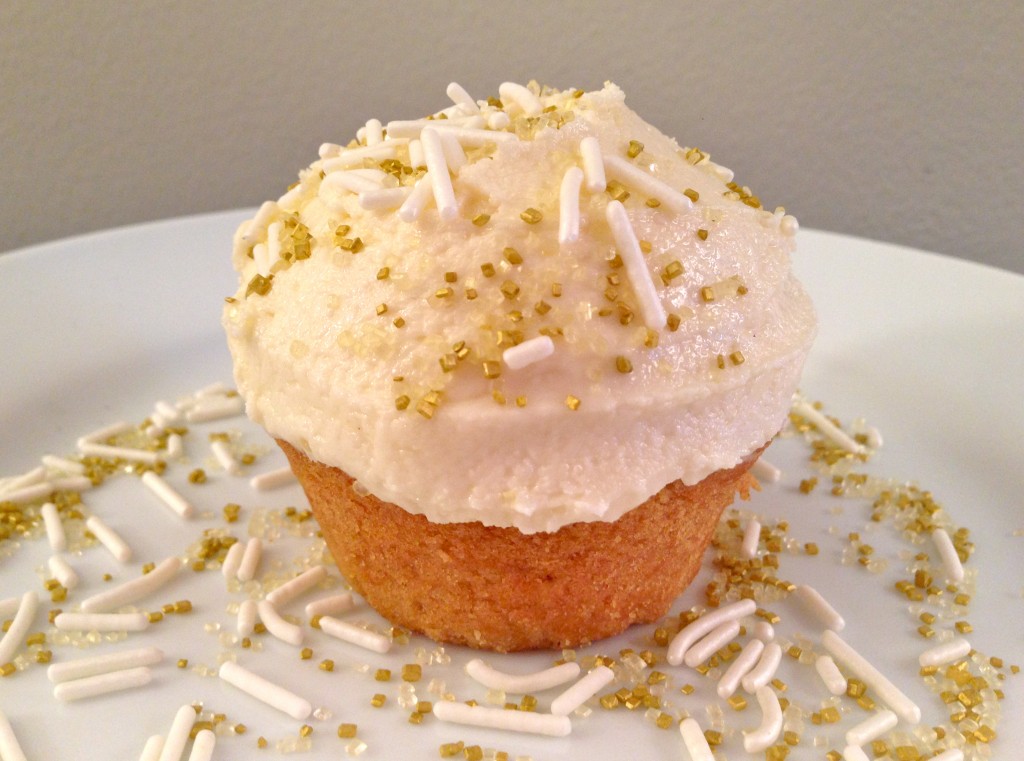
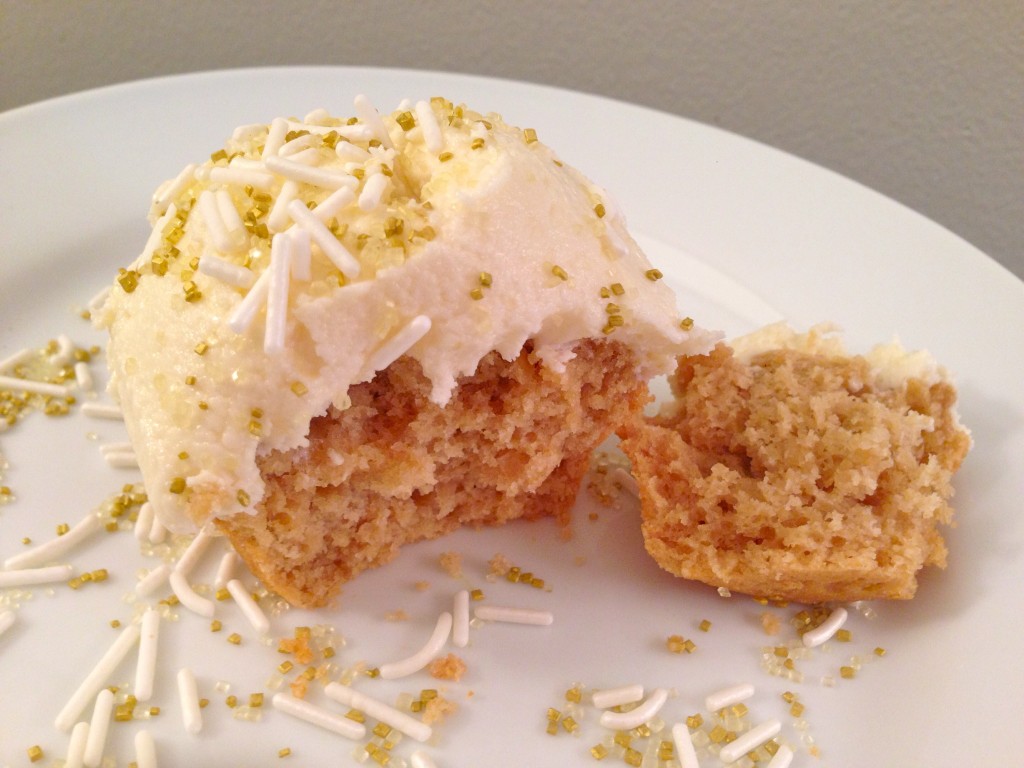
And while the majority of the day was spent returning from a little vaca break in warm and sunny California all the way back home to cold and snowy Boston, that didn’t stop me from indulging in a tasty birthday treat (after all, scientists say dessert is perfectly acceptable on your birthday, right? ;) ). So, as soon as I got home– jet-lagged and all– I made my way to the kitchen and whipped up a sweet and fluffy frosted vanilla cupcake for one. Because, well, why not?!

.


Now I’ll admit it– this little birthday splurge was quite a feat for me. I’d spent many birthdays and special occasions passing up cake and ice cream because it wasn’t considered “healthy.” And come to think of it…I couldn’t even remember the last time I’d even had a bite of birthday cake (or at least a bite that didn’t make me feel guilty afterwards). Whenever the occasion arose, I’d find every reason in the book NOT to have a slice of dessert– and then immediately I’d feel selfish, snobby, and rude for not accepting the offer. The celebration was for ME after all…


That all changed as soon as I became vegan.


Suddenly I am no longer faced with that dreaded “birthday cake pressure”–namely because most people don’t know where to buy vegan desserts, how to make vegan desserts, or they don’t realize tasty vegan desserts exist in the first place. Now, on a day-to-day basis I’m typically 100% fine with this, (I take pride in my health and in what I put in my body), and when I do want dessert, much of the time I’d prefer to make a “healthier” version on my own that keeps me light on my feet as opposed to weighing me down.

From a health and fitness perspective this all sounded pretty great, but this also meant no more birthday cake at all. Right then and there I knew something about this birthday was different.

Seemingly out of the blue, this simple thought made me feel pretty sad. And as much of a health fanatic as I am, I suddenly considered it a crime NOT to have a bite of dessert on my special day. Heck, who says it has to be your birthday to have a tasty treat?? Everything in moderation people! Besides. It’s a crime in itself that I don’t have a vegan vanilla cupcake recipe on this blog yet.

Enter the (Healthier!) Birthday Cupcake for One.

.

With options for a fat-free, low-fat, or full-fat version, this quick and easy cupcake recipe (you only need 20 minutes!) is sure to please your sweet tooth and your conscience. No birthday necessary :) .

.


(Healthier!) Birthday Cupcake for One:


Ingredients:

  • 3 tablespoons spelt flour (you can also use whole-wheat pastry flour or white flour if you’d like– however the whole-wheat option is preferred :) ).
  • 1/4 teaspoon baking powder
  • slightly under 1/8 teaspoon salt
  • 1/4 teaspoon vanilla extract
  • 1 tablespoon Earth Balance buttery spread (for a fat-free option, you can sub  applesauce or mashed banana for butter, but the cupcake will come out a bit chewier without the Earth Balance option and will have a slight banana flavor if you go that route. For a low-fat version you can do half buttery spread, half applesauce or banana).
  • 1/2 tablespoon plus 1 teaspoon unsweetened almond milk
  • 2 packets of stevia (use sugar if you prefer– taste test until you are satisfied with the level of sweetness. If you use liquid sweetener, reduce the amount of milk by a teaspoon).
  • 1/2 tablespoon 100% maple syrup (optional but highly recommended)
  • Dash of almond extract (optional)


Directions:

  • Preheat the oven to 340 degrees.
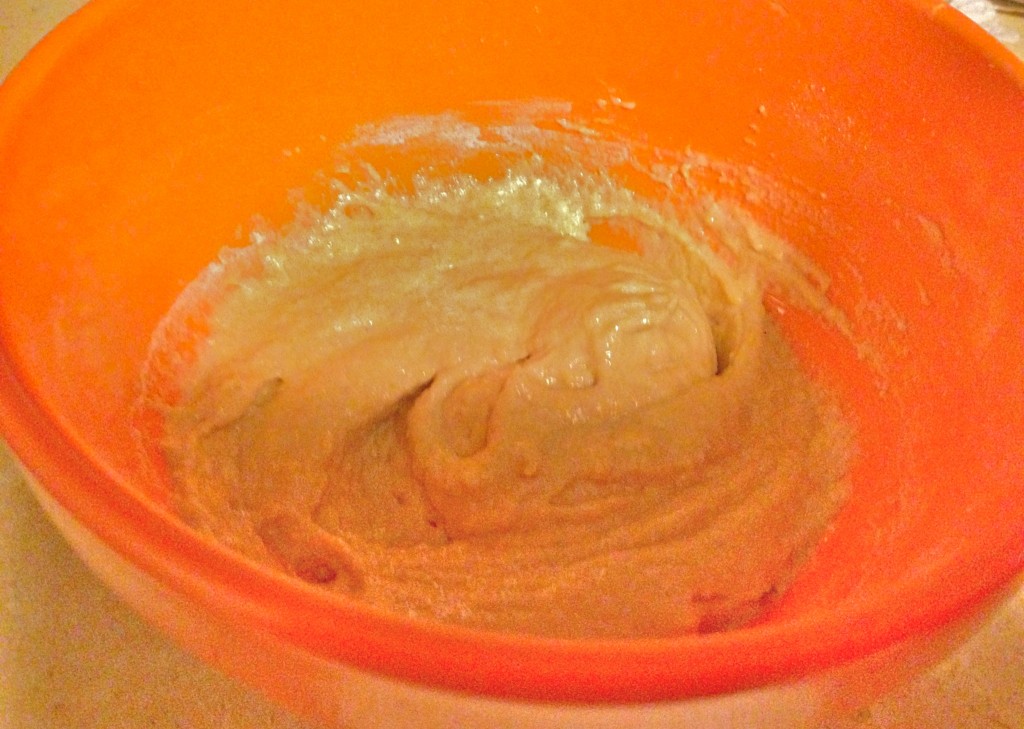
  • Mix all the ingredients together in a small bowl until no clumps remain.
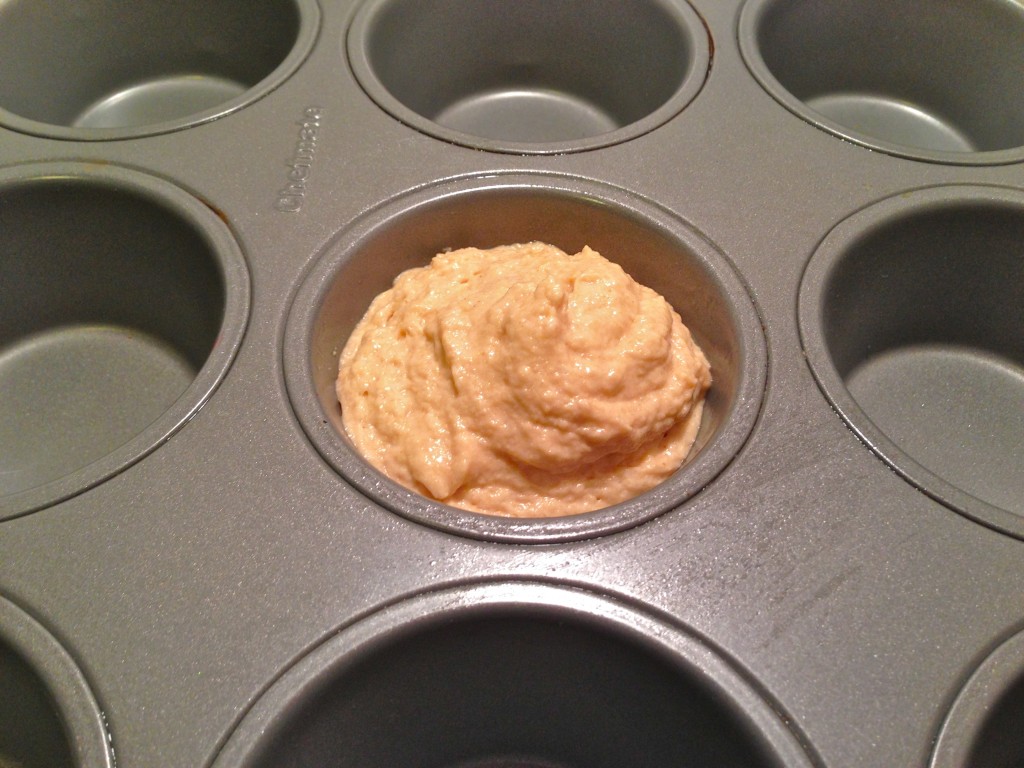
  • Spoon batter into a muffin pan sprayed with all-natural non-stick spray (I like to use coconut oil spray).
  • Cook for 15 minutes (or until the edges begin to brown slightly).
  • Allow your cupcake to cool before you pop it out of the pan and begin frosting (I know, I know. Waiting is the hardest part! I tossed the cupcake in the freezer for a few minutes to speed up the process :) ).
.
.
.

Frosting Ingredients:

(Please note: This recipe makes much more frosting than you probably need! But I won’t judge you if you use it all on one lonely little cupcake ;) . If you want fat-free frosting, omit the Earth Balance and reduce the milk to 2 teaspoons). 

  • 1/2 cup confectionary sugar
  • Slightly under 3 teaspoons almond milk
  • 1 and 1/2 teaspoon of Earth Balance buttery spread (room temperature– NOT melted)
  • Dash of almond extract (or vanilla if you don’t have almond)
Directions:
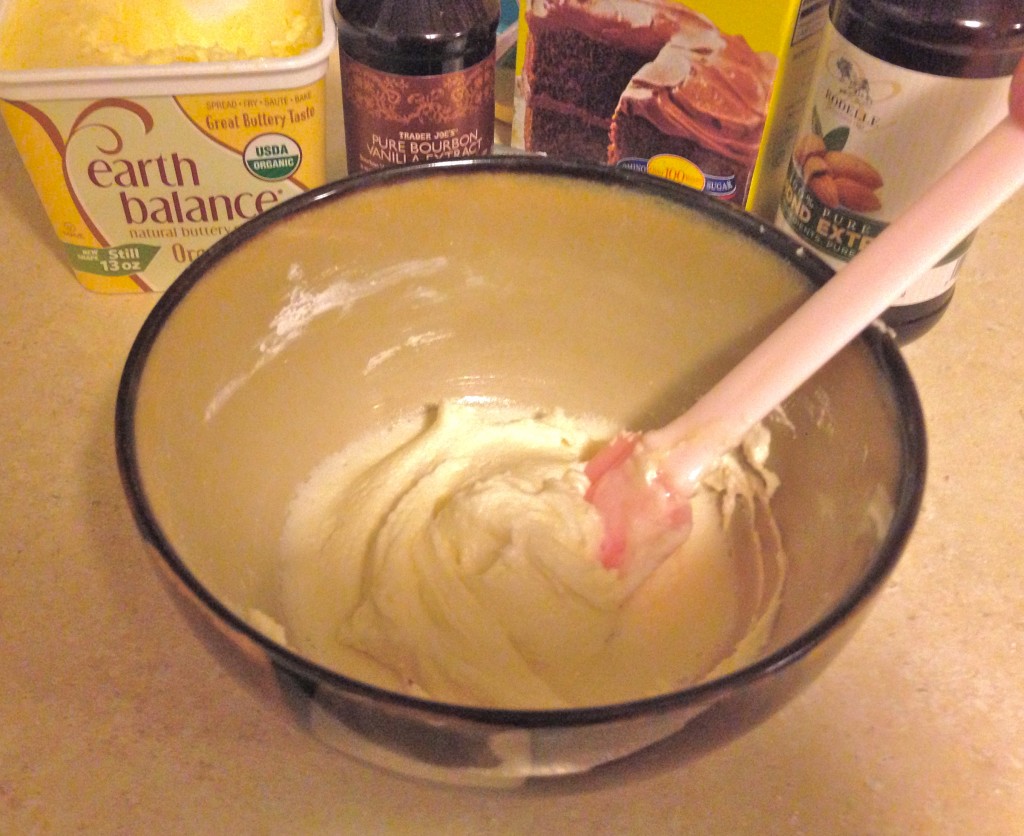
  • Mix all the frosting together in a small bowl until smooth and creamy (add more confectionary sugar as needed if you need to thicken it up).
  • Frost and enjoy!
.
.

.

See? Now you can have your cupcake and eat it too :) .


.
.

.

Healthfully Yours,

.

Ashley Michelle

.


Eating Vegan in Spain

“The world is a book, and those who do not travel read only one page.” — Saint Augustine 

.

Beach umbrellas in Malaga

.


.


.

This year has been pretty incredible. I mean–ME–the same girl who was once afraid of planes and never used to take vacations or go anywhere exciting–has been to Italy, Aruba, and now SPAIN all in just nine months. So allow me to let you in on a little secret…


I finally caught it.

.

My plane to Madrid!

.

.

I’ve got the TRAVEL BUG.

.

First and foremost, let me offer my sincerest apologies for being missing in action this summer. Thank you Prettyfitlifers for being so understanding during my brief hiatus. I’m beginning to realize that blogging is pretty darn close to a full-time job, especially as I find myself getting pickier and pickier with the content I aim to feature on my page. I promised myself when I started this blog that I would never put up a post just to put up a post. Everything that I publish is carefully thought out, written, photographed and edited until it’s ready to be put out there for all of you :) . Unfortunately, this means that each post can take quite a bit of time to go live! Writing for Pretty Fit Life is my true passion, however, seeing as I already have a full-time (paying!) job–and a new one at that– when work calls, I must answer :) .


And thank goodness I do…or I never would have been given the opportunity to go on this amazing trip to Spain!


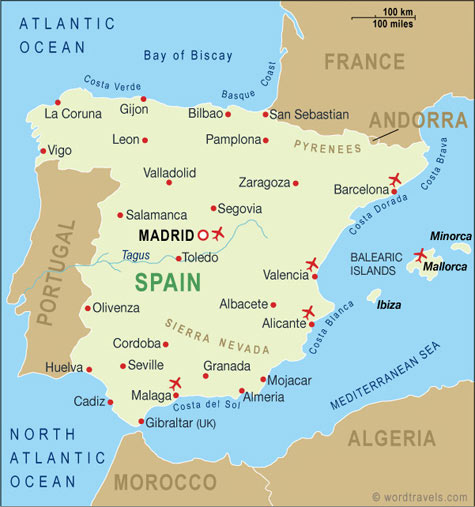
You see, Spain wasn’t soley for pleasure (though I still enjoyed every second of it). I actually had the opportunity to go on an EF Tour for work. What does that mean exactly? Well, for 11 beautiful days I criss-crossed my way through Spain, hitting Málaga, Granada, Seville, Córdoba, Madrid and Barcelona all along the way. And I wasn’t alone on this action-packed adventure–I was accompanied by a group of middle school students, a handful of teachers, another EF staffer (known as a tour consultant), and one awesomely patient tour guide.


Crazy? Probably.

Educational? Absolutely.

Amazing? Yes. DEFINITELY.


Unfortunately I didn’t have enough room in my luggage to pack my computer on this little trip–YEP…this girl packed for 11 days and only brought a carry-on. BOO-YA! (Those of you who know me understand that this is an INCREDIBLE feat—I once brought a hairdryer camping for goodness sake). I did, however, have my phone. So even though I couldn’t blog in real-time (as much as I’d hoped I could), I managed to Instagram my way through all six cities.


And I don’t think I missed a beat…

I took almost 1,000 photos.


Okay, so I was definitely “that tourist” who took pictures of anything and everything (a rock Ashley? Really??). But I was just so memserized by every little piece of this gorgeous country that I wanted to document it all (thankfully, by the end of my trip I had become much more selective with my picture-taking). I’m equally embarrassed to admit that I went to Spain not really knowing much about the country’s incredibly rich history. But all that changed the moment I met Laura–our EF tour guide. This incredible lady knew it all! I would never be able to fit everything I learned into just one blog post (and don’t worry, I won’t turn this into a history lesson) but just so you can see exactly what I was up to while on tour, here’s a little breakdown of my trip day by day:


Experience Spain

.

Photo Credit:

.

Day 1: SPAIN!

Fly overnight to Spain


Day 2: Málaga & Granada

Meet my Tour Director and student group at the airport. Relax on the beach in Malaga before traveling to Granada.


Day 3: Granada

Take a guided tour of Granada, visit the Alhambra, visit a Moroccan tea house, attend a traditional flamenco show.


Day 4: Granada & Seville

Visit an olive oil farm, travel to Seville, take a walking tour of Seville, attend a classical flamenco show.


Day 5: Seville

Take a guided tour of Seville, visit the Seville Alcázar, visit the Seville Cathedral, visit the Seville Bullring, enjoy free time in Seville, take a salsa dance lesson, take a boat cruise along the river at night.


Day 6: Córdoba & Madrid

Travel to Córdoba, visit the Mezquita, continue on to Madrid, try vegetable paella.


Day 7: Madrid

Take a guided tour of Madrid, visit the Royal Palace, take a walking tour of Madrid, visit the Prado Museum.


Day 8: Madrid

Visit a local school, visit Dali exhibit, enjoy free time (aka shopping + sangria :) ).


Day 9: Madrid & Barcelona

Experience an AVE train to Barcelona, take a guided tour of Barcelona, visit Parque Güell, take a bike tour around Barcelona.


Day 10: Barcelona

Take a walking tour of Barcelona, hit the beach and explore the city on my own.


Day 11: USA

Depart for home :(


Yep. Our days were pretty jam-packed. And thanks to our knowledgeable tour director, they were pretty awesome too. Laura guided us through each day in each city perfectly. She also guided us through breakfast, lunch, dinner and every meal in between–YES–she even managed to help little old vegan me not go hungry. In fact, Laura made me feel like quite the VIP, calling restaurants ahead of time and speaking to the chef to ask (en espanol of course) whether or not certain meals were made with (or could be made without) dairy, eggs, beef stock, chicken, fish (etc…). Now, I successfully ate my way all through Italy as a vegan, so I figured Spain would be pretty similar. And while Italian food is still my favorite (helloooo can you say soy gelato??) Spain proved to be a pretty manageable place to maintain a plant-based diet– it just meant getting a little creative every now and then.


The fantastic thing about Spain and Italy is that they rarely use butter in their cooking (unlike traditional American fare). Instead, olive oil is the product of choice– this makes perfect sense given the fact that these two countries are the leading olive oil producers in the world (Spain accounts for 43.8% of the world’s production while Italy accounts for 21.5%). This took a lot of the guess work out of ordering food since I wasn’t left wondering whether or not butter was used to cook my veggies, rice (etc…).  And even better? Where there’s olive oil, there are bound to be plenty of olives!

.


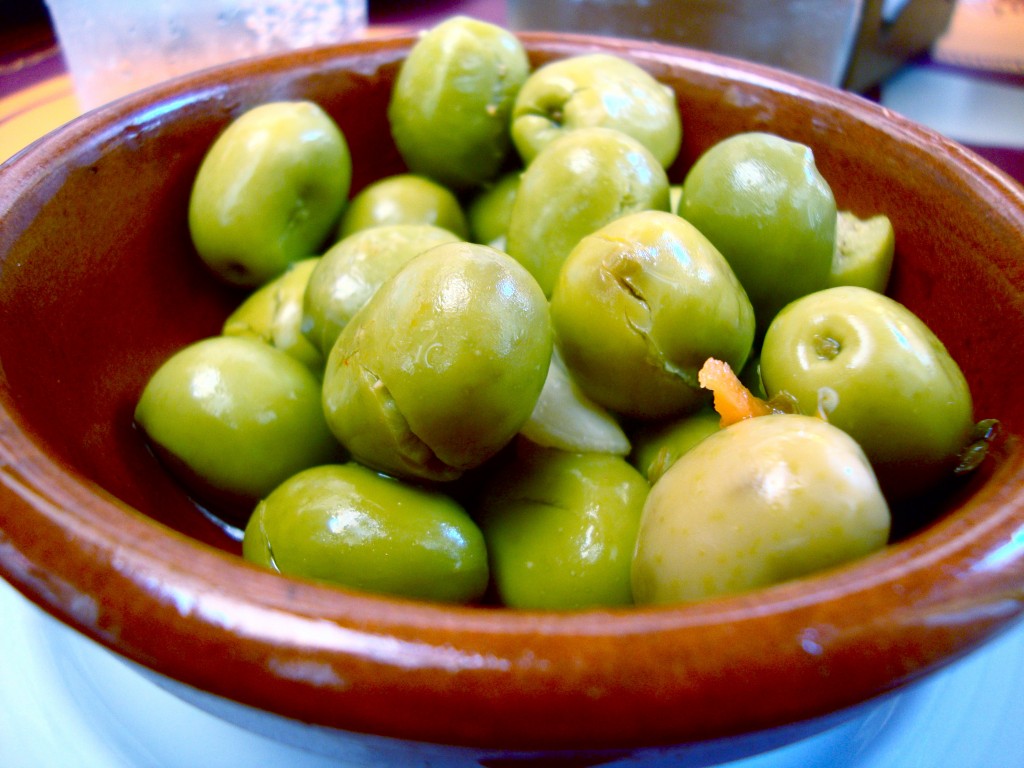
"Aceitunas" (olives) + sangria = the perfect afternoon snack :)

.

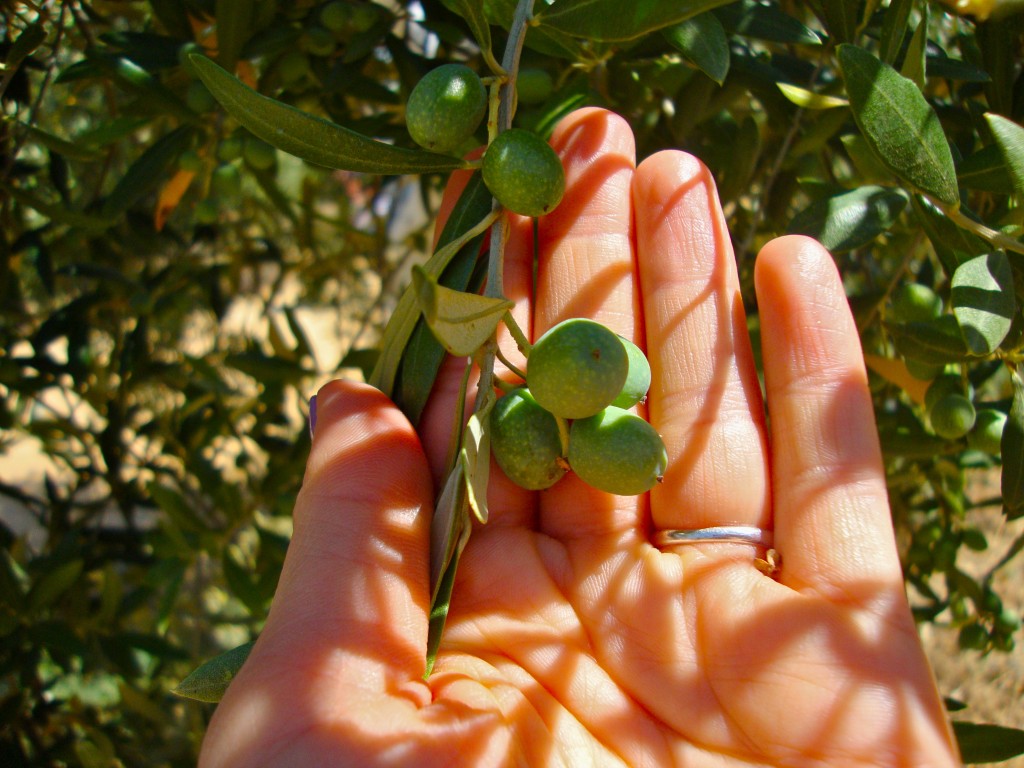
And olive trees…

.

Unripe olives on an olive tree in Seville


And hanging out near those olive trees also happen to be plenty of orange trees (just my luck! :) ).

.

.

In addition to olive oil, did you know that Spain is one of the world’s foremost exporters of oranges?  Orange are everywhere (especially in Seville). I was amazed by the amount of fruit dotting the public trees.  One afternoon after lunch I reached up and plucked a big, juicy orange from one of the many trees lining a busy street in Seville but our tour director quickly shooed my hand away and informed me that the fruit was not for eating. Turns out there was a reason why all of those oranges were still sitting pretty in their branches. You see, in Spain there are three main types of oranges– sweet oranges (Valencia oranges), blood oranges, and sour oranges (Seville oranges). Turns out all of those oranges I saw in the trees were the sour oranges, and they were still up there because they’re too bitter to eat as a piece of fresh fruit alone. Instead, sour oranges are used to make marmalade, liqueurs, spices, and teas. I actually had the opportunity to try some fresh marmalade at a Spanish olive oil farm and it was pretty tasty– much more bitter than the sugary stuff we have here, but yummy nonetheless.


I also had the opportunity to taste test some of the farm’s fresh olive oil and learn some fun facts about the oil. For instance, olive oil should always be stored in a dark container because the light can putrify it (so all that olive oil in clear glass bottles? Don’t buy it!). We also learned all about olive oil production (it’s quite tedious, so I won’t get into it right now but feel free to read all about it here!)  Instead, let’s focus on the important stuff…

.

Olive oil tasting in Seville

.

Like sangria…

.

.

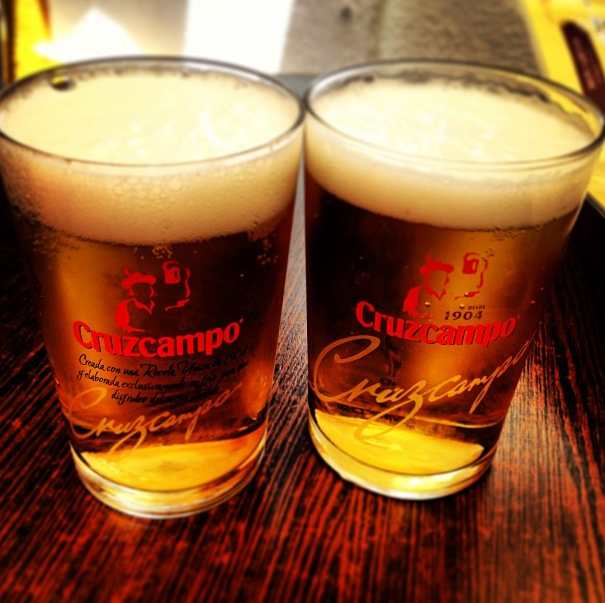
And “cerveza” (beer)…

.

.

And “alimentos” (food)…


.

And more sangria…;)

.

.

(Okay. So clearly you now know my weakness…)

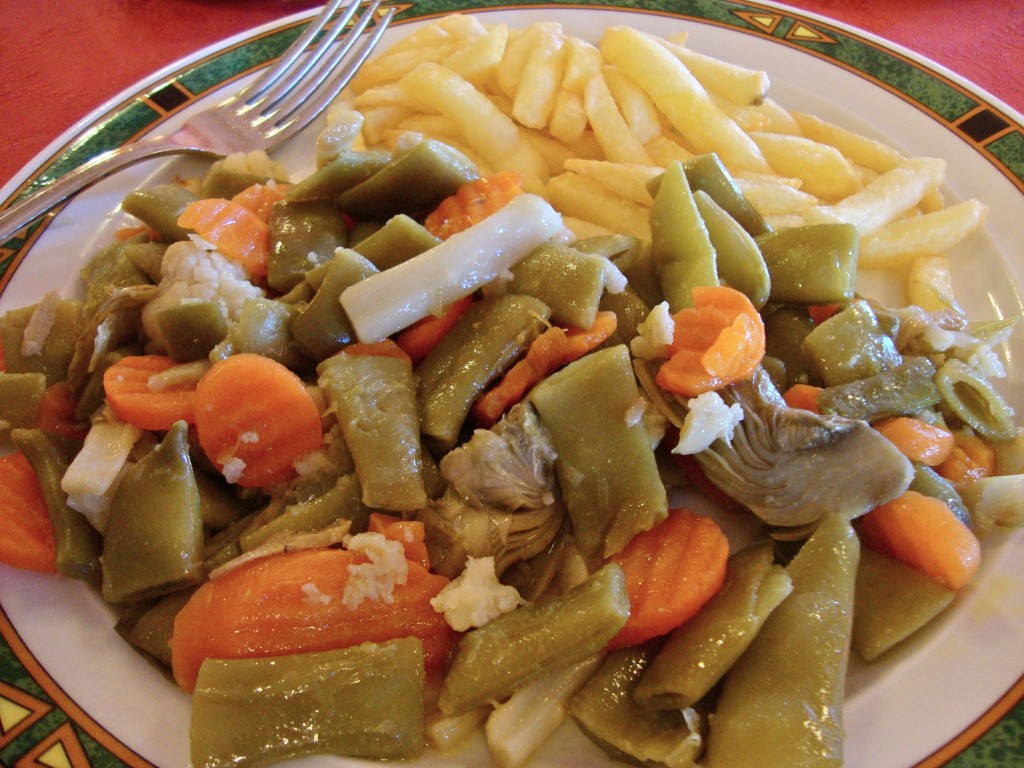
But naughty drinks aside…let’s talk about the food! Since this trip was essentially an all-incusive tour, most of the meals were already planned out. This meant that we had set menus at area restaurants or ate set meals at the hotel restaurants. Now, I’ll be quite honest and admit that not every meal was a hit on this trip– for the first couple of nights at our hotel in Granada I was served a plate of soggy and bland canned green beans, artichokes, carrots, cauliflower, and white asparagus (not exactly the tastiest meal in the world)– but thankfully the food situation got much better, especially when we went out to eat.

.

A disappointing meal...

.

An amazingggg meal! :)

.

I already mentioned that the Spanish love their olive oil, so no need to worry too much about butter– but the Spanish also love their pork…which meant I had to be extra careful about asking for things  ”sin carne” (without meat) when it came to ordering food. Thankfully the most popular type of Spanish cuisine — tapas– provided me with plenty of veggie options to choose from.


Tapas are a variety of small appetizer plates (both hot and cold) and snacks that can be shared with friends or combined to create a full meal. This was perfect for me because all I had to do was order a few veggie plates and I’d have a complete dinner. Plus, I loved being able to sample and taste a few different things rather than order just one main course off the menu.


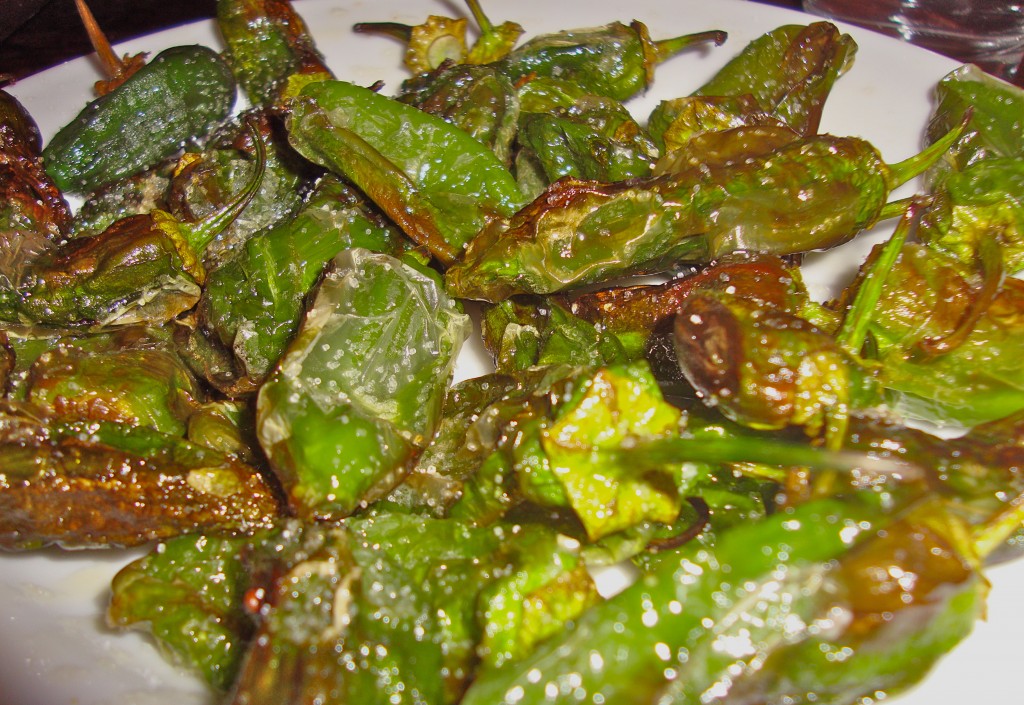
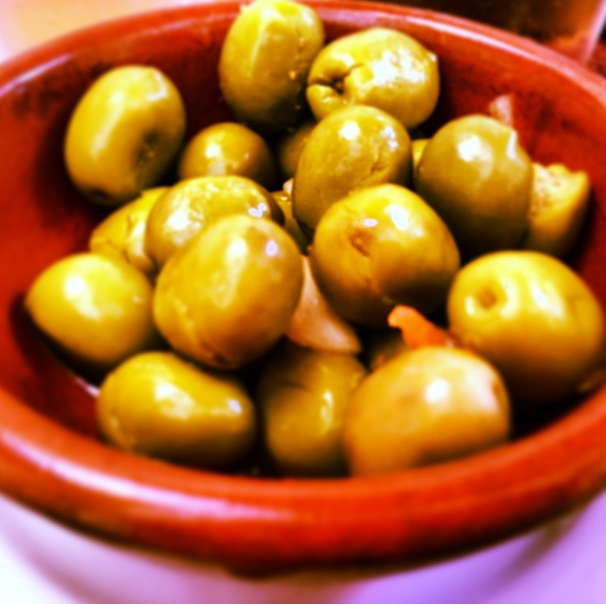
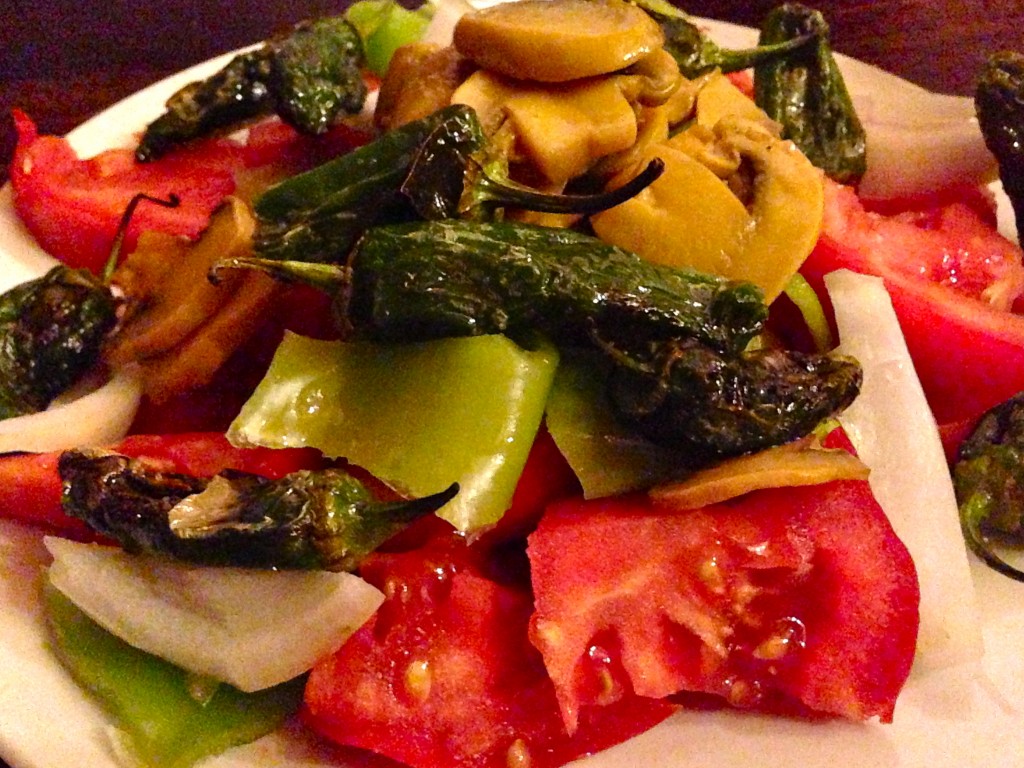
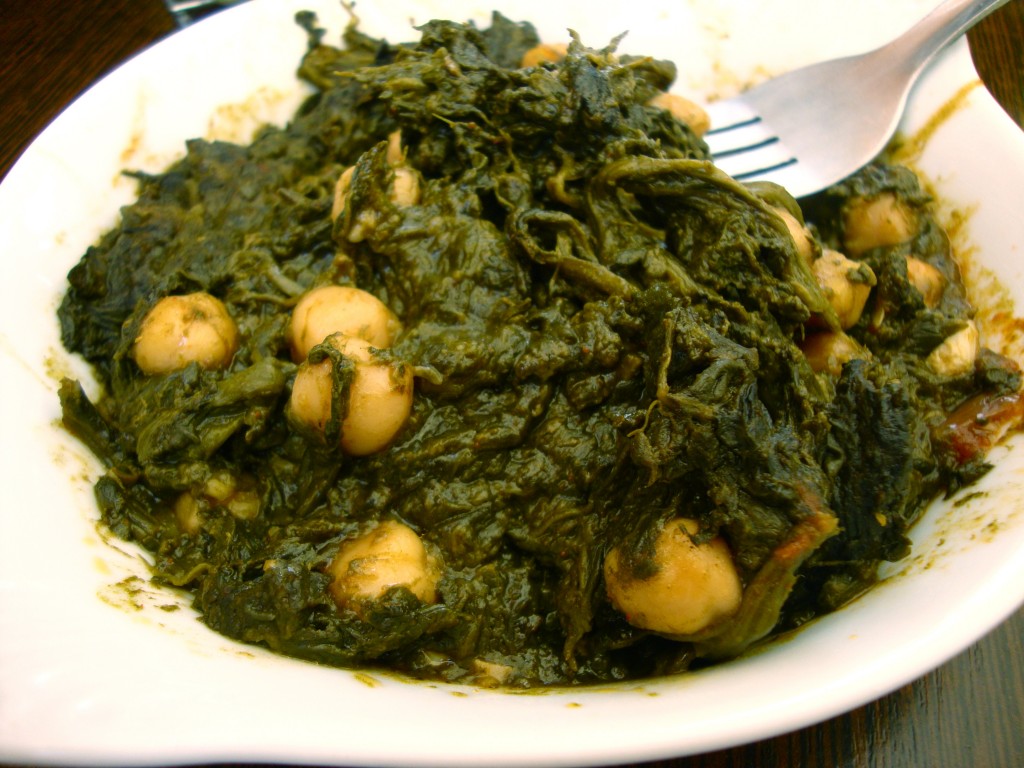
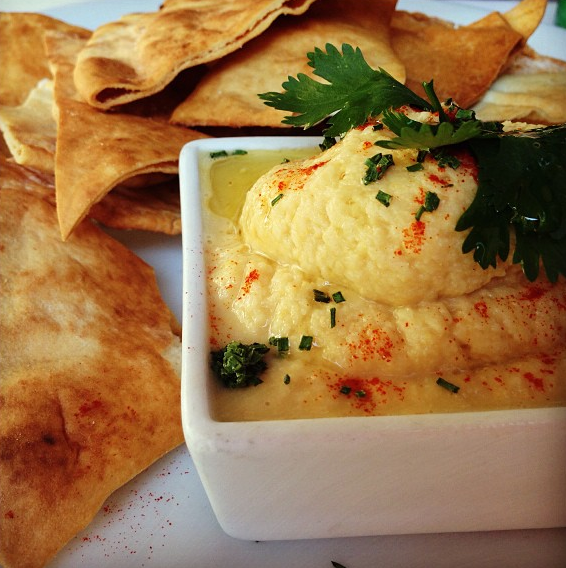
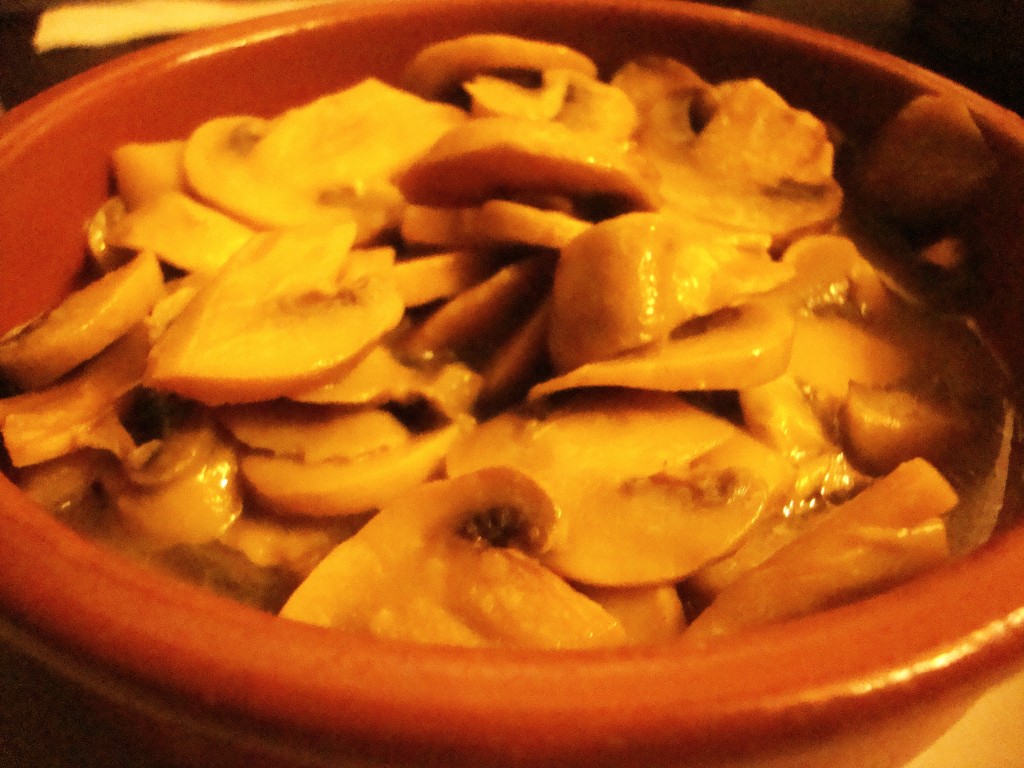
Some of my favorite things to order were “pimientos de padrón” (small, sweet, green peppers roasted in olive oil and sprinkle with sea salt), “aceitunas” (olives), “verduras asadas” (roasted vegetables), “espinacas con garbanzos” (spinach, olive oil, garlic, and garbanzo beans), “humus” (hummus), “champiñones salteados” (mushrooms sauteed in olive oil and white wine), and “pan con tomate” (bread topped with tomato, olive oil, and garlic).

.

Roasted pimientos


.

A bowl of olives is a tapas staple!

.

Roasted veggies never get old. I could eat them every day.

.

Looks terrible...tastes delicious! You've gotta trust me on this one...

.

Hummus is yummy in any country :)

.

Bad lighting, good mushrooms!

.

"Pan con Tomate" is the perfect snack after a day of touring

.


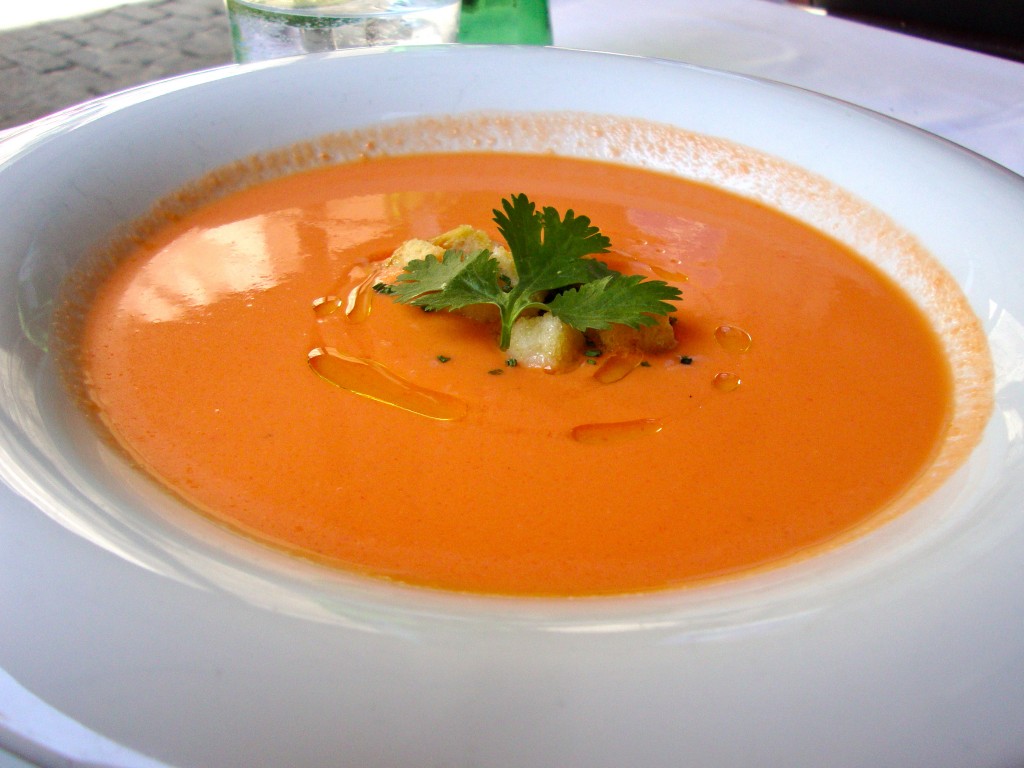
Soup, better knows as “sopa” in Spain, is another typical menu item I was thankful for. Almost every restaurant has some sort of veggie-based soup to choose from which made eating out much easier for me. The most common soup I came across in every city was gazpacho. To my surprise, however, traditional gazpacho soup is not the same kind of gazpacho we have here in the United States. Spanish gazpacho is a cold, tomato-based soup made by blending tomatoes, soaked bread, cucumbers, garlic, olive oil, vinegar, and salt in a food processor until silky smooth. The first time I saw the soup, I was convinced there had to be dairy in it because it seemed to have a creamy consistency. Nonetheless, the waiter assured me gazpacho is dairy-free and the smoothness comes from blending the oil and bread (I Googled the recipe later and confirmed the waiter’s explanation was the truth :) ).

.

Silky smooth gazpacho

.

Oh…and did I mention it tastes amazing??

.

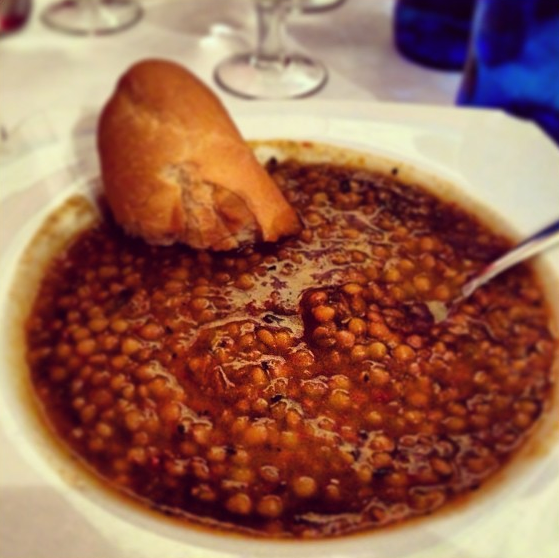
Another popular soup on many menus is “sopa de lentejas,” or lentil soup. I  would order this option over gazpacho when I felt I needed to get an extra dose of protein in my veggie-heavy diet.

.

Hearty but healthy lentil soup

.

As popular as tapas are in Spain, this wasn’t my only option for every single meal. I was actually able to enjoy a few well-rounded vegan dinners here and there as well. Couscous, lentils, grilled veggies, salad, and the popular Spanish rice dish known as “paella” were all fair game. I even found a couple vegan restaurants– one in Madrid and one in Barcelona. Sadly, the Madrid restaurant was closed when I finally had a moment to slip away and venture out on my own, but I was able to test out the vegan restaurant in Barcelona :) (pictures below!).

.

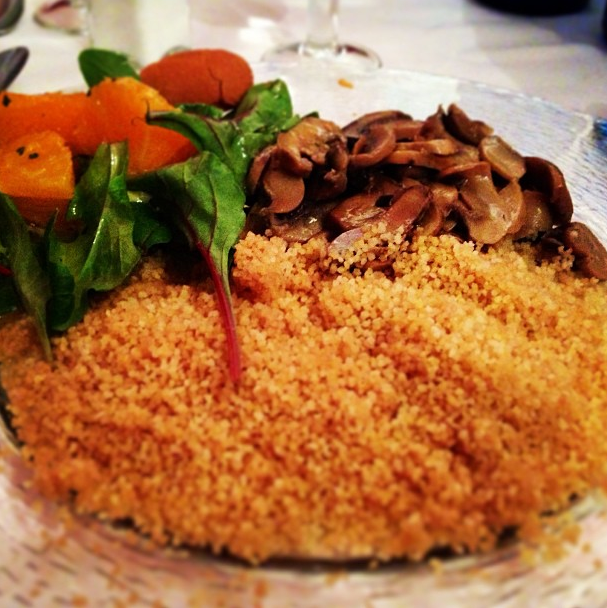
Couscous mushrooms blood orange salad

.

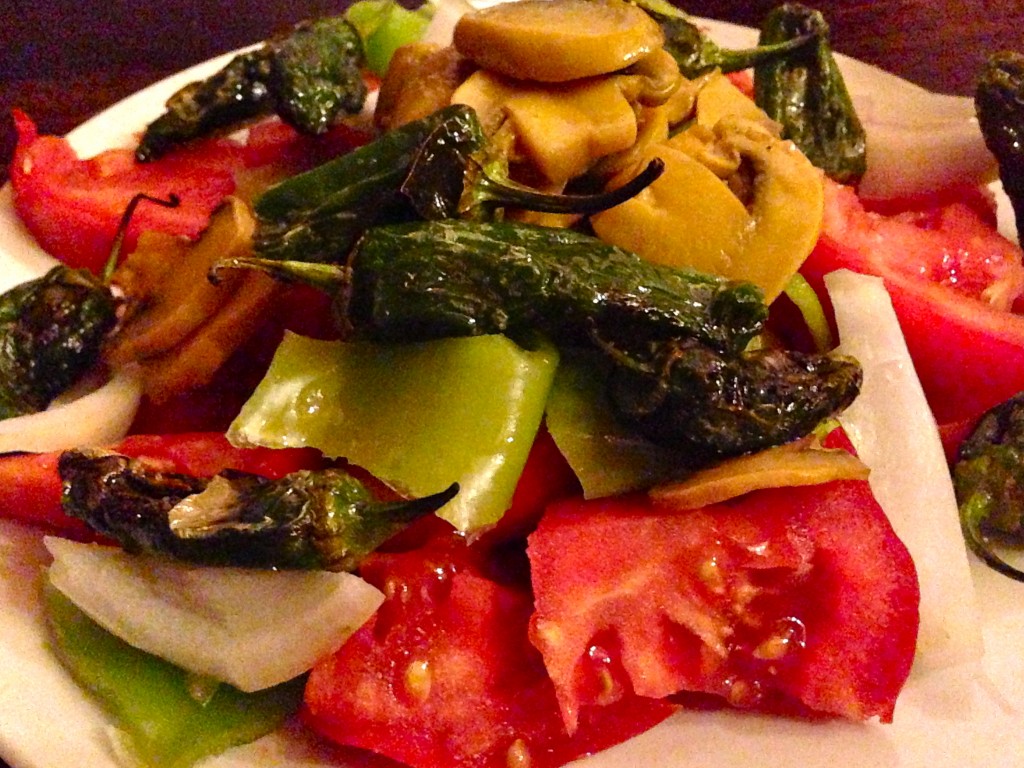
Marinated veggie taster plate-- Spain goes "simple vegan" :)

.

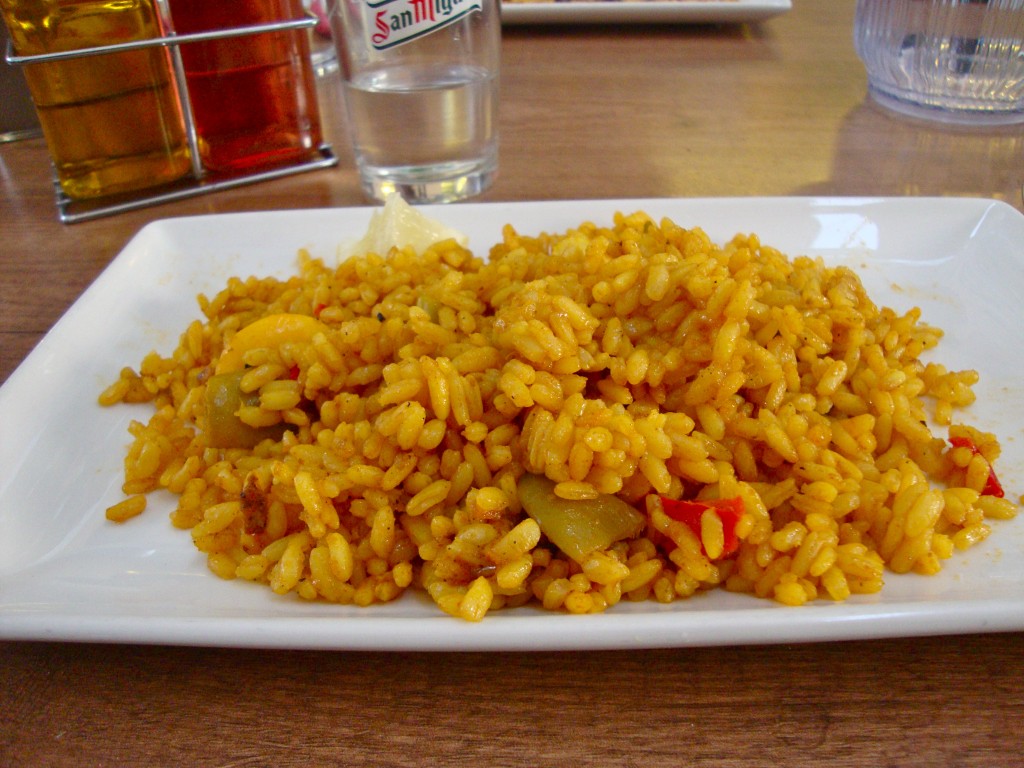
Saffron gives this vegetable paella a beautiful golden hue

.

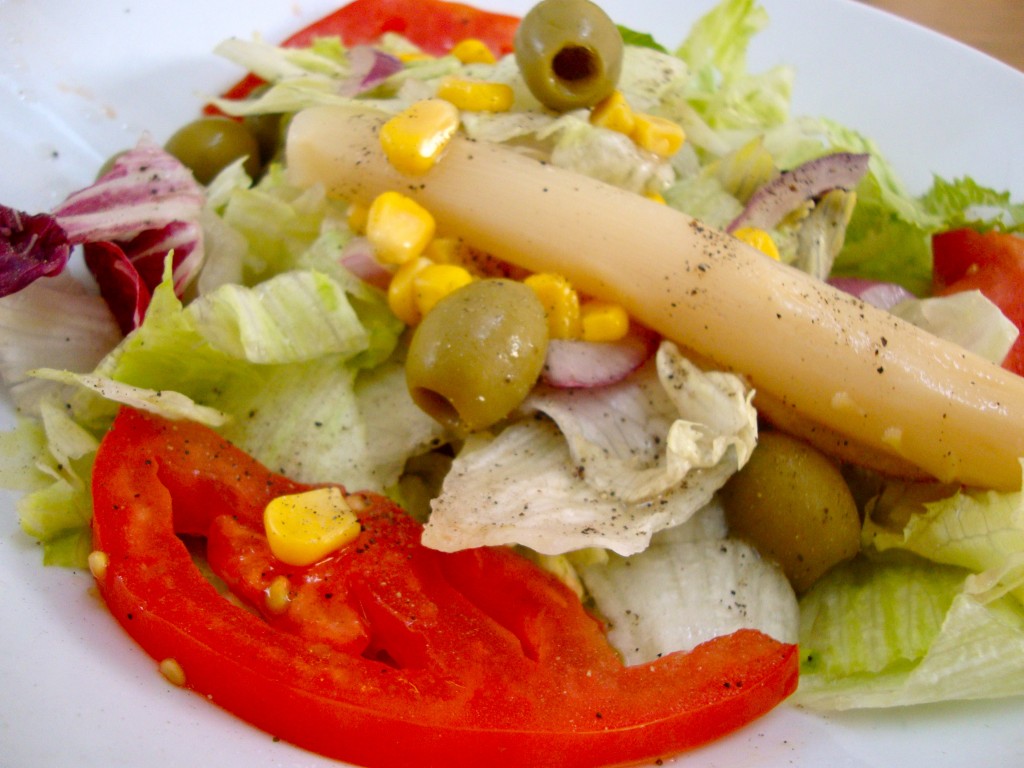
Simple salad with white asparagus-- I found this to be a salad staple in Spain

.

Roasted peppers, peas, asparagus, tomato, and rice plate-- drizzled in olive oil and sprinkled in sea salt...perfection!

.

More roasted veggies...

.

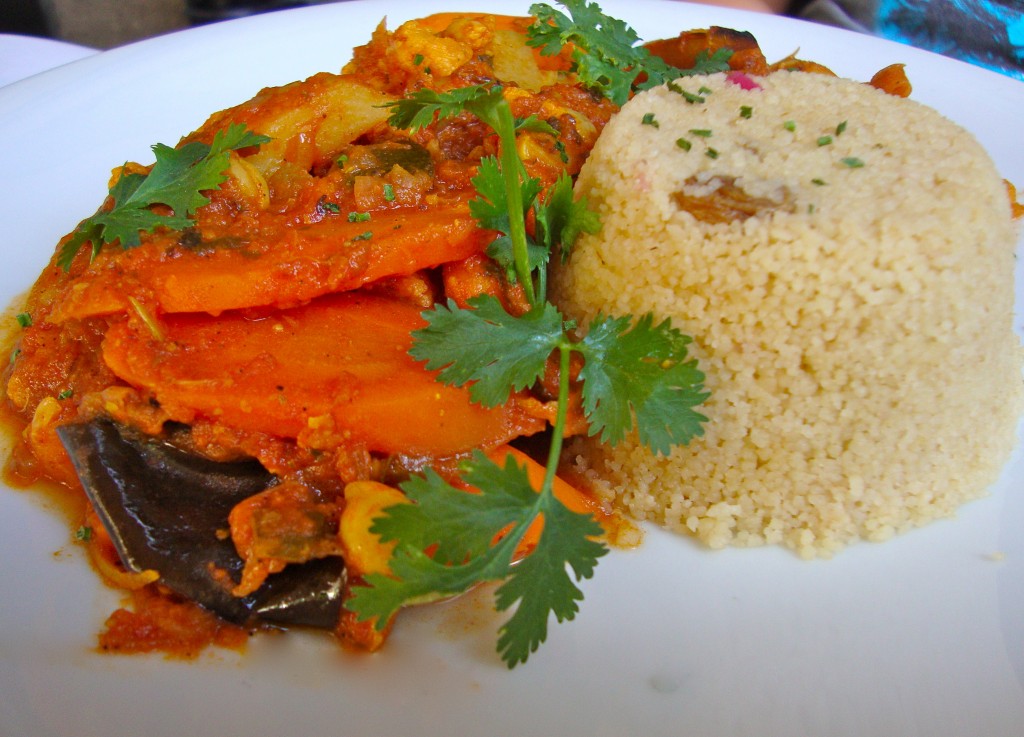
Pecan couscous with curried carrots and eggplant

.

This meal was SO good...I asked for it again! Peas, tomatoes, rice, peppers, lettuce (with less olive oil this time). Simple!

.

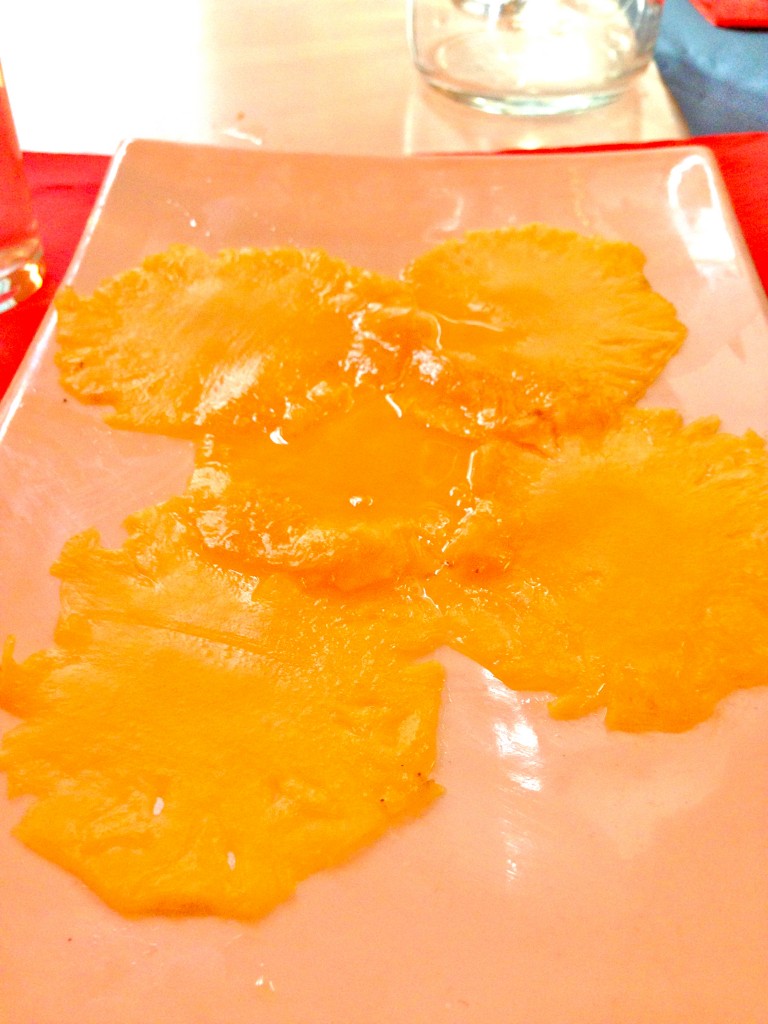
Pineapple carpaccio for dessert-- looks unimpressive...tasted INCREDIBLE!

.

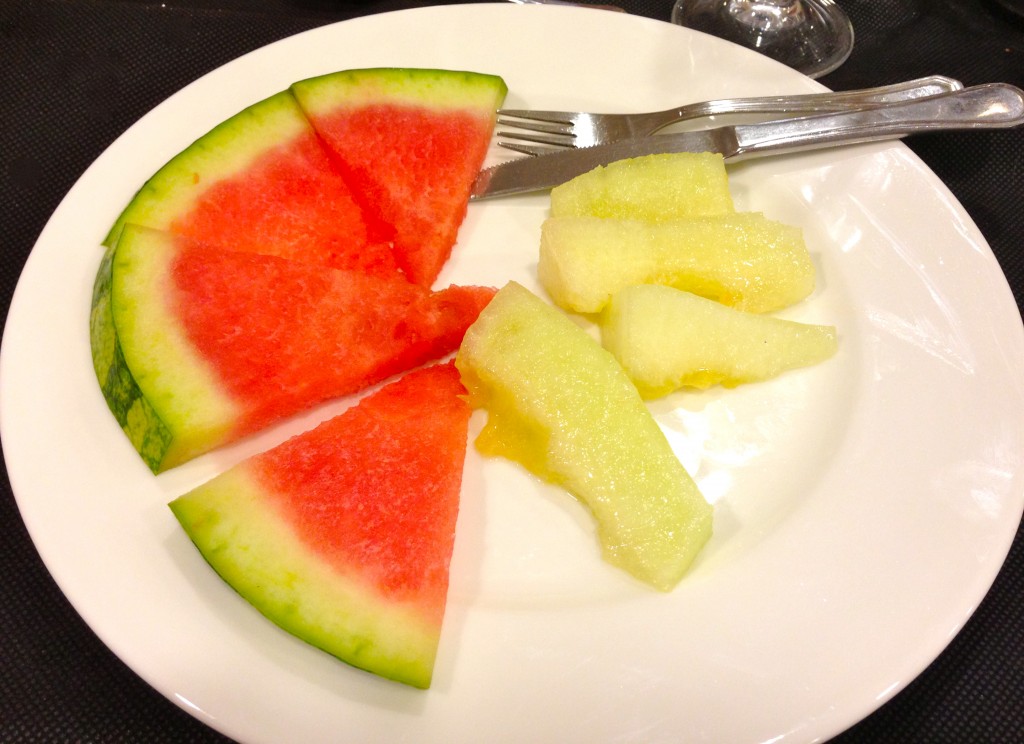
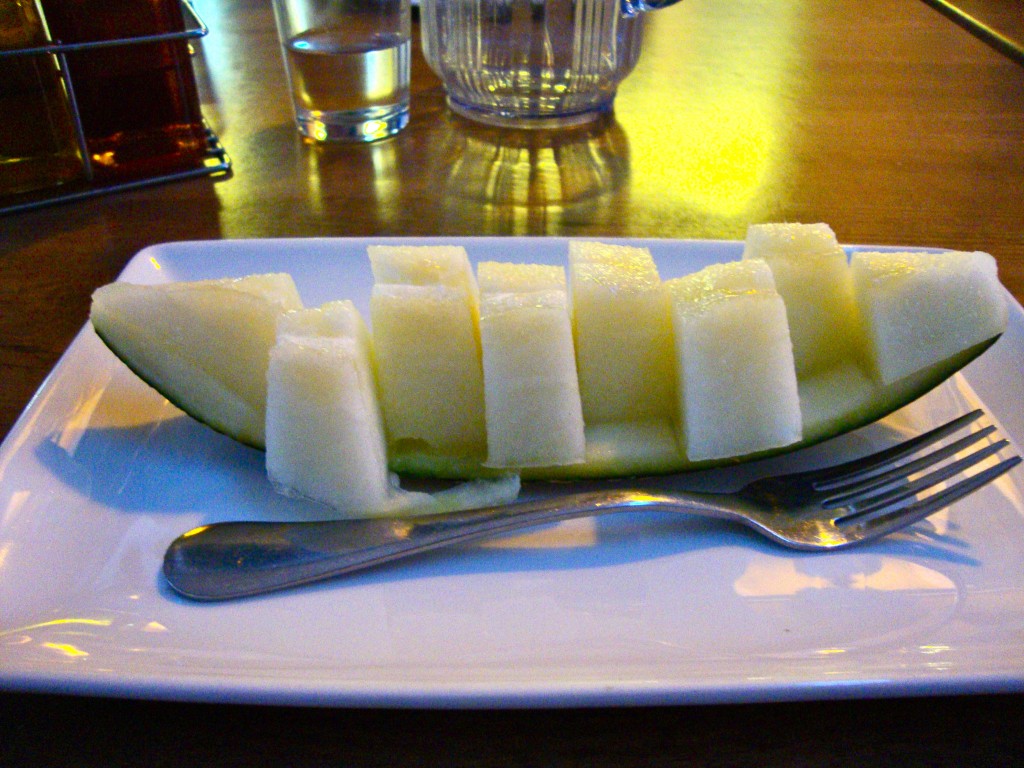
Assorted melon for dessert. The yellow melon is a Spanish melon and is quite possibly the most sweet and tasty melon I've ever had!

.

Even a tea girl like me had to have some Spanish coffee...or "espreso" in this case :) .

.

Believe it or not, aside from enjoying amazing vegan Spanish food, I also enjoyed some amazing places!  So, I wanted to leave you with some fun photos in addition to food photos that I snapped over the course of my trip. Enjoy!

.

Famous Flamenco show in Granada-- the studio is built into a cave in a mountain!

.

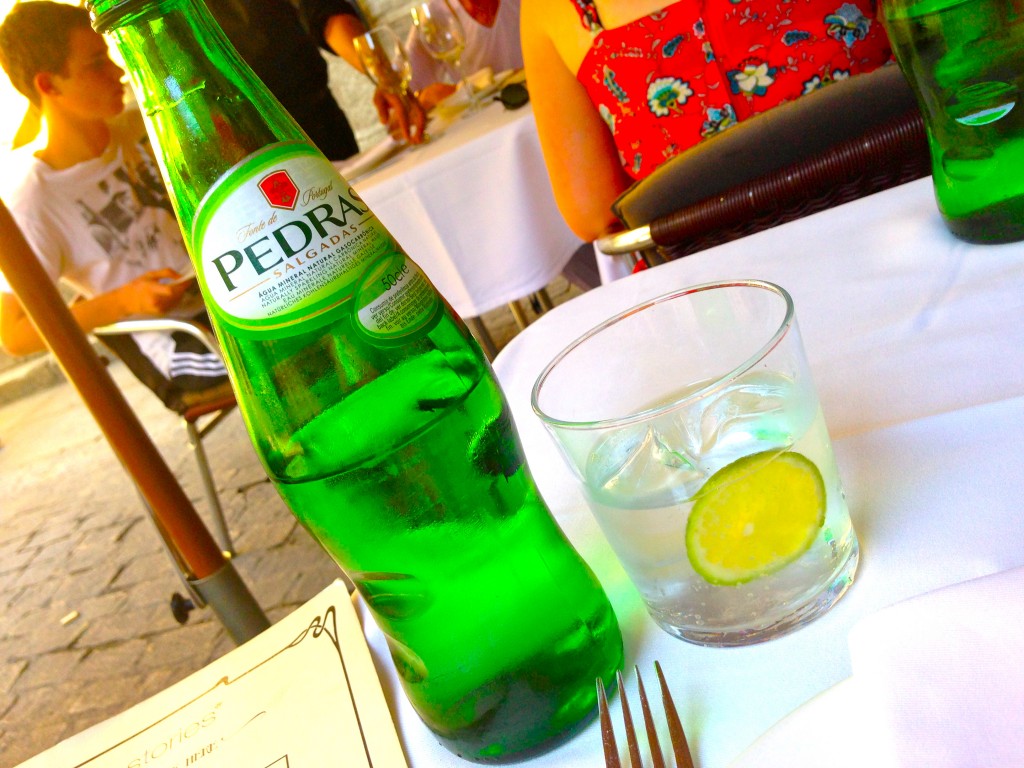
Yes, even in Spain I found my bubbly water :)

.

Rioja-- a delicous Spanish wine and newfound love

.

Street in Cordoba

I found my knight in shining armor in Spain!

.

A beautiful sunny day in Barcelona (plus my attempt at an artistic "selfie"...)

.

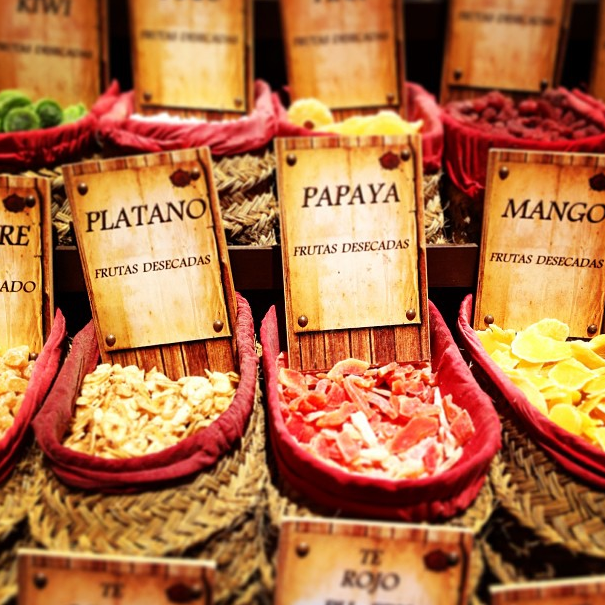
More dried fruit

.

On a boat cruise in Seville

.

.

Fountain in Barcelona

.

The 1992 Olympics Barcelona Fish sculpture

.

The Sagrada Família in Barcelona

.

Enjoying sangria in Madrid :)

.

A view from my morning run in Granada

.

Ceiling decor in Barcelona

.

Gorgeous flowers in a Seville garden

.

Original Roman bridge to Cordoba

.

Bullring in Seville

.

Flamenco cave in Granada

.

The Barcelona shoreline

.

Overlooking Barclona

.

Fancy Spanish melon

.

Flamenco dancer in Granada

.

Biking in Barcelona

.

Church tower in Cordoba

.

A little friend I made during my morning run in Madrid :)

.

At the Park Güell in Barcelona

.

Park Güell in Barcelona

.

Even the doors are pretty in Spain

.

The streets of Malaga

.

Beach in Malaga

.

Plaza de España in Seville

.

.

Mezquita-- the Mosque-Cathedral in Cordoba

.

Enjoying the marina in Barcelona

.

Driving between cities we saw lots and lots of sunflower fields. Absolutely gorgeous!

Olive trees at an olive oil farm

.

Entrance to Alcazar-- Seville Palace

.

Cake from a (wait for it!) VEGAN restaurant in Barcelona!

.

Veggie and bean burgers also from the little vegan restaurant in Barcelona

.

Fancy ceiling lamps in Granada

.

Striking a pose in Barcelona

.


Not all those who wander are lost.” — J.R.R. Tolkien


.

Fabulously Yours,

.

Ashley Michelle


.

Sources:

Olive Oil Production

Experience Spain EF Tour 


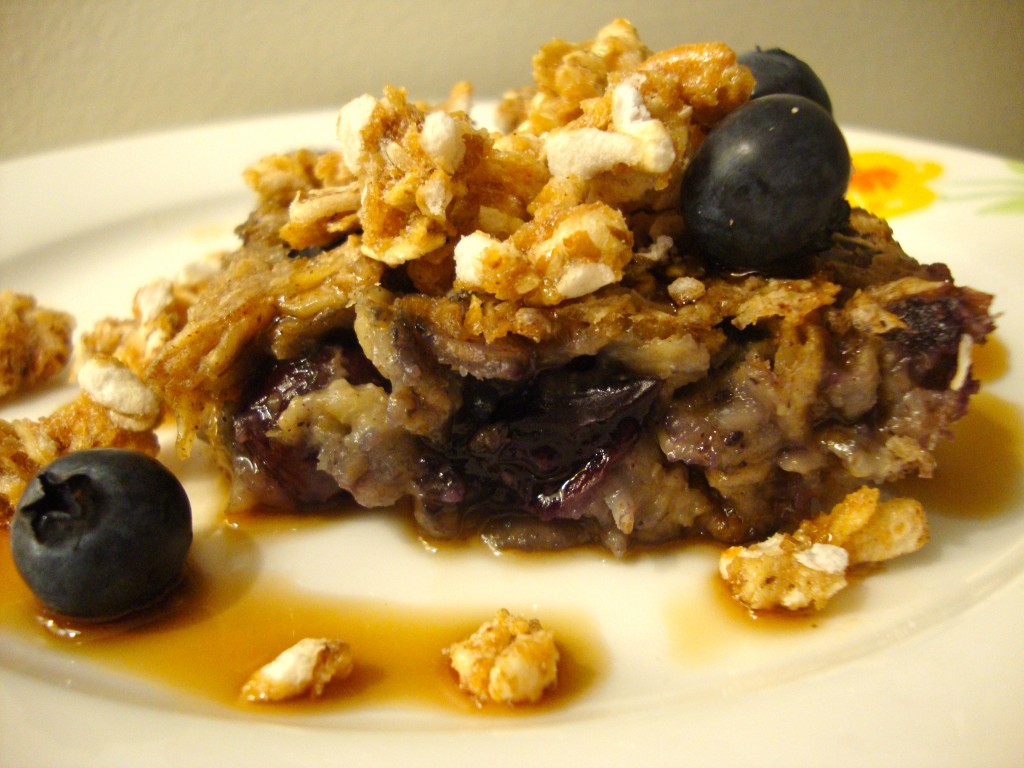
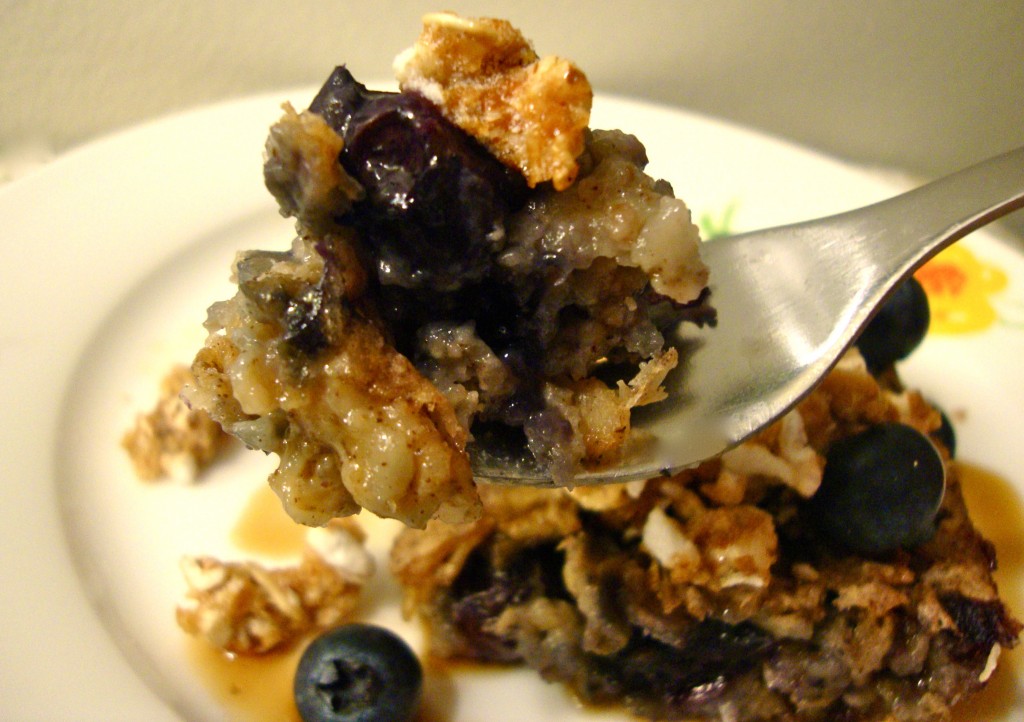
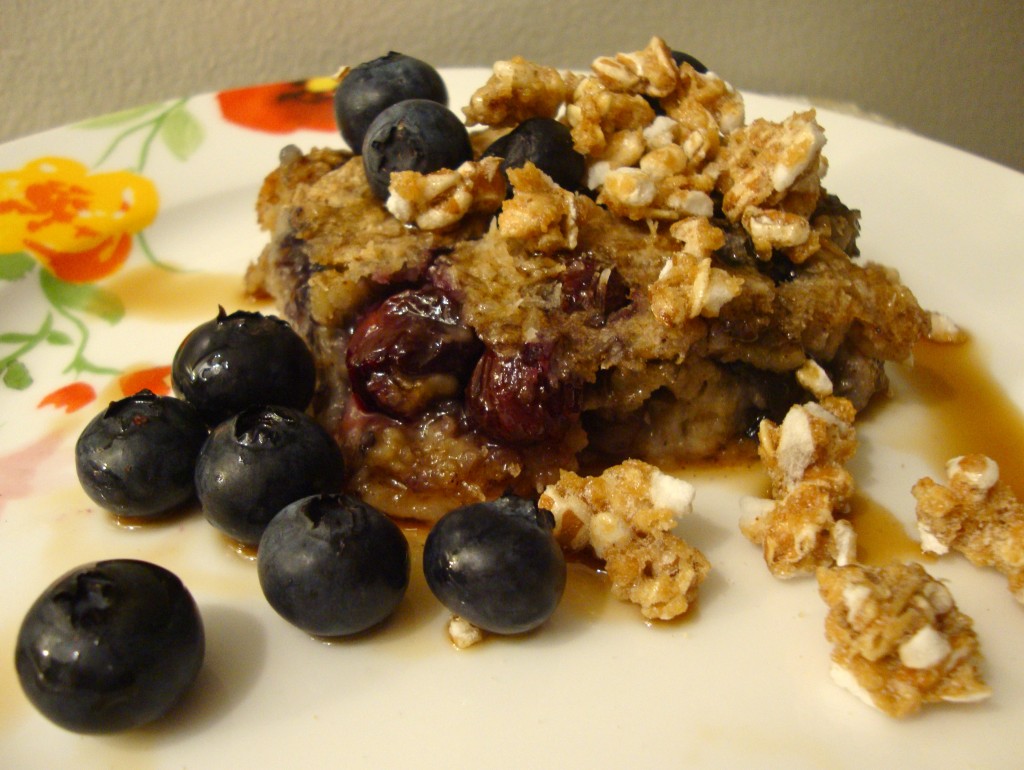
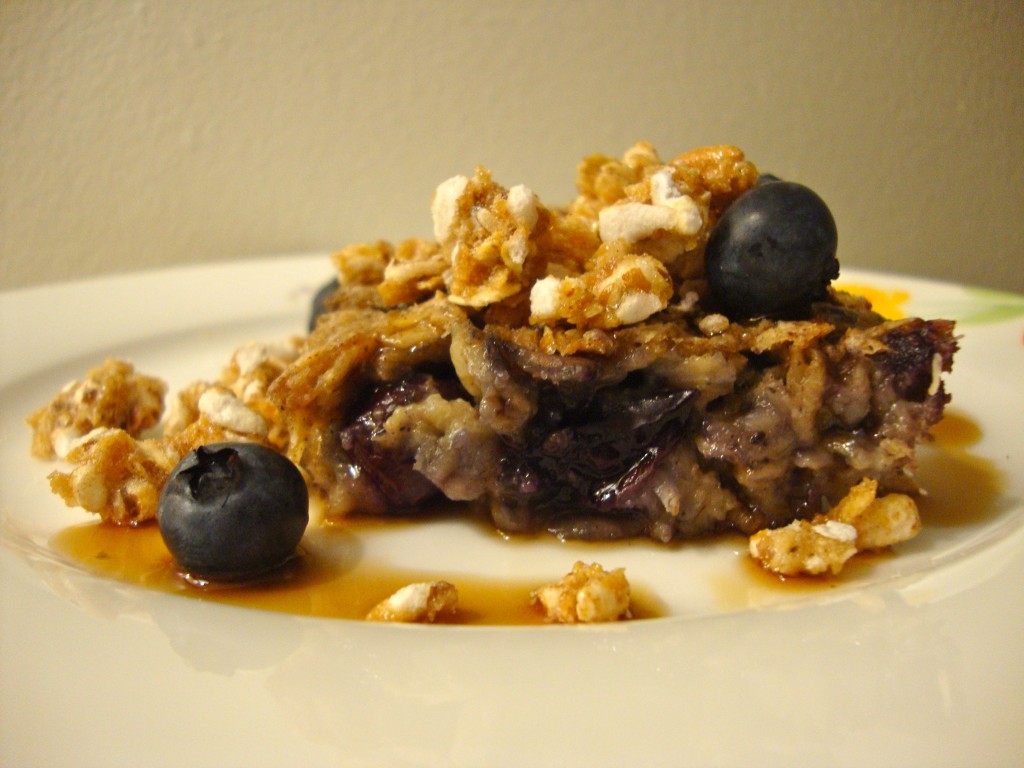
Blissful Blueberry-Baked Oatmeal

.

“Have blueberries whenever you are low – destiny will change and you will be high.” – Adam Voichester


Last weekend was pretty yucky. Sure the weather was gorgeous and the sun was shining…but I still (somehow) managed to contract a nasty virus and a case of bronchitis that left me feeling the sickest I’ve felt in years. (Yes, only I would somehow find a way to become bedridden with a fever during the first official weekend of summer weather in Boston!).


So, while everyone else was hanging out at the beach sunbathing, day-drinking, and barbequing…I was curled up on the couch with the shades drawn, covered in cough drop wrappers, and drugged up on prescription cold medicine (Note: I typically avoid unnecessary medications at all costs, but at the rate that things were going, I was happy to get my hands on anything that would knock me out and allow me to sleep– even if only for a minute).


Between crying to my Mom (okay, I may be 26, but I KNOW I’m not the only one who still wants their Mom when they’re sick!) and forcing myself to sip on coconut water and miso soup… I couldn’t even bear to think about food… or recipes…or blogging. And you know something is seriously wrong when Ashley doesn’t want to blog!


Thankfully, I had my appetite back by Monday….

.

.

And an extra dose of creativity to boot!

.

.

My body was craving something hearty and wholesome yet light enough so that it wouldn’t be difficult to digest. After all, I needed something substantial to help me regain some strength and power me through the work day.

Oh, and if this meal could also be ridiculously easy to throw together,well, that’d be just peachy :)


The deliciously easy answer?

.

.

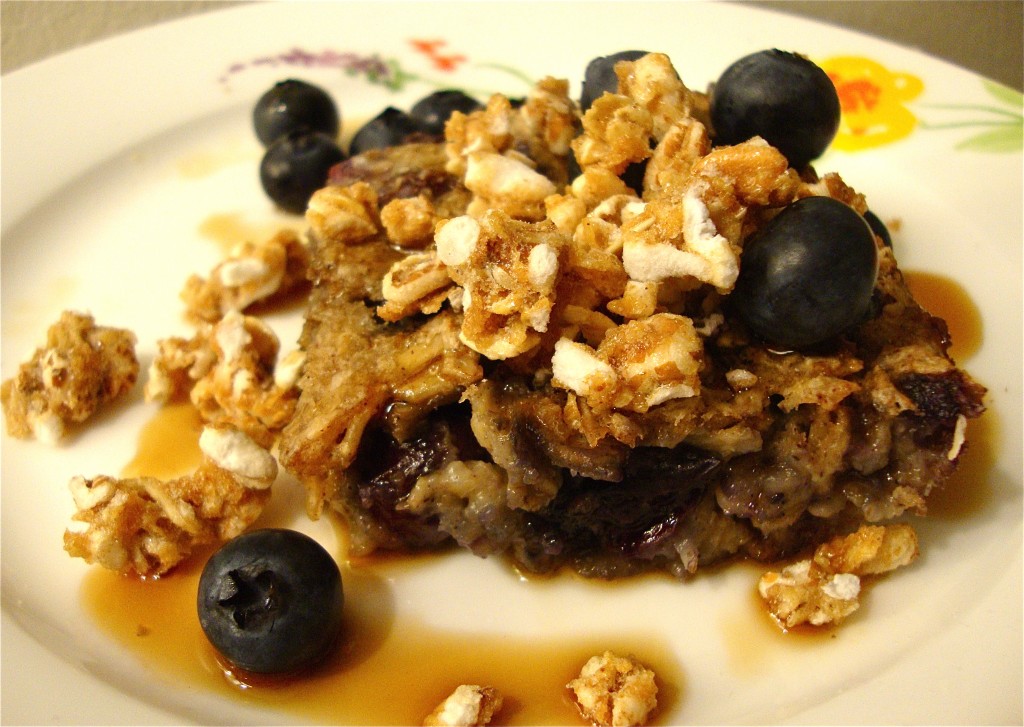
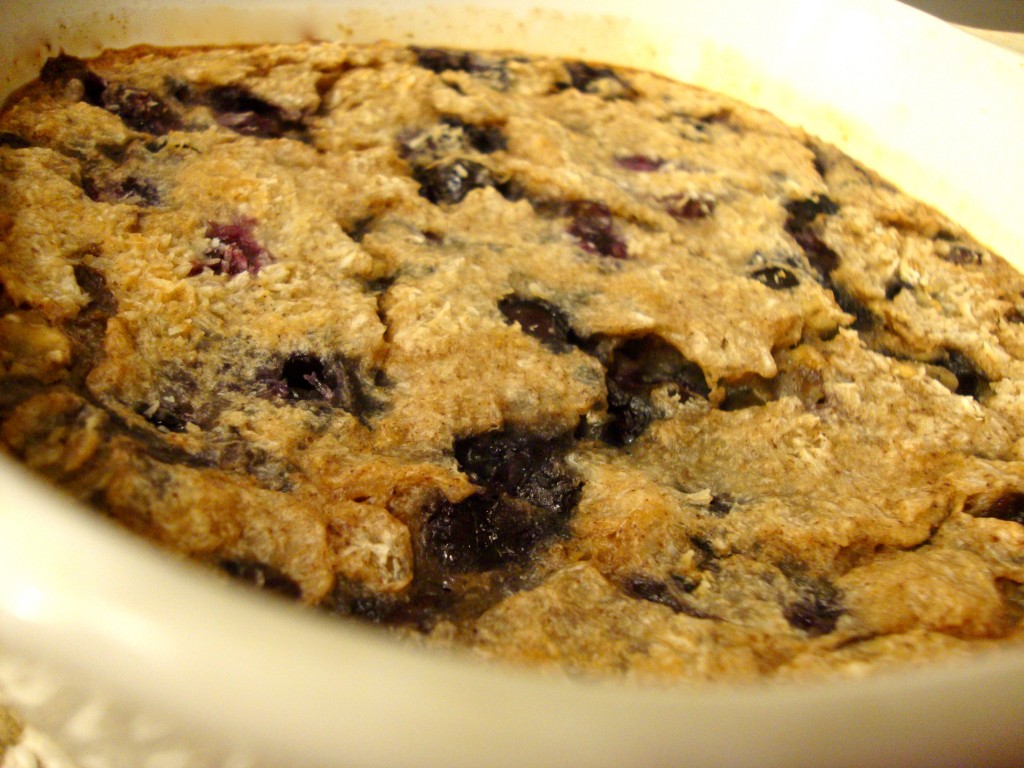
BAKED Oatmeal.

.

.

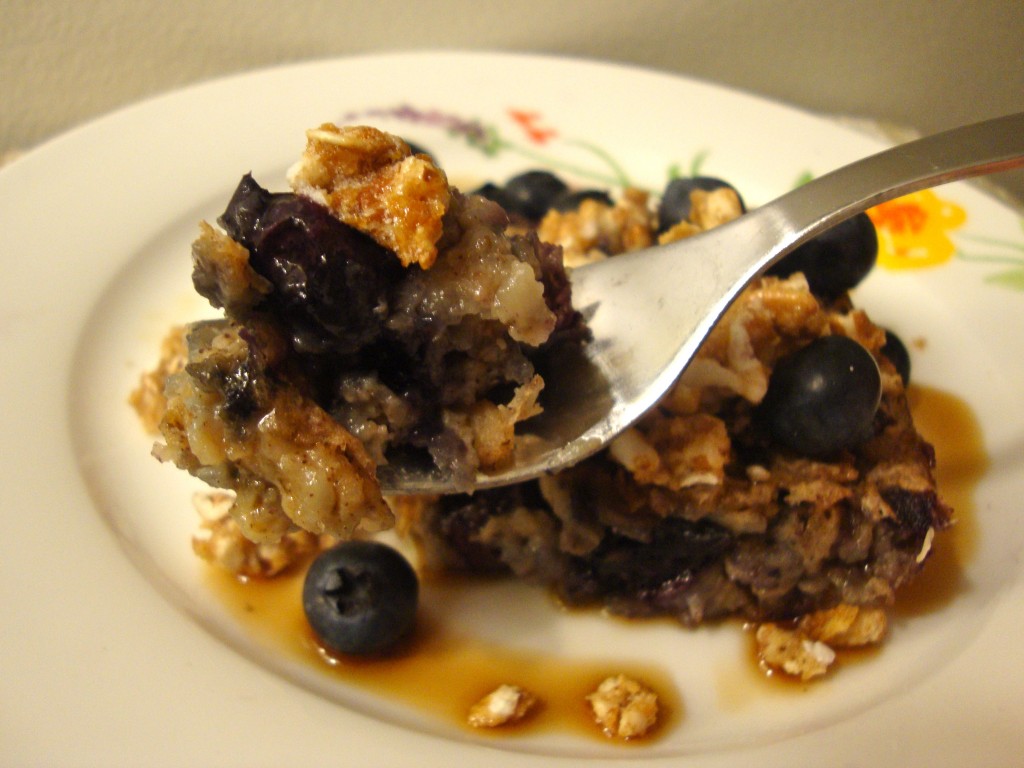
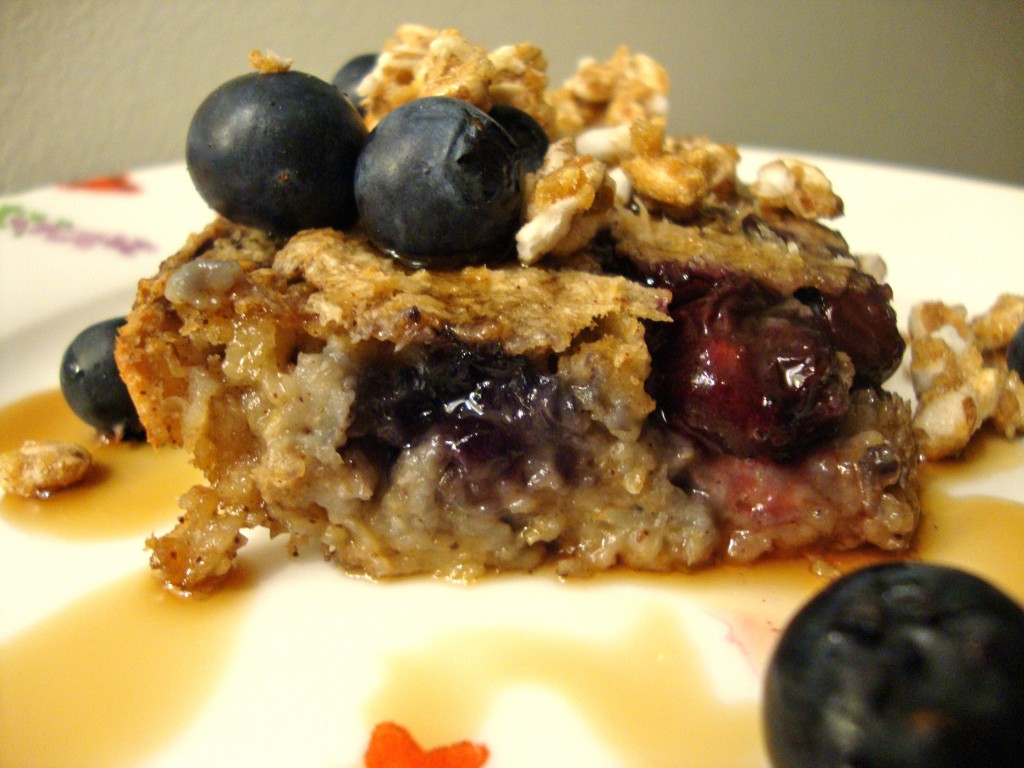
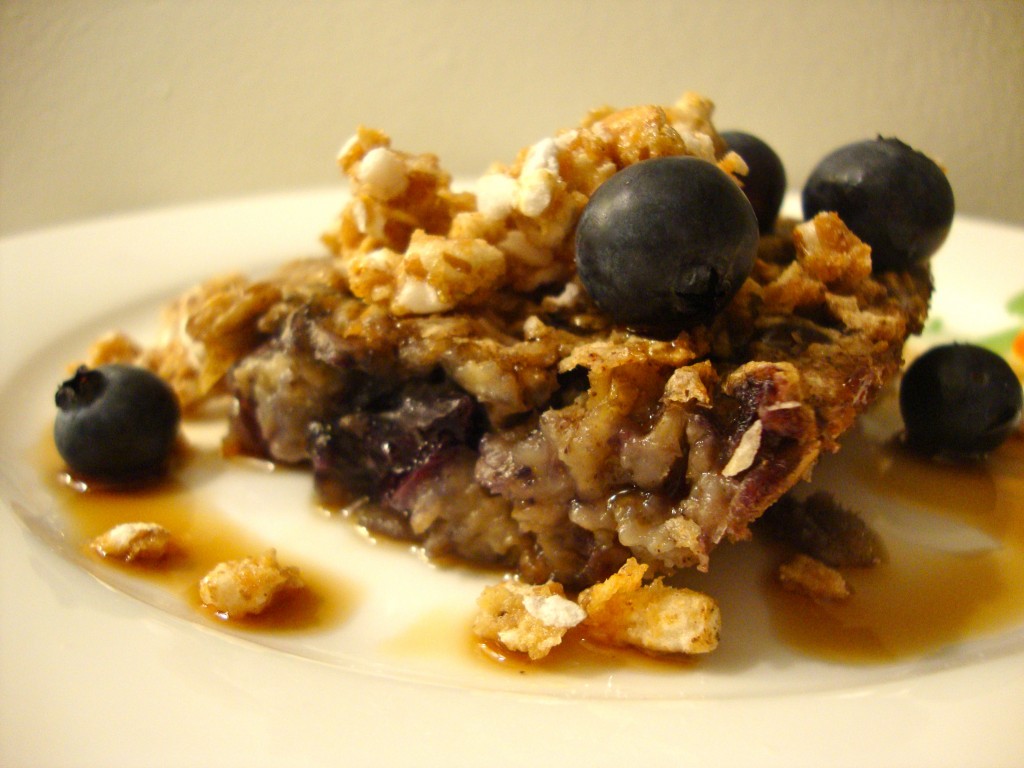
Baked oatmeal is a slightly denser and (in my opinion) a much cozier take on your typical oatmeal or overnight oats. Baking the oatmeal allows you to cut it into squares and serve it on a plate–or perhaps eat it straight from the baking dish itself with nothing but a fork and a smile on your face! (I won’t  judge you because I may or may not have done this myself…)

.

And we can’t forget the best part of all…

.

It’s healthy too ;)

.

.

I’m talking LOW-FAT, GLUTEN-FREE, HIGH-FIBER, & LOW-SUGAR GOOEY PERFECTION.

.

Plus…blueberries are just bursting with beauty-boosting antioxidants :)

.

.

Perfect for rainy days, lazy mornings, or when hosting a healthy weekend brunch– I promise this dish will quickly become a breakfast favorite.

.

.

Blissful Blueberry-Baked Oatmeal

.

Dry Ingredients:

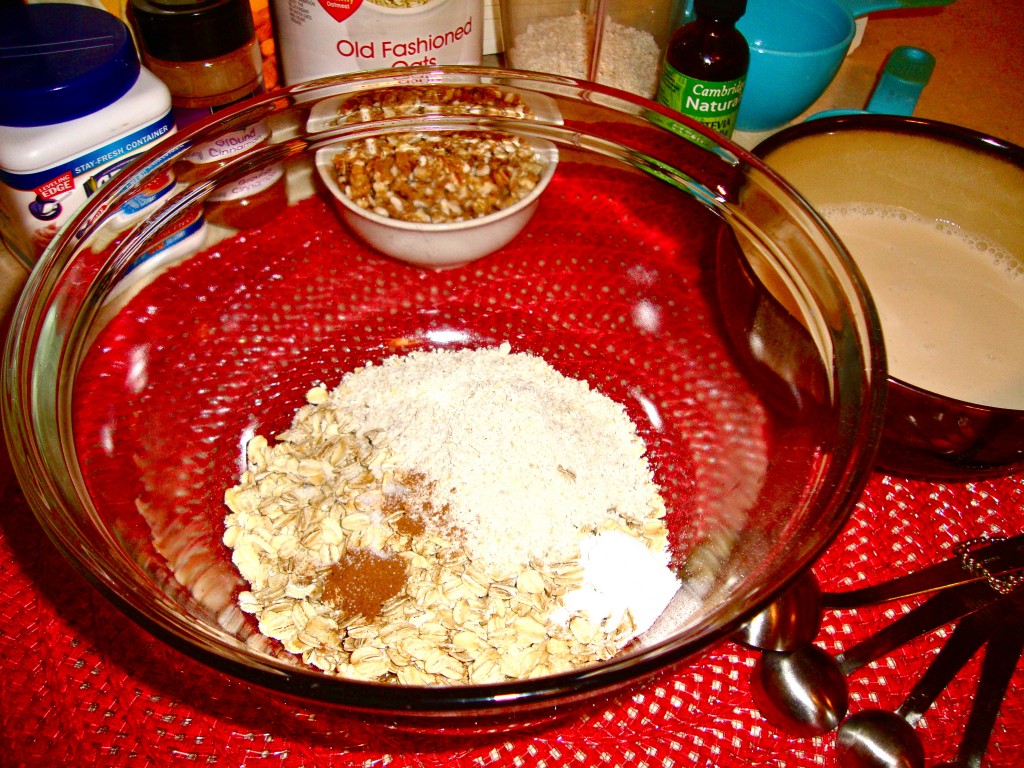
  • 3/4 cup whole grain oats
  • Slightly over 1/4 cup blended oats (just toss oats in a blender until it turns into flour, or use store-bought oat flour if you’d like).
  • 1/4 teaspoon cinnamon (or nutmeg, pumpkin pie spice, apple pie spice…)
  • 1/2 teaspoon baking powder
  • Dash of salt
  • Optional: granola (I used this for topping), shredded coconut (I sprinkled this on my oatmeal before baking), chocolate chips (toss a few in the mixture if you want to make naughty oatmeal ;) ).

Wet Ingredients:

  • 1 1/4 cup almond milk (I like using unsweetened vanilla)
  • 2 tablespoons 100% pure maple syrup (or honey if not a strict vegan–molasses might also be an interesting choice! While I don’t use agave, that would also work. And if you are looking to keep it sugar-free, you could also sub in stevia to taste–just increase milk by 2 tablespoons).
  • 1/2 teaspoon vanilla extract
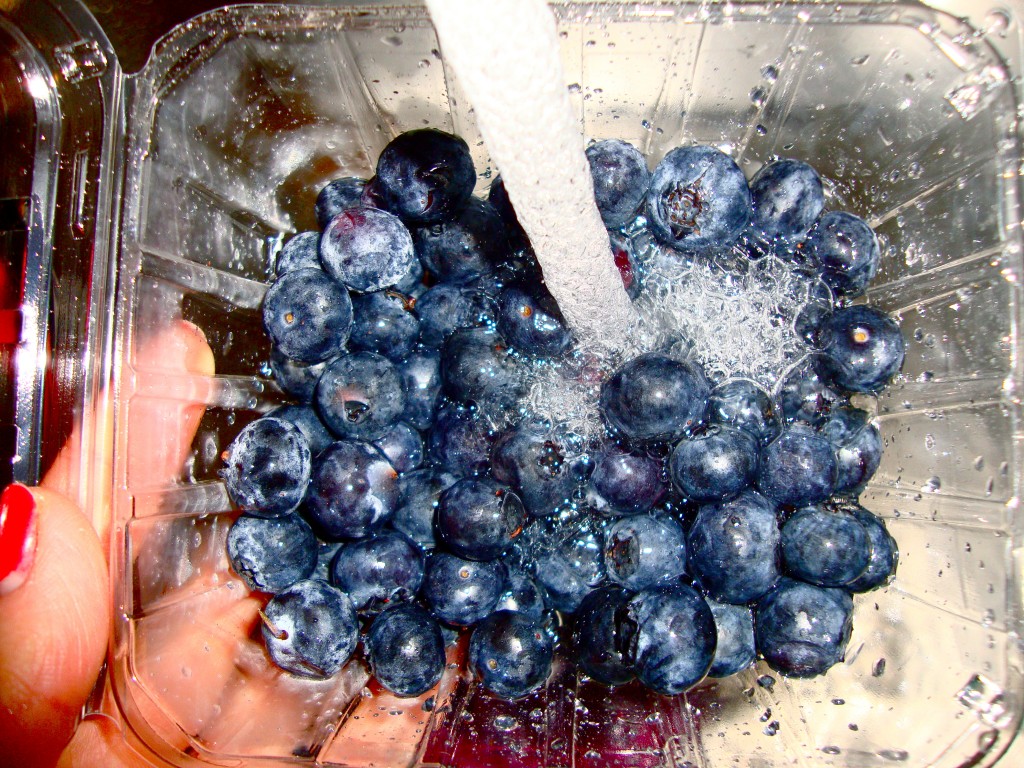
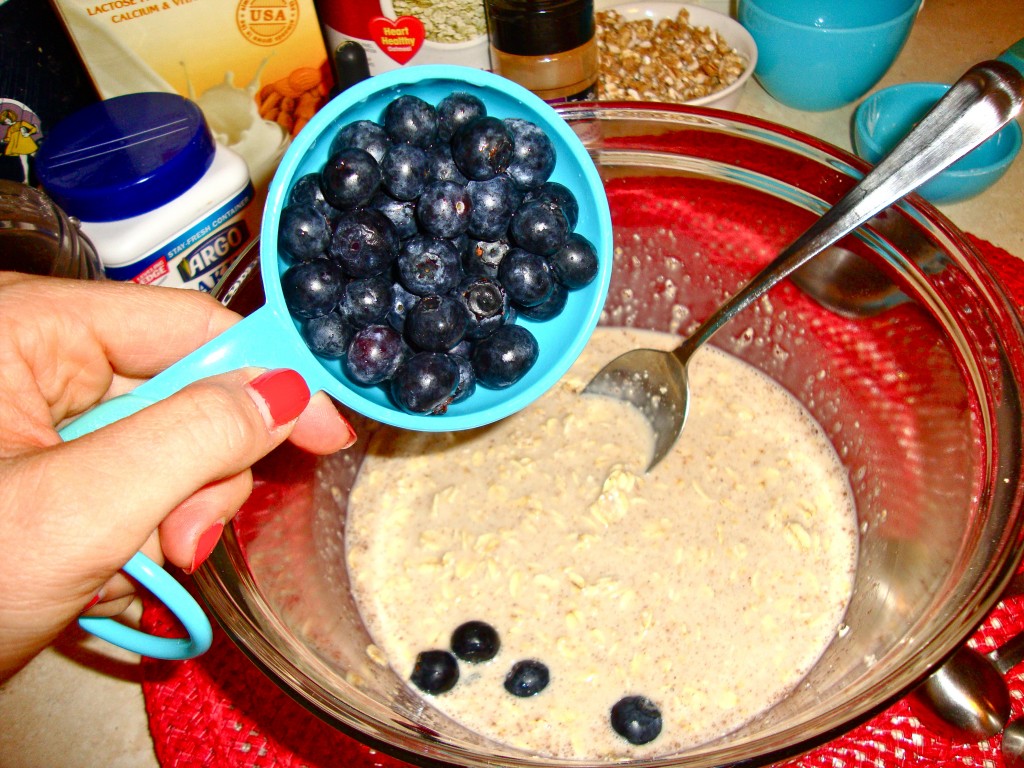
  • Heaping 1/2 cup of blueberries PLUS a few extra for topping (I used fresh blueberries, but frozen could also work. Don’t love blueberries? No worries! Sub in chopped apple, sliced banana, or your preferred berry of choice).
  • Optional: A tiny dash of almond extract (I just ADORE the sweet and nutty hint of flavor almond extract gives oatmeal, cookies, cakes, smoothies…anything really :) ).

Directions:

  • Pre-heat the oven to 350º.
  • Mix all the dry ingredients together in a bowl and set aside.

.

.

  • Mix all the wet ingredients together and add to the dry ingredients. Mix well and stir in blueberries.

.

.

  • Add in any fun extras (chocolate chips, coconut, etc…).
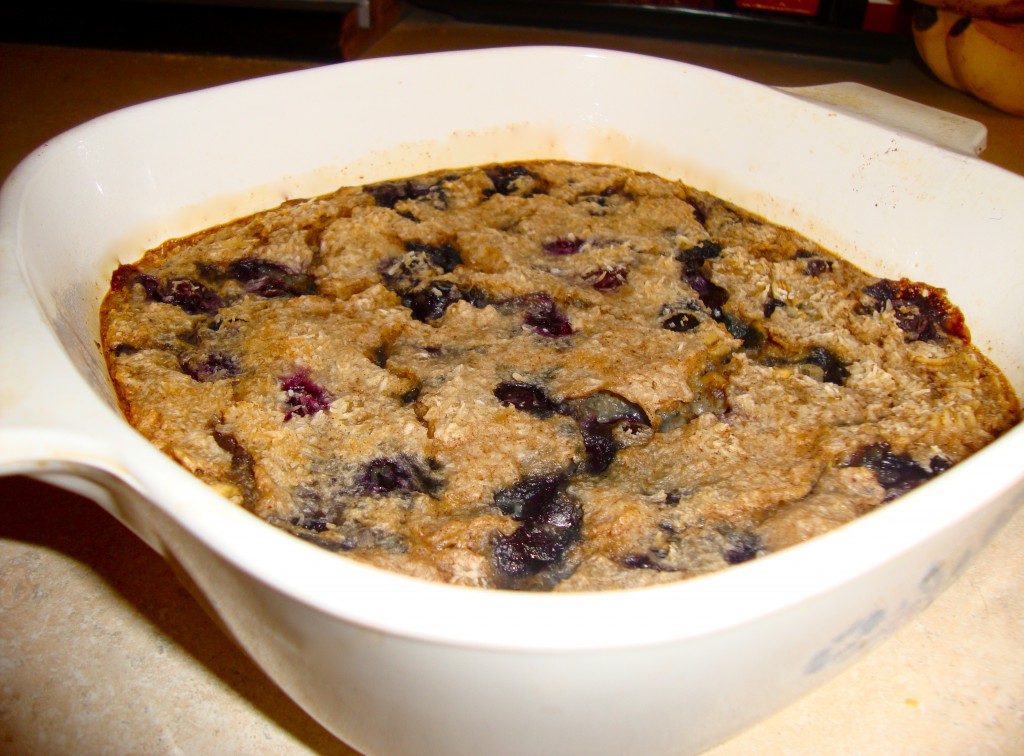
  • Pour oatmeal mixture into a pan or a dish (I used a brownie baking dish) and bake for 45 to 50 minutes (or until edges and top begin to lightly brown). It should look slightly underdone.

.

.

.

.

  • Top with a drizzle of maple syrup, a handful of granola, extra blueberries, or whatever you’d like.
  •  Dig in and ENJOY!

.

.

Just be warned…

.

You may never want plain old oatmeal ever again!

.

.

.


Healthfully Yours,

.

Ashley Michelle


.


Best Ever Oatmeal Cookies (with chia seeds!)


.


When I’m bored, things can get pretty dangerous.

Particularly if I’m anywhere in the vicinity of a kitchen…

.

You see, I don’t do well with being “bored.” I’m the kind of person who feels the need to be in a constant state of motion–always doing, creating, and working on something.


The bonus?


Boredom is pretty much an open invitation for some serious recipe experimentation– no matter what the hour (and you can’t put a time cap on inspiration people!). When I’m bored, I will literally rummage through every one of my cupboards and every inch of my refrigerator and try to create a masterpiece out of whatever I can find. And believe me, when you stock the kitchen like I do, It’s a Christmas miracle if I can pull a decent dinner together! But what can I say…I love  a challenge. “Chopped” has nothing on me.


Thankfully, what often starts off looking like a dangerous experiment typically turns into a delightful surprise – I’ve actually come up with some of my best recipes during these random bouts of boredness. So it’s a good thing I got a little ancy last weekend…because inspiration struck around, oh, 11:00 on a Saturday night when I suddenly found myself hell-bent on creating this quick and easy vegan oatmeal cookie recipe…

.

.

You see, the boyfriend and I had just gotten back from watching the Red Sox game at a bar down the street when I decided it has been far too long since I’ve put up a recipe post (I know, I know. Please forgive me :( ?). Originally I had the idea to whip up some overnight oatmeal (don’t worry, recipe to come!) so that breakfast would be all set and good to go pre-spin class the next morning…but I had a little hankering for a midnight snack ;) .


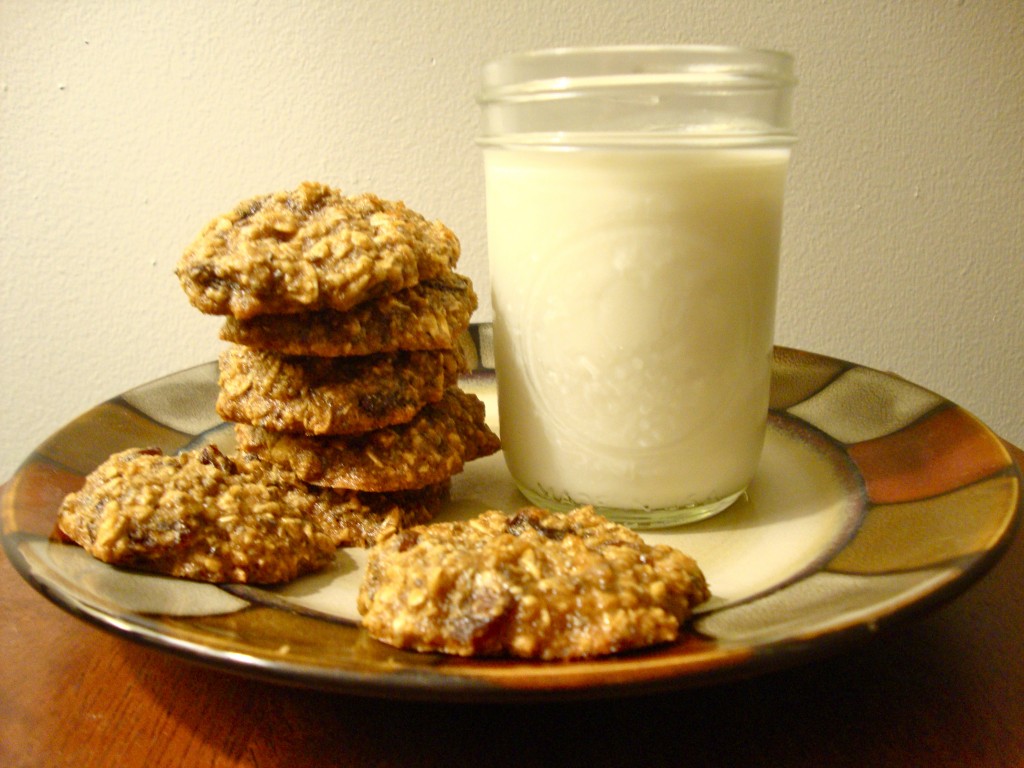
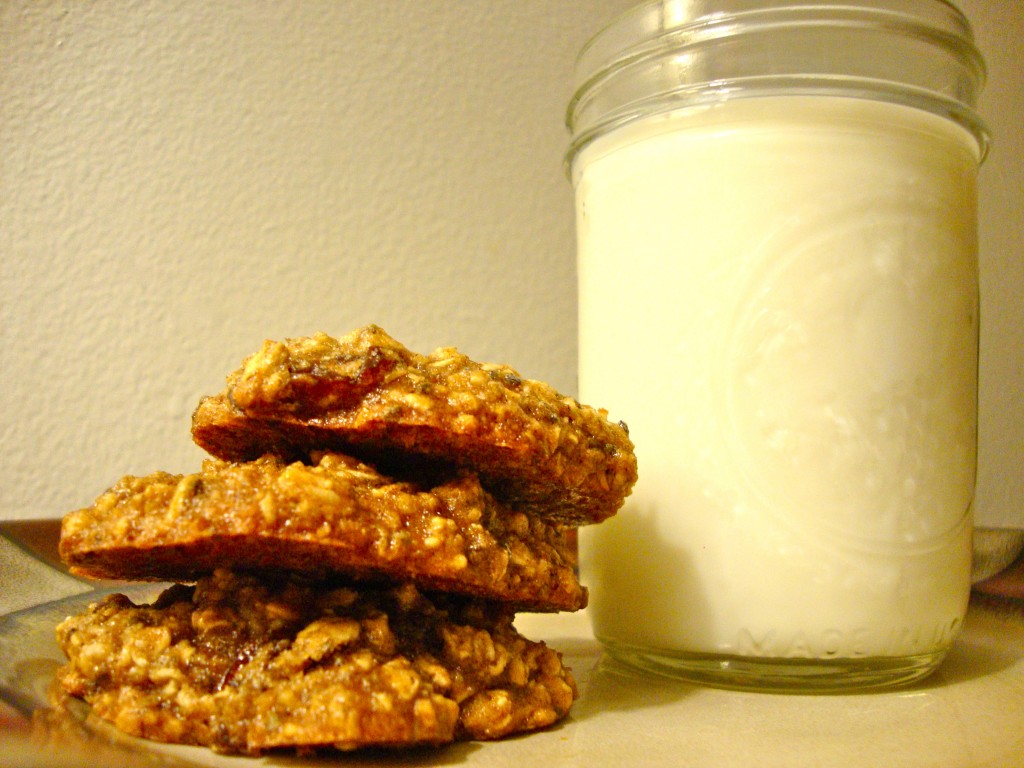
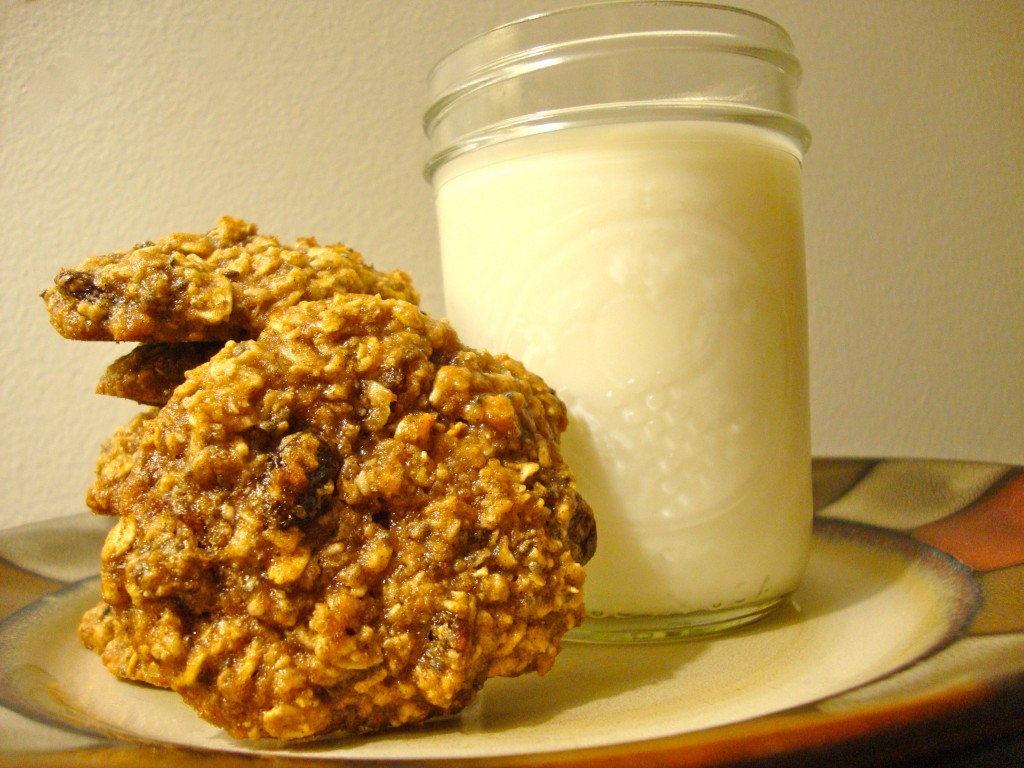
Cookies and milk anyone?

.


.

So.

There I was. 

11:30 at night. 

Baking…

.

.

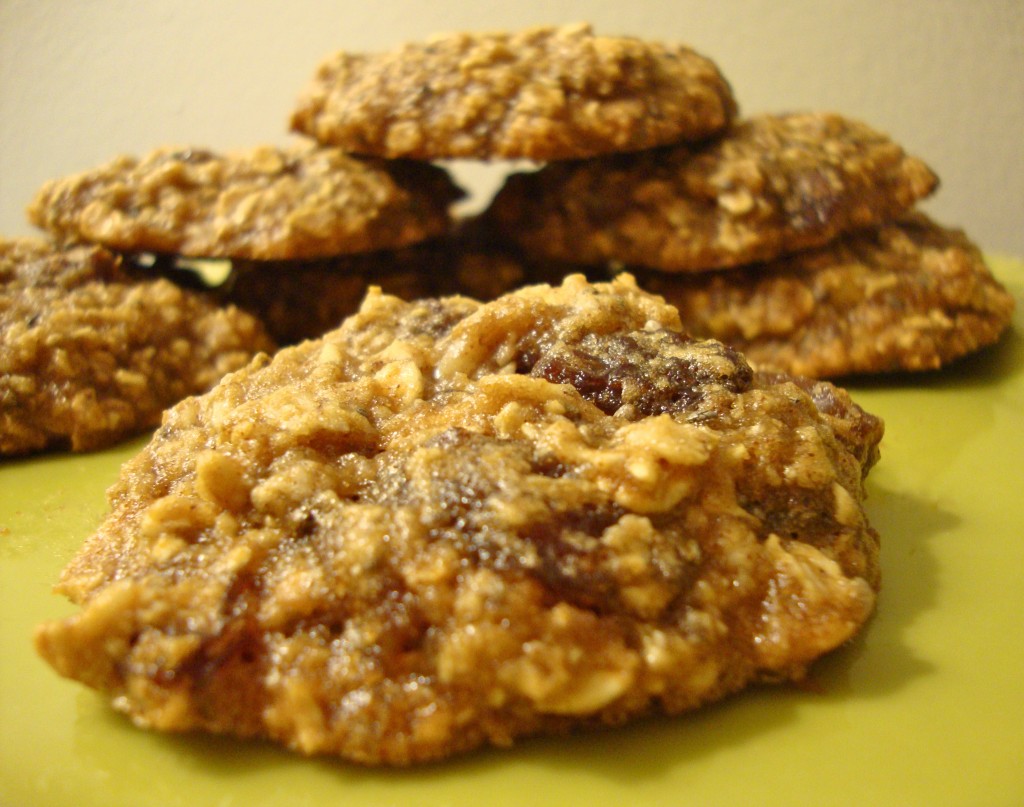
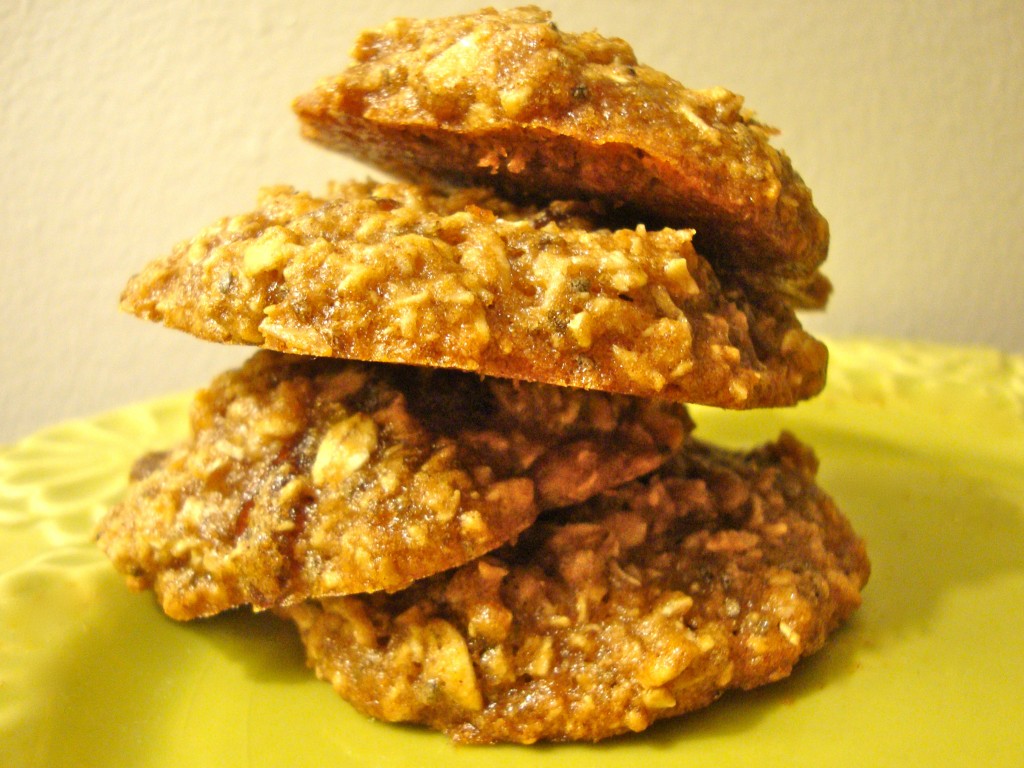
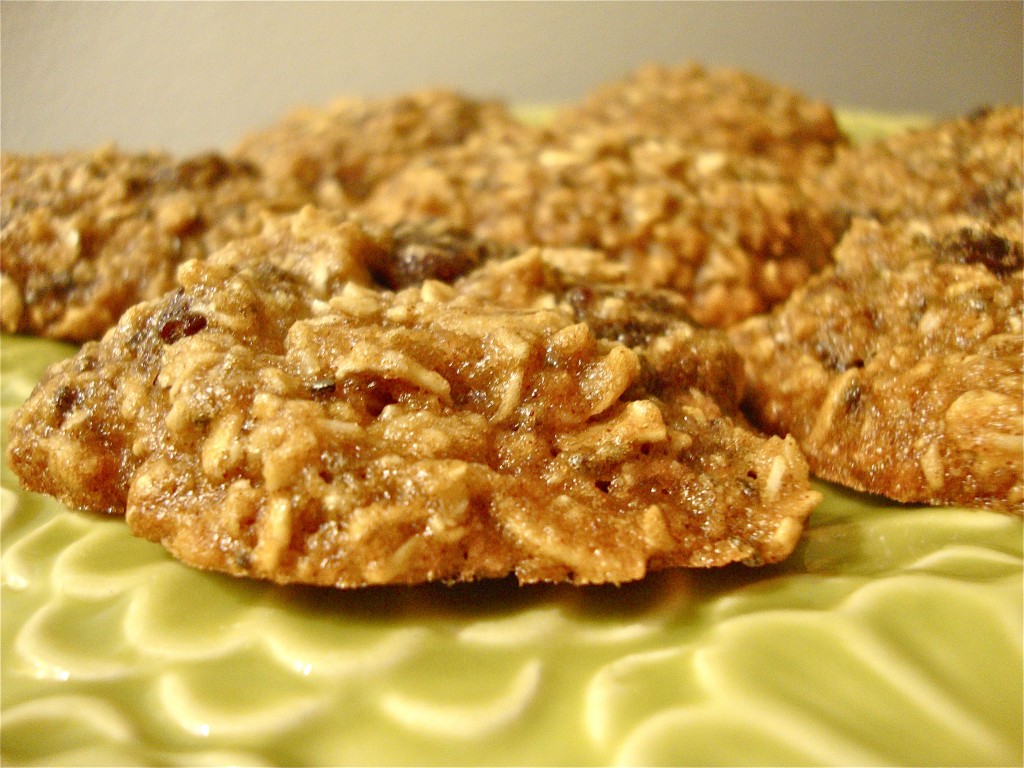
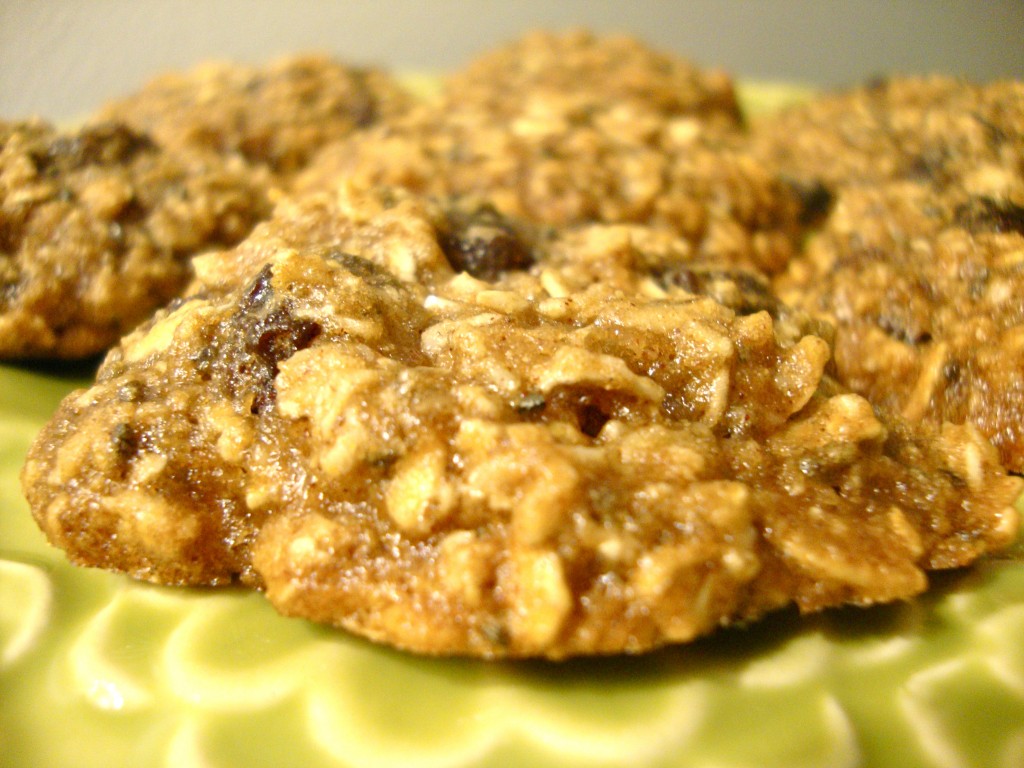
I starting tossing together a whole bunch of ingredients (eyeballing rather than measuring them) and in about 10 minutes, a dozen soft and chewy oatmeal cookies emerged on a plate ready for the boyfriend to taste-test…

.

.

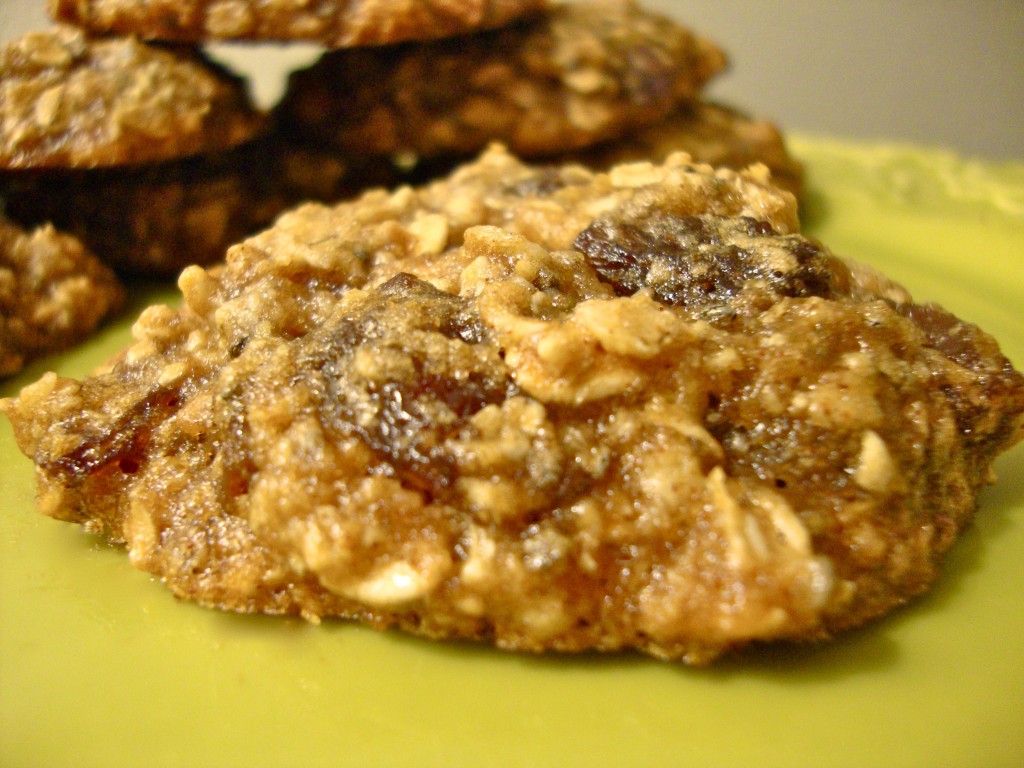
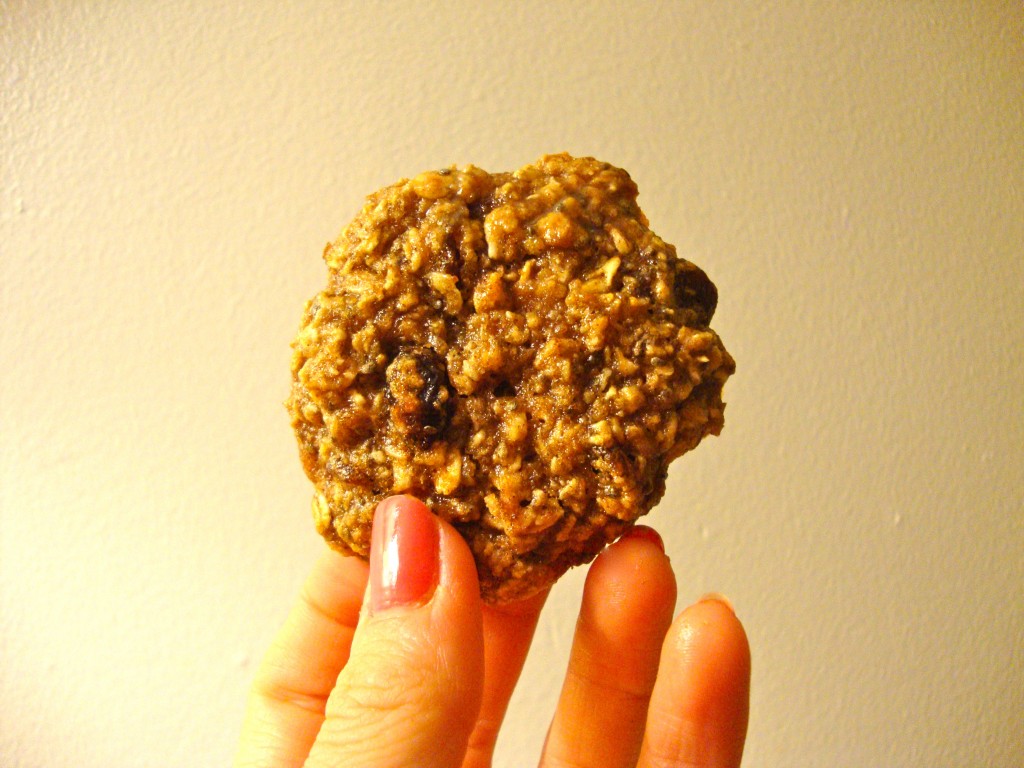
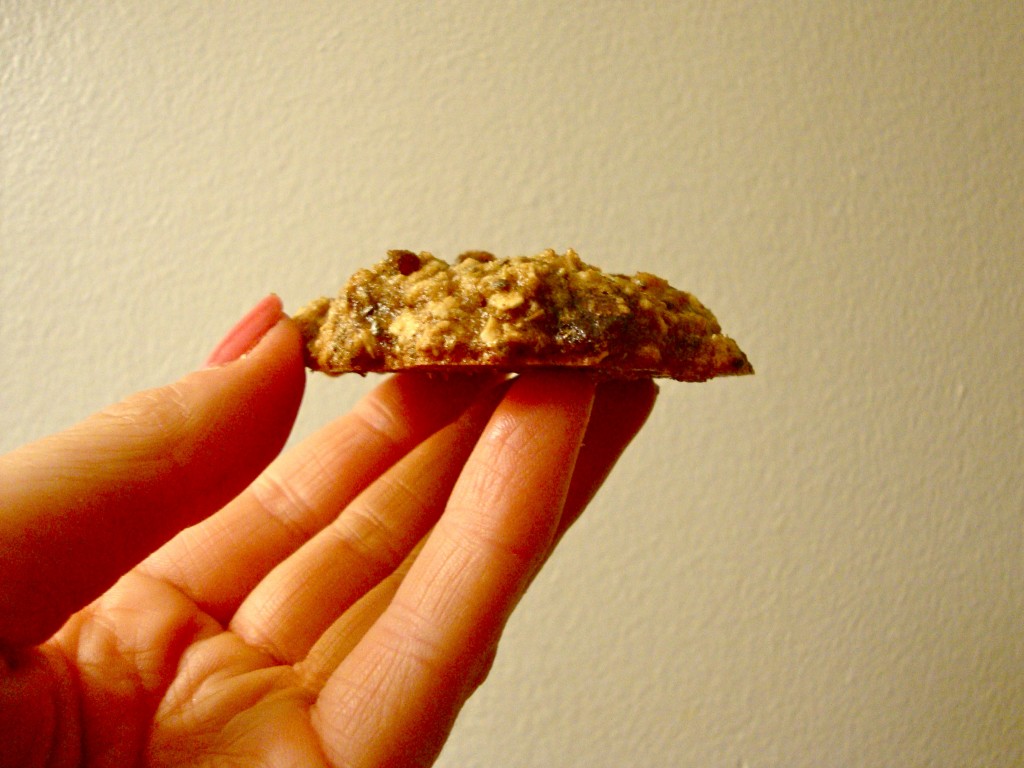
After a moment of hesitation and the “look” — that “how on EARTH did you bake something in 10 minutes?” look– he took a bite and declared “These are the BEST oatmeal cookies… EVER!” And the best part of all? Aside from being 100% delicious and 100% whole grain… these vegan cookies are lower in sugar and lower in fat than your traditional oatmeal cookies. Plus, the added chia seeds provide a healthy dose of omega-3s for good measure!


Betcha wonder where I got the name, huh? :)

.

.


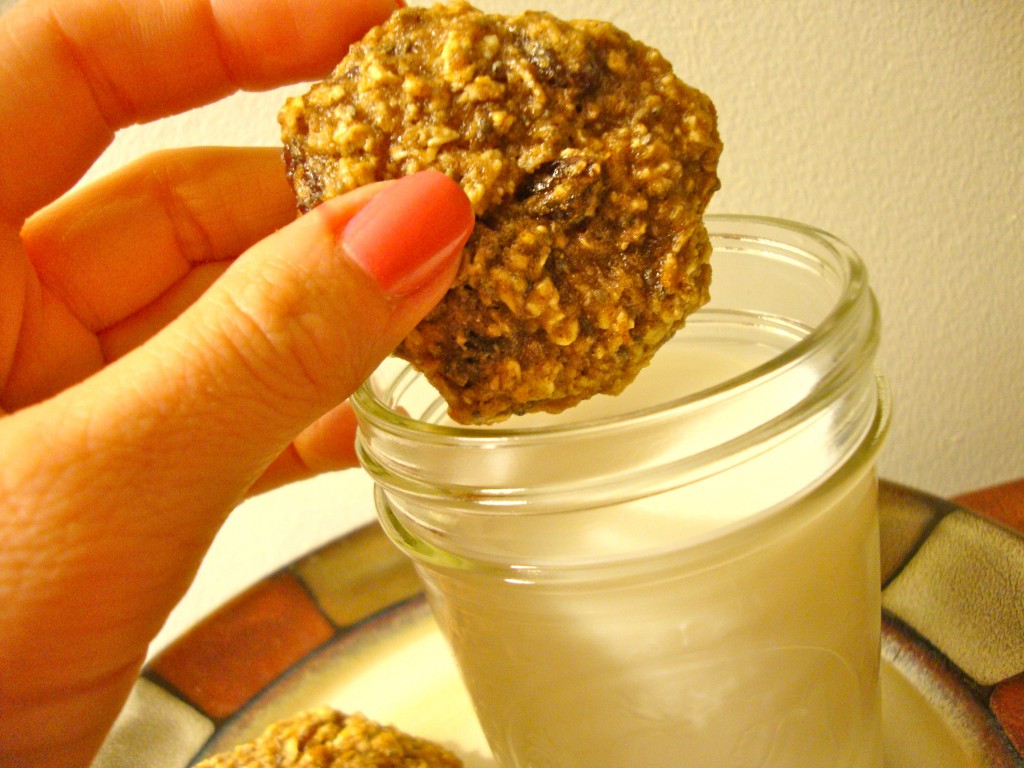
Comfy pj’s, ice-cold almond milk, and warm and cozy cookies?

Go ahead.

Tell me that’s not heaven.

.

.


Needless to say, the first batch of oatmeal cookies didn’t last very long. And to be honest, since I tossed the ingredients together without doing any measuring, I was worried I wouldn’t be able to replicate this amazing recipe again…


But don’t worry!

EVERYONE REMAIN CALM.

Here it is :)

.


.

Cookie on.

.

.


.

Best EVER Oatmeal Cookies

.

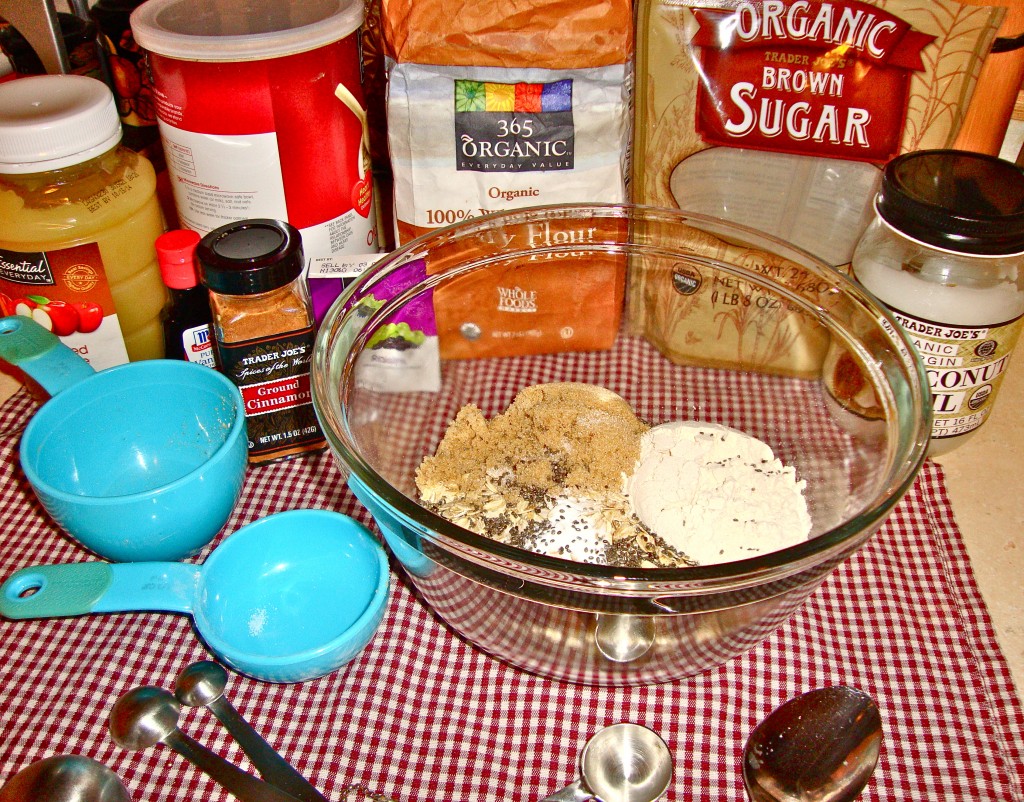
Ingredients:

  • 1 cup whole-grain oats
  • 1/3 cup whole-wheat pastry flour (regular flour will also work if you don’t have pastry flour. Looking to make these gluten-free? Sub extra oats for flour)
  • 1/2 cup brown sugar (for a lower-sugar version, feel free to cut back on the sugar and sub in a little stevia. Just be sure increase the applesauce by 2-3 tablespoons so the batter isn’t too dry)
  • 1 tablespoon chia seeds (optional, but are a healthy way to get your omega-3s!)
  • 1/2 (heaping) teaspoon cinnamon
  • slightly over 1/2 teaspoon baking soda
  • 1/4 teaspoon salt
  • 1/3 (heaping) cup of applesauce
  • 1 & 1/2 tablespoons coconut oil (you can try to cut this out for fat-free cookies, but I cannot vouch for the taste/texture without it…plus, a little healthy fat is perfectly okay!)
  • 1-2 individual boxes of raisins
  • Optional: try adding in 1 tablespoon of maple syrup, 1 tablespoon of shredded coconut,a small handful of chocolate chips or a few drops of vanilla stevia (for extra sweetness)


Directions:

  • Pre-heat the oven to 350°.
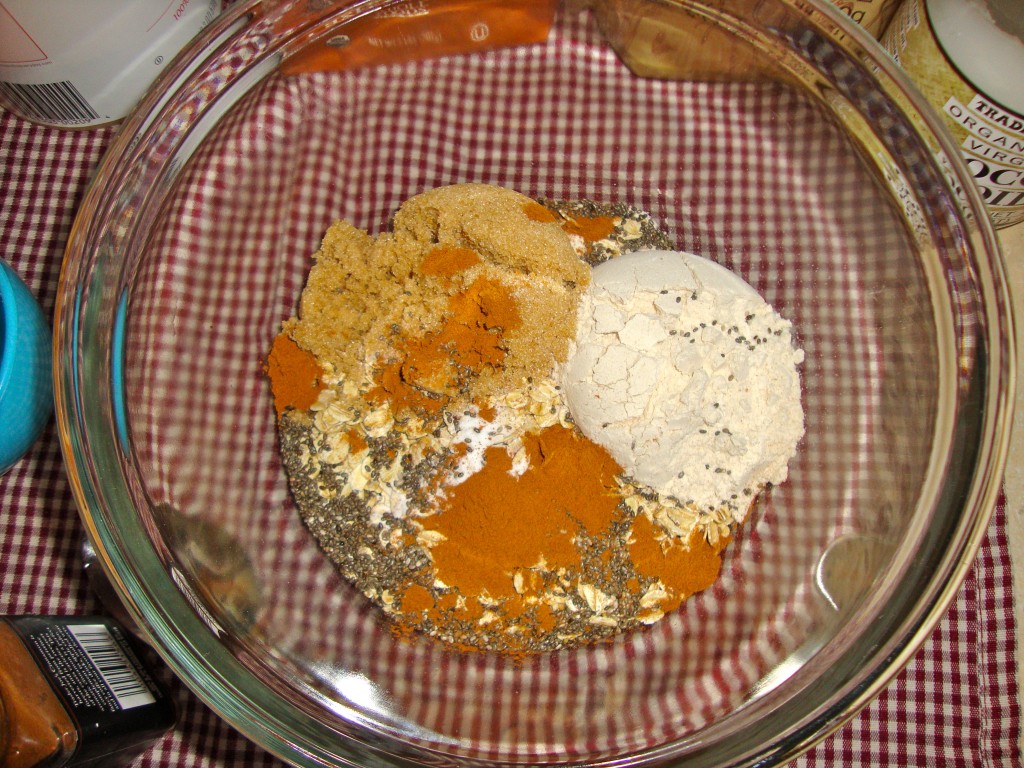
  • Mix all the dry ingredients in a bowl and set aside.

.

.

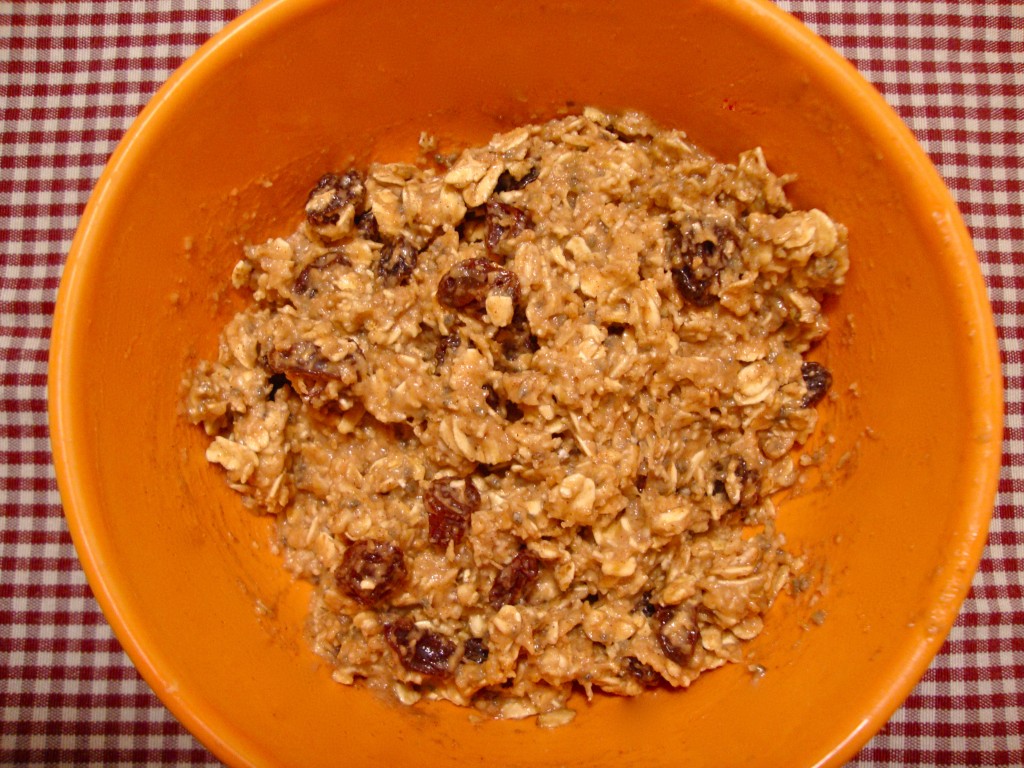
  • Mix all the wet ingredients in another bowl and add to the dry ingredients– mix well.
.
.
  • Grease a cookie sheet with all-natural, non-stick spray or coconut oil.
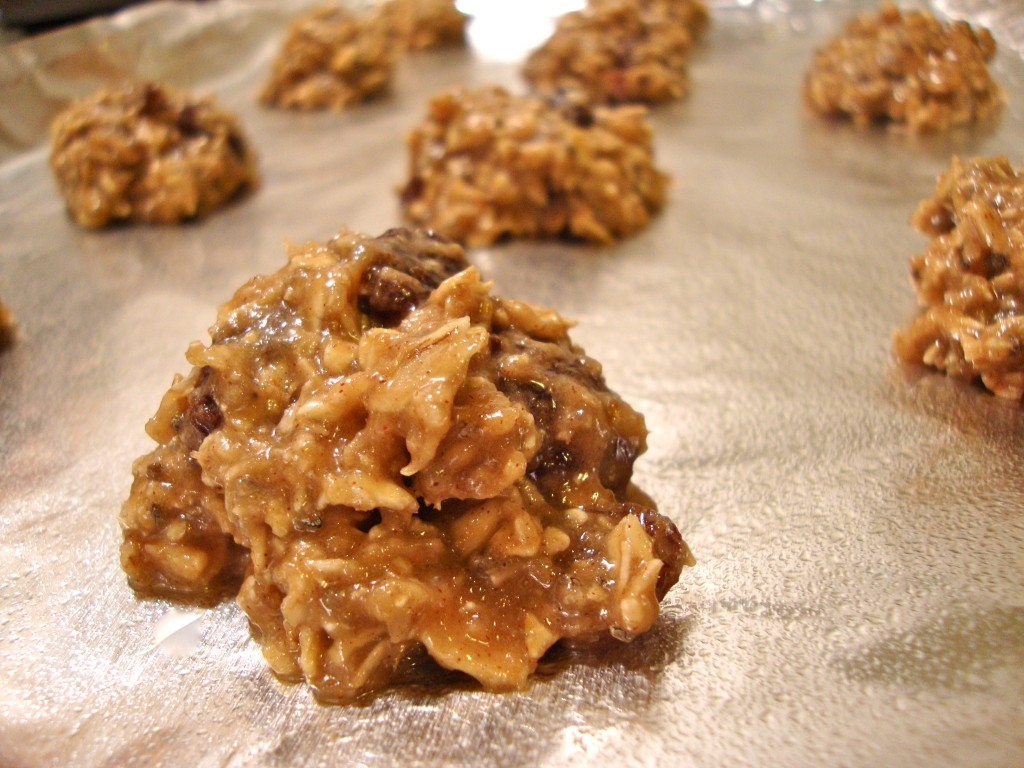
  • Spoon batter into little balls (slightly smaller than a golf ball) and place them on the cookie sheet.
.
.
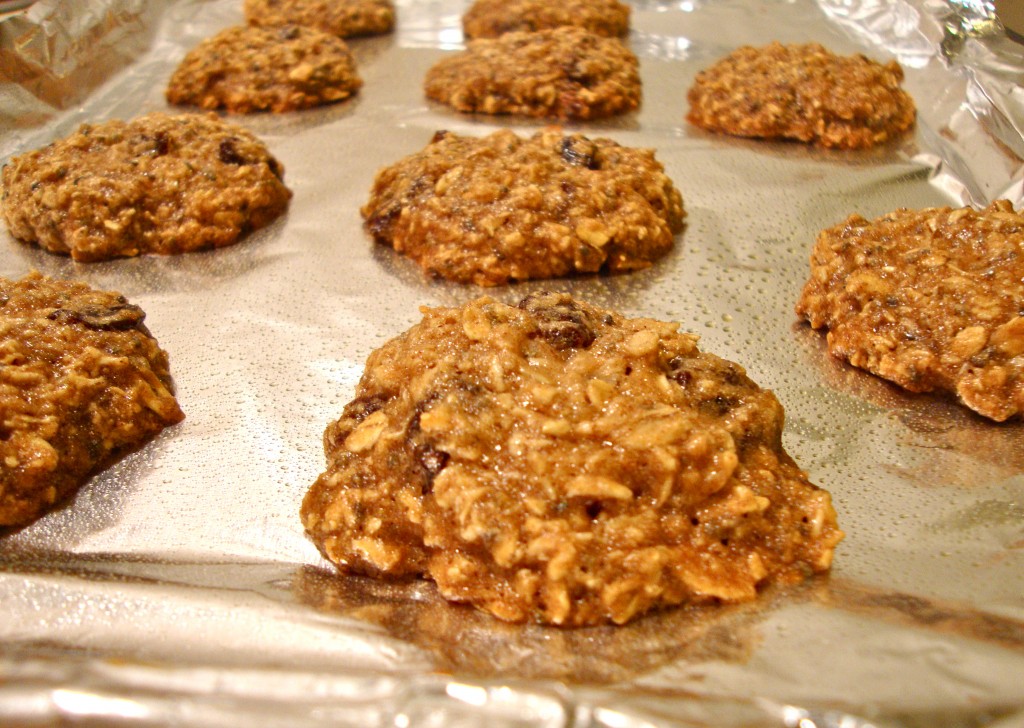
  • Bake for 8 to 10 minutes (or until they start to brown around the edges).
.
.
  • Note: The cookies will be very soft when you take them out of the oven and may not look done– don’t worry–they will firm up as they cool.
.
.
  • Serve with an ice-cold glass of almond milk :)
.
.
  • Store cookies in an airtight container in the fridge for up to 5 days (if you don’t eat them right away that is!)
.

.

Go on.

Show those late night munchies who’s boss!

.

.

Healthfully yours,

.

Ashley Michelle

.


Eating Vegan in Aruba


Bon Bini Aruba!


For those of you who aren’t up on all things Aruban, that means “Welcome to Aruba!” in the local creole language  known as Papiamento. The historical origins of Papiamento are still not 100% known, but their roots have been traced back to Portuguese, Spanish, and various African languages. All I know is, I can say “Mi por a hanja un glas di biña?” (can I have a glass of wine?) and that’s all that matters…right??


Right ;)


Have you ever been to Aruba? Well, if you haven’t been to this happy little island yet…GO RIGHT NOW.  Seriously. Get on a plane and fly away. Just beware…you will never, EVER, want to come back.

.

.

I mean, COME ON….really?  This is real life. And some people actually get to live here. I know. It’s crazy.

.


.

Crazy lucky.

.

.


See, I’ve never been on an island or vacationed anywhere remotely tropical (aside from Florida back in the day) so there’s a chance I mayyy be overreacting a bit– but I’m pretty sure that if there are places BETTER than Aruba, I’m sending in my application to be a tiki bar girl NOW and I’m never coming back.


.

.

Just 17 miles off the Venezuelan coast, Aruba is one of four constituent countries that form the kingdom of the Netherlands– meaning Aruba’s primary nationality is actually Dutch (Dutch is widely spoken on the island due to this tie). So aside from the sun, sand, and serene beaches, Aruba is also known for having some pretty diverse food.  Since the climate and land in Aruba are both pretty dry, the island isn’t able to support much farm land–therefore, most goods (including food) are imported. Aruba does have a booming fish industry however (shocker, I know being an island and all), and they’re able to raise livestock for export and for food.


Sooo… what did that mean for little old vegan me?


Well, I didn’t know much about Venezuelan, Dutch, or island food, but something told me that the combination of the three wasn’t exactly screaming “vegan-friendly!” Just check out these examples of traditional Aruban dishes below:


Appetizers include “sanger yena” (“Aruban sausage”) and “scabechi” (“marinated fish”).

Soups include “giambo” (“Aruban style okra bouillabaisse”–fish-based) and “sopi mondongo” (“tripe soup”).

Main courses include “keri keri” (“grated stewed fish”) and “keshi yena” (“filled cheese shell”).

Side dishes include “pan bati” (“Aruban pancake”) and “funchi” (“Aruban polenta” or “cornmeal mush” often made with chicken stock).

Snacks include “bolita di keshi” (“cheese balls”).


Oy. Not exactly my cup of tea. But I wasn’t about to let a little thing like food get in the way of an amazing vacation or fun, fancy dinners! Plus, I always find a way to figure it out  no matter where I go. (It’s pretty much like a vegan superpower :) ). This time would be no different. And who knows! Maybe I’d be pleasantly surprised– I mean, look at how great Italy turned out.


Of course, in the end, everything did work out quite perfectly (as predicted).  My boyfriend and I stayed at the Marriott Surf Club timeshare, which meant our room amenities conveniently included a small kitchen. So as soon as we were all settled into our temporary home, we went straight to the grocery store down the road and loaded up on fruits, veggies, hummus, edamame, rice cakes/crackers, peanut butter, jelly, pita bread and healthy snacks. We made breakfast and lunch at the resort everyday and then in the evening we would head out to explore the island and find a tasty restaurant for dinner. There was free wi-fi in the hotel lobby so occasionally we’d try to search for popular restaurants online before venturing out for the night, but most of the time we just ended up winging it and stumbled upon bars and restaurants as we walked by the high-rise hotels or explored the bustling Aruba strip.

.

.


On our very first night, we were still feeling a bit tired after the flight, so we decided to stay close to the resort for dinner. As we walked towards the water hoping to find something in a neighboring hotel, we happened upon a beautiful restaurant (Hadicurari Restaurant) with tables right in the sand on the beach just steps away from the ocean.


Perfect.


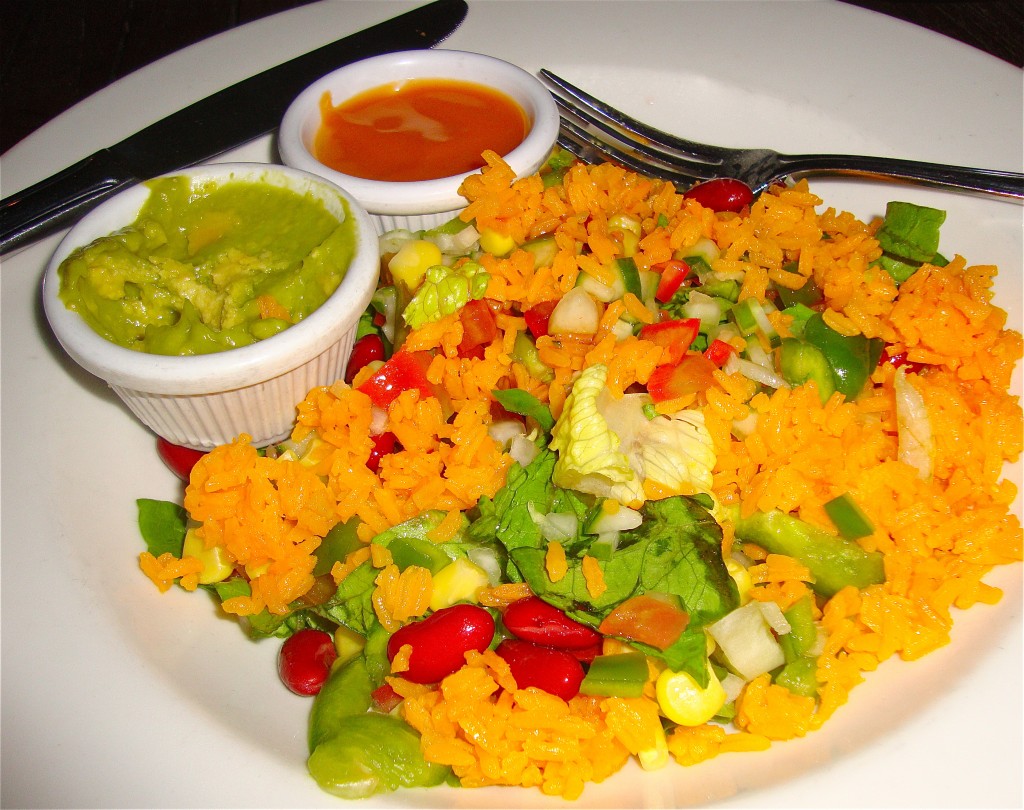
The hostess gave us the best seat in the house– a cozy, romantic table much further from the other customers and the bustling (but super fun!) Moomba bar. I ordered a nice cold glass of chardonnay and salad with a side of guacamole and yellow rice to put on top of my salad. The boyfriend got a tall glass of beer with ribs and fries (opposites attract after all :)).

.

.

Here’s a not-so-great picture of Moomba Bar –located right next door to the restaurant. We spent a lot of time here throughout the week :) . I wanted to show you the cool setup anyway. My apologies for the yucky quality…

.

.

On our second night we decided to do something a little more fun and exciting, so we headed to the Westin Resort (located about a mile down the beach from our hotel) and went to a hibachi restaurant called Blossoms. My boyfriend and I absolutely love, love, LOVE hibachi, so I was excited to try it out and get a good hearty meal in me. The staff at the restaurant were fantastic and extremely accommodating when I told them that I was vegan. The chef made sure to prepare my meal first, and he cooked up my veggies and rice separate from everyone else’s. He also used a little bit of oil to cook my dish instead of oil and butter. The chef was very friendly and outgoing and had all sorts of typical hibachi tricks up his sleeve, but he had to tone it down a bit when the little girl across from us got scared of his onion volcano and cried through the rest of dinner– poor thing!


(Side note: Not sure if this is typical of most hibachi restaurants–none that I’ve been to at least– but LOTS of butter went into the regular fried rice at this place…so much in fact that one of the male diners at our grill told our chef “Please, No more butter!”).

.

.

Please forgive me for not taking a photo of my food, but you see…my meal was so delicious that the moment the plate was put o the table in front of me… I couldn’t wait another second before scarfing it down. I did, however, manage to take a photo of our chef in action and another of our tasty mai tais before we tossed those babies back as well :) .

.

.

On our third night (per my boyfriend’s request) we went to–are you ready for it?–a Brazilian steakhouse called Texas de Brazil. Now, I had no idea what a Brazilian steakhouse was before experiencing it myself, so for those of you who also aren’t familiar with this style of an establishment… let me clue you in. These types of steakhouses are called “churrascarias” and the meat is cooked “churrasco style” –which roughly translates to “barbecue” in Portuguese. Passadores, or waiters who serve the meat, come to your table with knives and large speared skewers displaying various kinds of meat such as beef, pork, filet mignon, lamb, chicken, duck, ham, sausage, fish, or any other sort of local cut of meat (the boyfriend might as well have died and gone straight to heaven. You should have seen his face).


Thankfully, my thoughtful, meat-eating guy knew not to bring me near such a place without checking to see if they served any vegan-friendly options first. He assured me that they had an amazing salad bar and low and behold…there was! Now, when I tell you this was quite possibly one of the BEST salad bars I’ve ever seen, I mean it– I couldn’t put enough food on my plate! I wanted to taste a little bit of everything, so I settled on a sample of marinated veggies, meaty mushrooms, tabouli, olives, rice, beets and pasta salad over a bed of arugula with some homemade dressings on the side.


.

Now, if you’ve been following my blog for a while, most of you know I love a nice bottle of wine or a fancy cocktail when the occasion is right, but I do try to limit my drinking for overall health and wellness reasons (after all, I got plenty of that out of my system while in college ;) ). Sure we casually sipped drinks on the beach during out first couple of days on the island, however, I was ready to let loose a little bit. It was vacation after all! And I think that qualifies as a special occasion, don’t you? ;)

.

.

Let’s just say I quickly realized that I am SO not in college anymore :( . I’m actually slightly embarrassed to admit, that our fourth night was a bit of a blur– and it all started right here at a pier bar with a little sign that read “Happy Hour from 4:00-6:00!” …

.

.

.

You see, beach bars are tricky little things. Every hour is essentially happy hour, because every bar runs a different drink special at a different time! You could go from bar to bar starting at 10:00 AM and you’d easily find a different happy hour special at a different bar straight through to midnight (not that I suggest anyone try this). And with a view like THAT why would you ever want to leave? As you can imagine, after not having a single adult beverage for close to three whole months happy hour qualified as a little bit of a dangerous activity for me– especially when the drinks are two for $8.00…(oops!)

.

.

.


.


 .

.

.

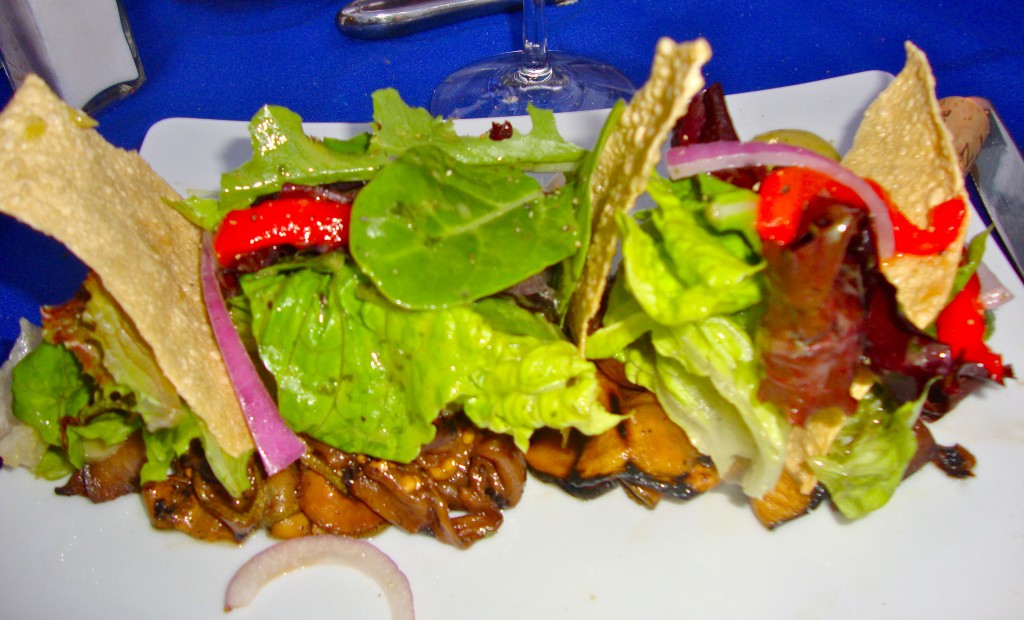
After a few (too many) delicious drinks, we headed over to an incredible restaurant called  Amuse Bistro which was located right along the main boulevard in Aruba by all the shops, vendors, and other restaurants. I had the bright terrible idea to order a bottle of wine (really Ashley?) and for my main course I ordered the “Chilled Smoked Vegetable Salad”– a variety of smoked veggies (mushrooms, peppers, onions) tossed with lettuce and herbed vinaigrette. The salad was amazing (or so I was told) and the presentation was lovely. My boyfriend ordered a “fish of the day” special that he quickly proclaimed was “the best meal of the entire vacation.” I think we have to go back to Aruba just so we can relive this night again…(sans the happy hour this time ;) ).

.

.

.

On our fifth day, we ventured into town to do some shopping after hitting the beach and found an adorable gelato shop. Nostalgic from Italy, I took a peek inside on the off chance that there’d be soy gelato like the kind I found in Rome. And wouldn’t you know…there was! I chose the hazelnut flavor (keeping with my Italian tradition) and my boyfriend settled on a Nutella flavor.

We took our gelato down to the beach just as the sun was setting…

.

.

.

.

Watching the sunset in Aruba is like watching a movie– it’s the evening’s feature presentation. Everyone stops what they’re doing, congregates to the beach, sits down in the sand, and turns their eyes to the sky for 20 beautiful, peaceful minutes. I think this is what I miss most about the island–it reminds me how truly amazing Mother Nature is. Who needs all that technology and TV that clutters our lives when real beauty like this exists in the world?

.

.

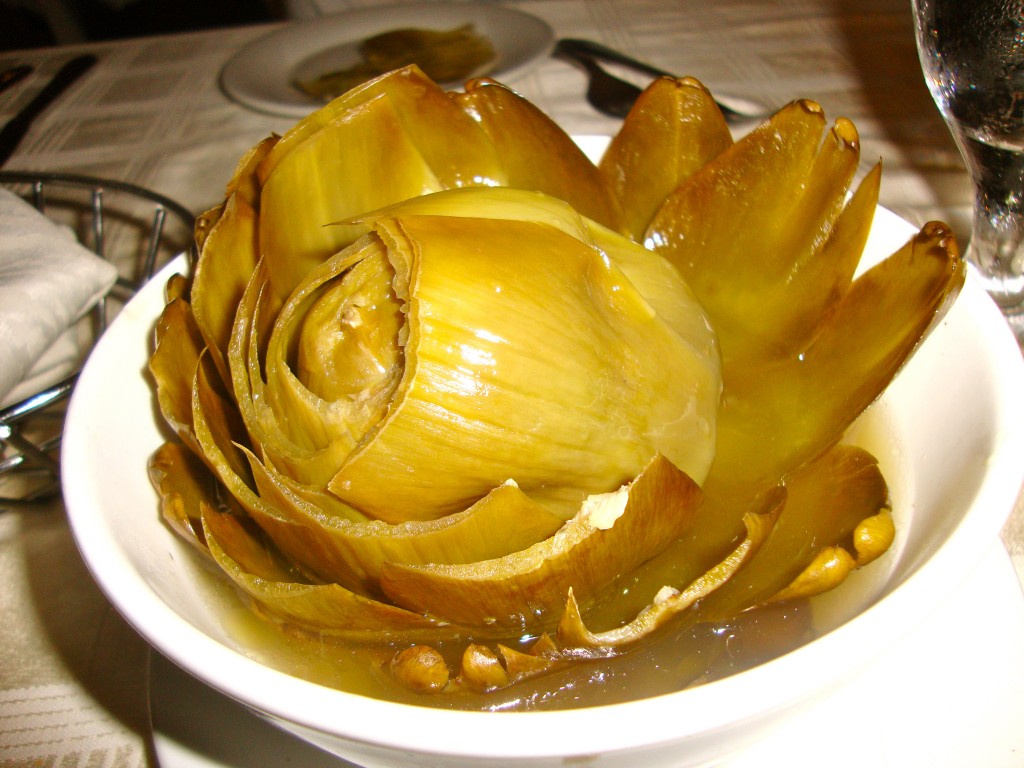
After watching the gorgeous sunset, we walked back over to the main strip in time for our reservation at an Italian restaurant called Gianni’s . We had heard nothing but wonderful things about the restaurant from other vacationers, but we must have caught it on a bad night because neither of us were impressed with our meals and the service was pretty terrible. I didn’t even take a picture of my dinner that night–and honestly, now I can’t even remember what I got. We did enjoy the steamed artichoke I ordered as an appetizer however (Nooo wine/drinks with this meal…after the happy hour festivities the evening before, we needed a break ;)).

.

.

The next day, we vowed to pick a better place for dinner, so after our daily routine of tanning on the beach, lounging in the hotel’s serenity pool, and relaxing in the lazy river (please, don’t hate me!), we headed out to watch the sunset and find a prime dinner location.

I had a hankering for sangria and I really wanted to eat at a restaurant on the beach so we were on a mission to find a place that fulfilled both requirements. That’s when we walked by the Hyatt and spotted this beach-view restaurant (The Palms) surrounded by tiki torches, palm trees, and a stylish-looking bar crowd. As we lingered outside and checked out the menu two couples leaving the restaurant came up to us and raved about how absolutely fantastic the restaurant was.


Sangria was also on special for happy hour….

BINGO.

.

.

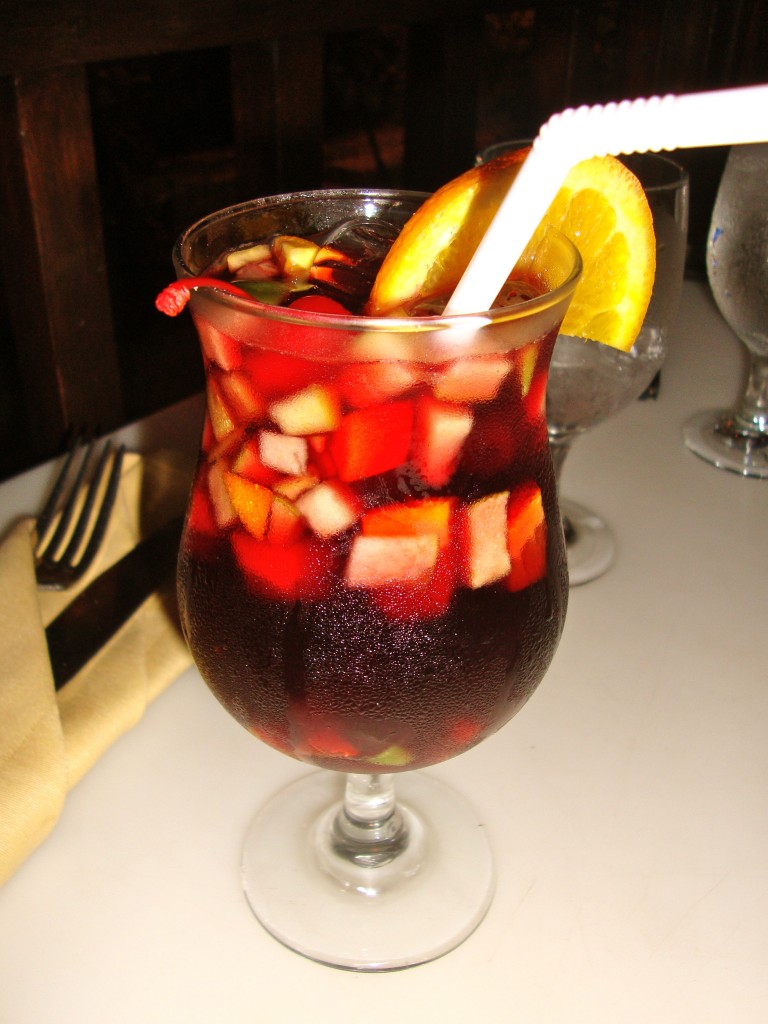
I swear to you, this was the BEST SANGRIA OF MY LIFE. Life changing. Seriously. It puts all other sangria to shame. Oh, and it turns out the food was pretty incredible too :) .

.

.

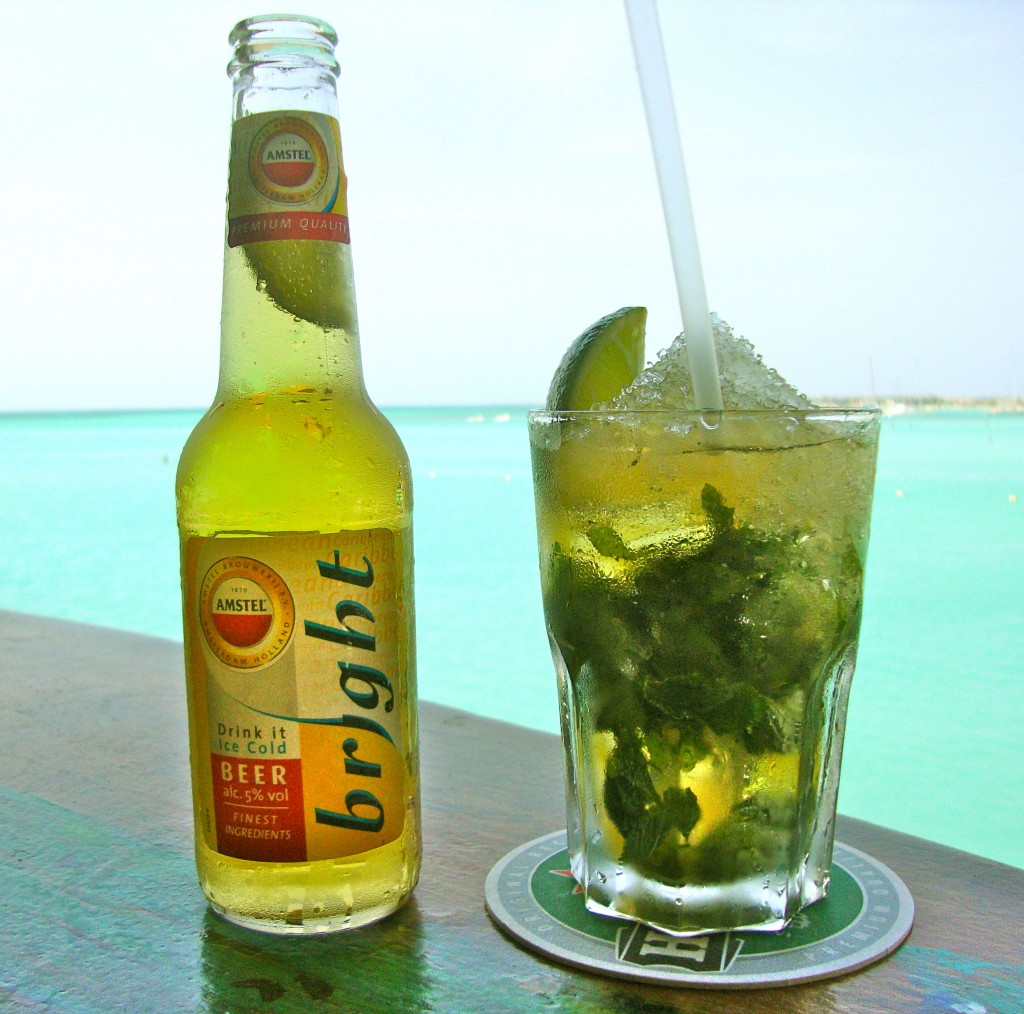
I ordered a yummy tomato-basil wrap spread with an herbed hummus and filled with roasted peppers, asparagus, onions, tomatoes, and radiccio. My boyfriend ordered a small plate of nachos for an appetizer and fish tacos for his main course– both of which he said tasted fantastic. I ordered a couple glasses of sangria (obviously ;) ) and the boyfriend ordered Amstel Bright– his favorite beer of the trip.


After dinner, we walked the beach and happened to pass a couple of beach weddings that evening. We were even lucky enough to catch an impromptu performance by a group of local dancers at one of the ceremonies!

.

.

On our very last day of vacation on the island, we decided to give a different Italian restaurant a try since the last one we went to wasn’t so great. We saw a promising place called Azzurro overlooking the beach at the Playa Linda Hotel just few days before so we decided to give it a shot. I really wanted to have dinner somewhere that had a nice view of the sunset, but without reservations I wasn’t sure if we’d get in. Luckily a table for two opened up just as the sun was going down…

.

.

.

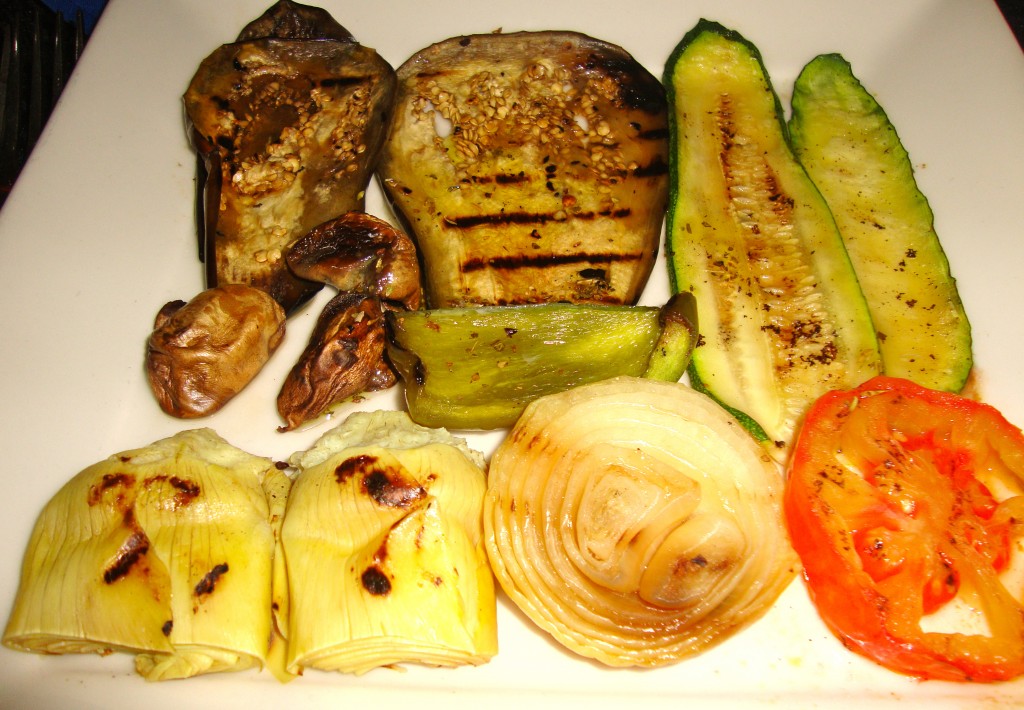
Aside from the gorgeous sunset and the delicious food, the best part of the night was listening to the amazing violinist who played throughout dinner. It was a perfect way to end our trip! I kept my meal pretty simple — I ordered a plate of grilled veggies and a filling bowl pasta fagioli (not pictured because I couldn’t get a decent photo and didn’t want to annoy my fellow diners with 1,000 flashes from my camera). My boyfriend ordered chicken parmesan and pasta.

.

.

.

This trip was everything I could have asked for and more–And it was even better because I could easily adhere to my vegan diet along the way. I’m thinking I should make this a thing…the whole traveling around the world and documenting my vegan eats along the way. Seems like a pretty great gig to me!


Thoughts? ;)


Anyways, for the time being I think I’ll go plan my next dream vacation thank you very much. But for now, I’ll leave you with a few more of my favorite photos…

.

.

.

.

.

.

.

.

.


Mi Stima Aruba! (I love Aruba :) )


.

.

.

Fabulously Yours,

.

Ashley Michelle

.


Sources:

Brazilian Steakhouse

Food In Aruba

Cuisine in Aruba

About Aruba


My First NatureBox + a Coupon Code!


I love trying new things.


Especially when those things happen to be healthy and wholesome yet addictively tasty snacks!

.

(Please Note: I am endorsing NatureBox and writing this review 100% on my own--I am not receiving any sort of compensation from the company).

.


Put me in a Whole Foods on a Sunday afternoon and you’re in trouble. I’ll walk down every aisle deciphering every label, reading every nutrition fact and inspecting every list of ingredients until my head wants to explode (in a good way). Therefore, it should come as no surprise that the moment I heard about a monthly snack service called NatureBox, my interest level piqued big time. I mean…the latest guilt-free, nutritionist-approved, minimally processed, and super delicious treats conveniently delivered straight to my door for just $19.95 a month?


Hello.

How could I say no to THAT?


NatureBox’s mission is simple: Discover a healthier you with foods you can trust. And they want to help you accomplish this without  drastically changing your eating habits– that means snacking is allowed! (Can I get an amen to that??). NatureBox chooses to focus on snacks because they believe that snacking is the easiest habit to change. Considering the average American consumes roughly 25% of their daily calories from snacking alone, this seems like a pretty great place to start…don’t you think? And since NatureBox doesn’t like wasting calories on the bad stuff– they make sure every item in their box meets nutritionist standards. Just in case you’re not 100% convinced yet, when you sign up for NatureBox you’re also making a difference. NatureBox is partnered with Feeding America, meaning the company donates one meal for every NatureBox sold to help feed the over 14 million children in America who go hungry.


Finally.

Snacks you can feel good about eating :)


You can also feel good about the price. When you sign up for NatureBox for only $19.95 a month, you’ll get five full-sized, surprise snacks delivered straight to your door once a month– and shipping is always free! Not satisfied with your NatureBox? No problem. They’ll gladly give you a refund (though I highly doubt you’ll have this issue). You can also pause or cancel your membership anytime. The only downside to this surprise snack system? There’s no way to ensure all the snacks are 100% vegan– although many of them end up being so. Since it isn’t solely a vegan service (although rumor has it NatureBox may start to offer boxes based on dietary needs/restrictions) it’s a good idea to find a roommate or friend you can share with if you happen to get a box with a few non-vegan snacks thrown in ;) .


Now, anyone who knows me knows I LOVE a good deal (and surprises!), so you can imagine my delight when I discovered a coupon for NatureBox on DailyCandy last week (in addition to DailyCandy, NatureBox has also been featured on Rachel Ray and in Shape Magazine). For just $25, I was able to snag a three-month trial subscription to NatureBox. I figured this was a perfect way to test out the program–and if I’m satisfied after three months, I’ll officially sign-up to keep the deliveries coming.

.

.


The verdict?

Let’s just say my first NatureBox did not disappoint.

.


.

.

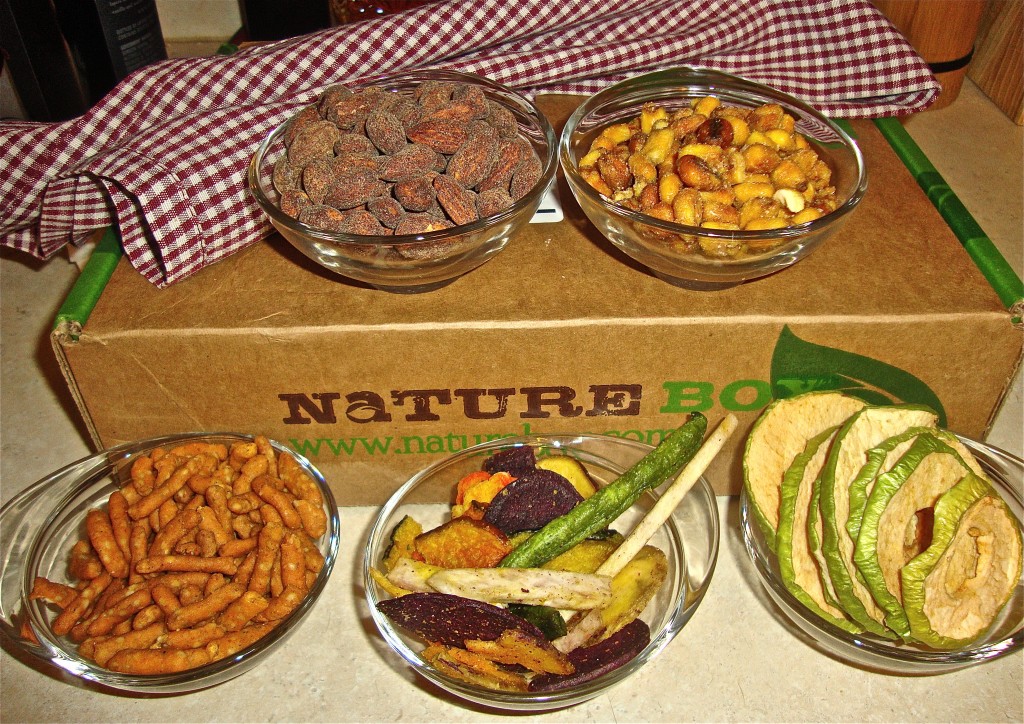
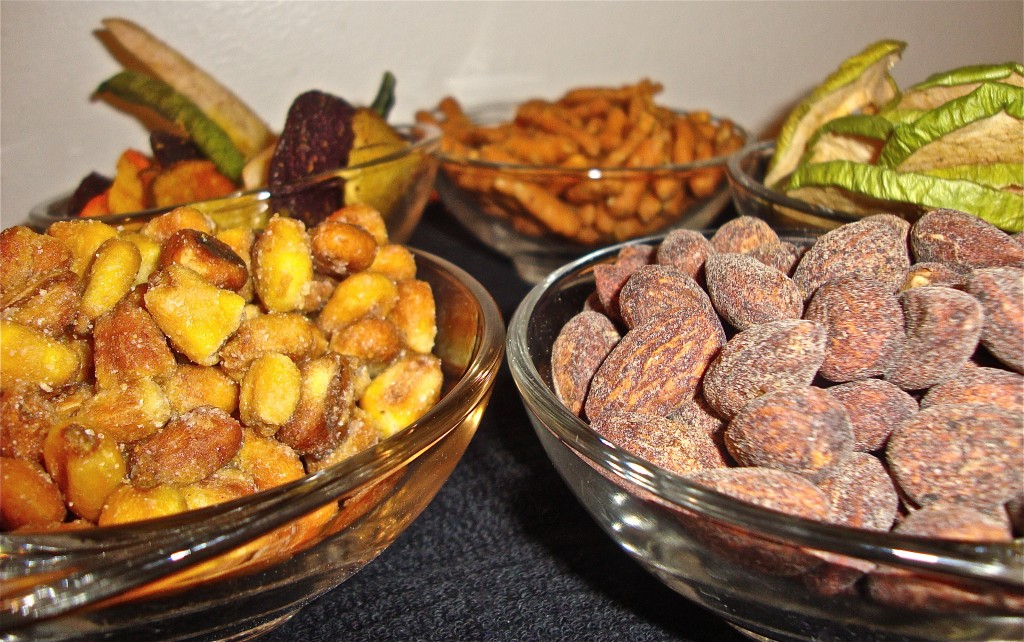
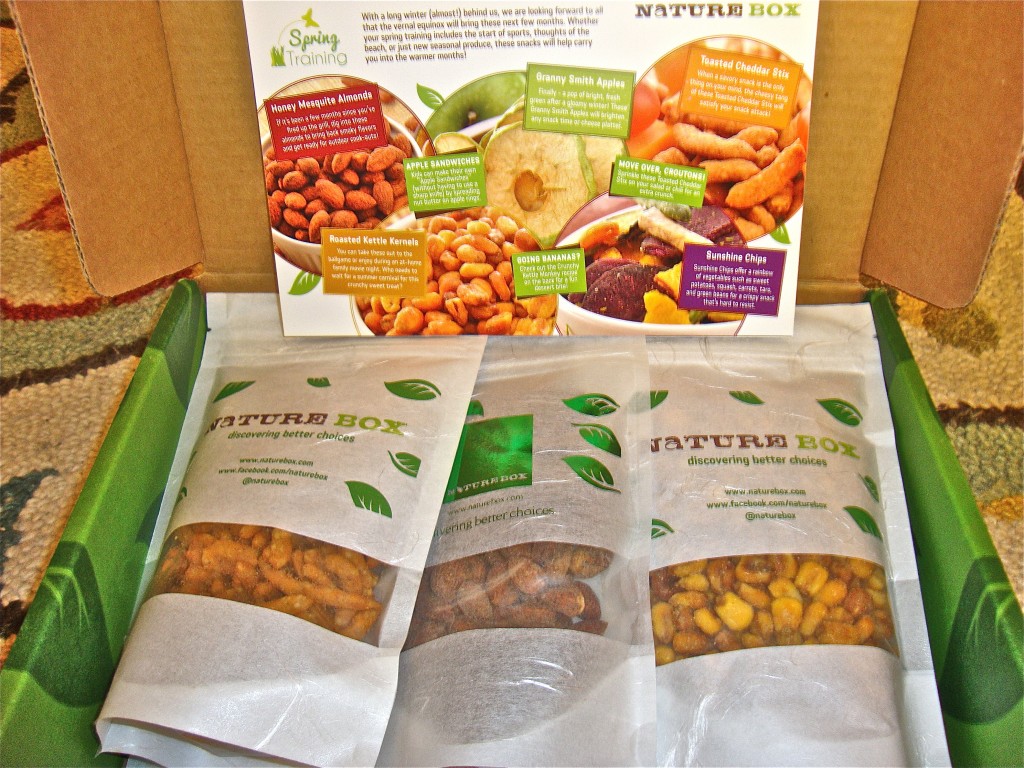
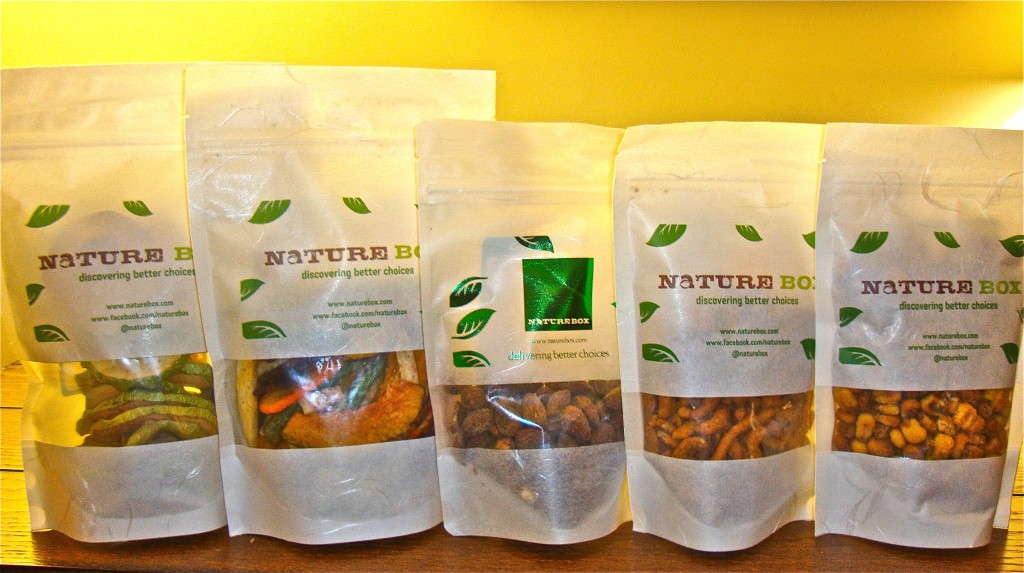
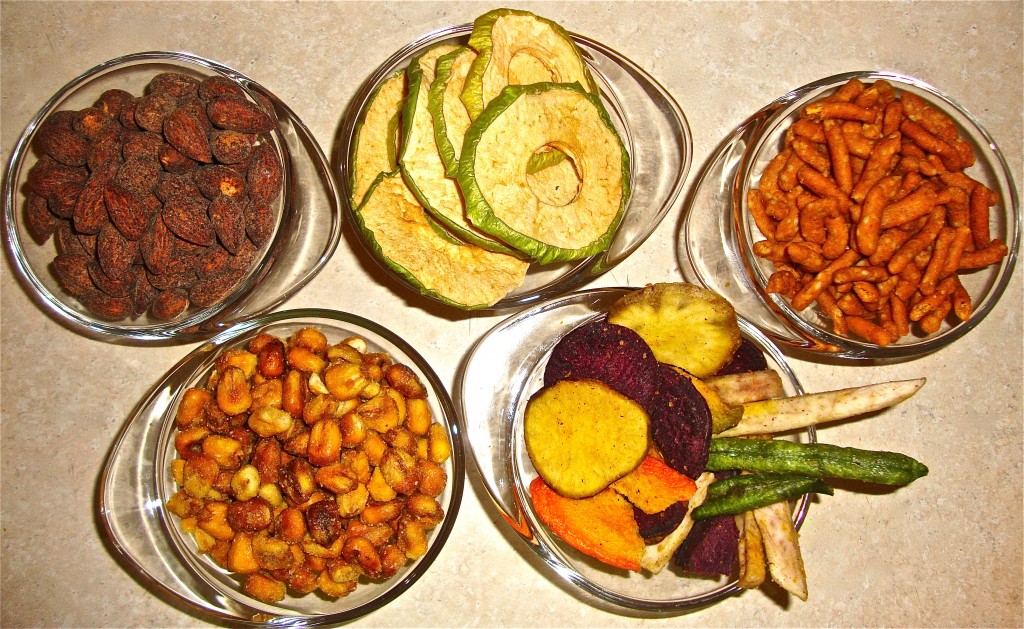
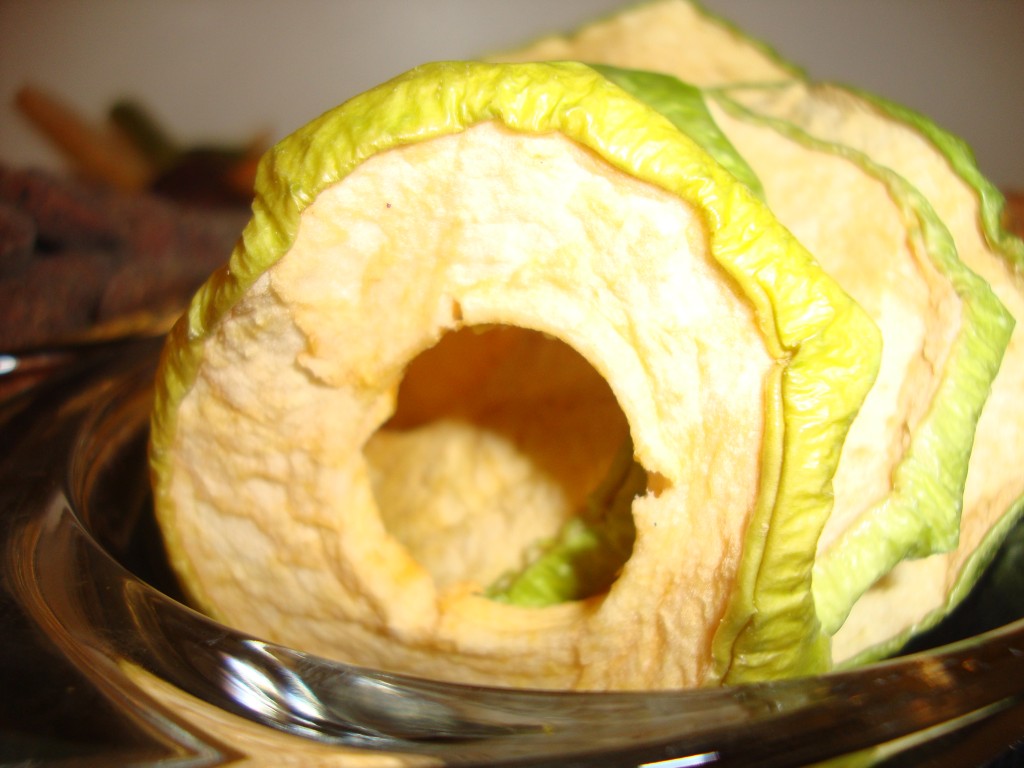
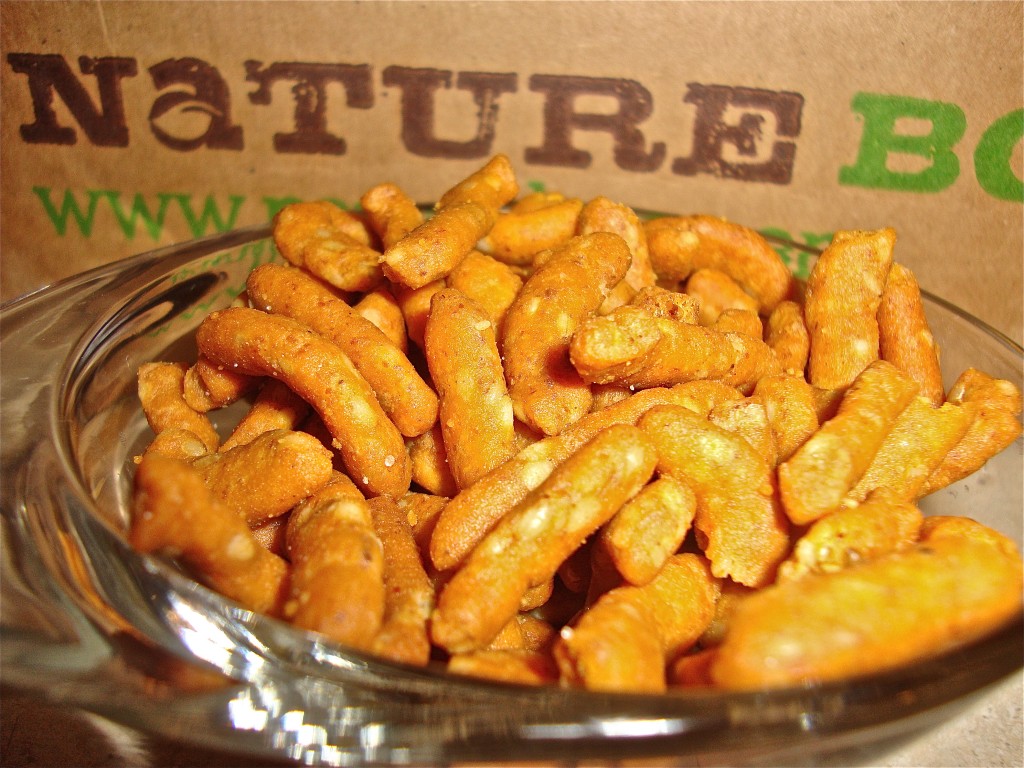
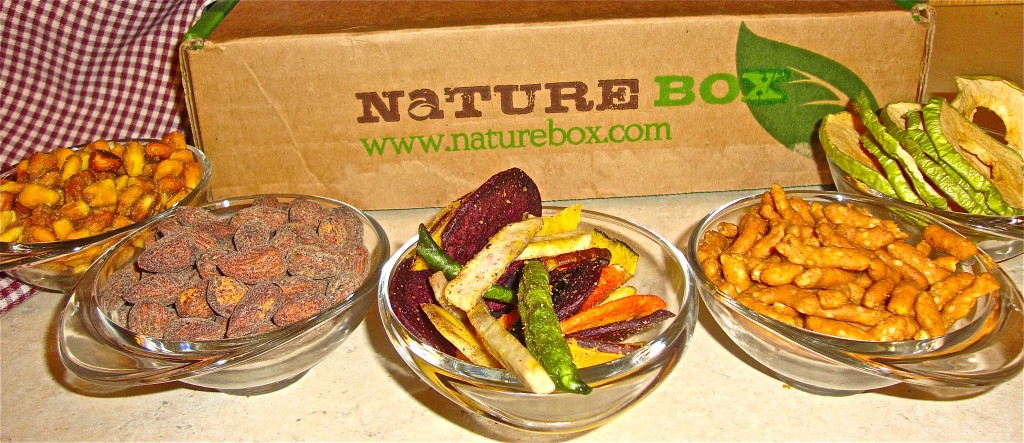
My first box came with five fabbbb-ulous snacks– Sunshine chips, Honey Mesquite Almonds, Roasted Kettle Corn, Granny Smith Apples, and Toasted Cheddar Sticks (I could not eat these because of the cheese, but my boyfriend gladly did! Strict vegans also should not eat the almonds or roasted corn due to the honey). Let’s break it down snack by snack, shall we?


Inside my NatureBox:


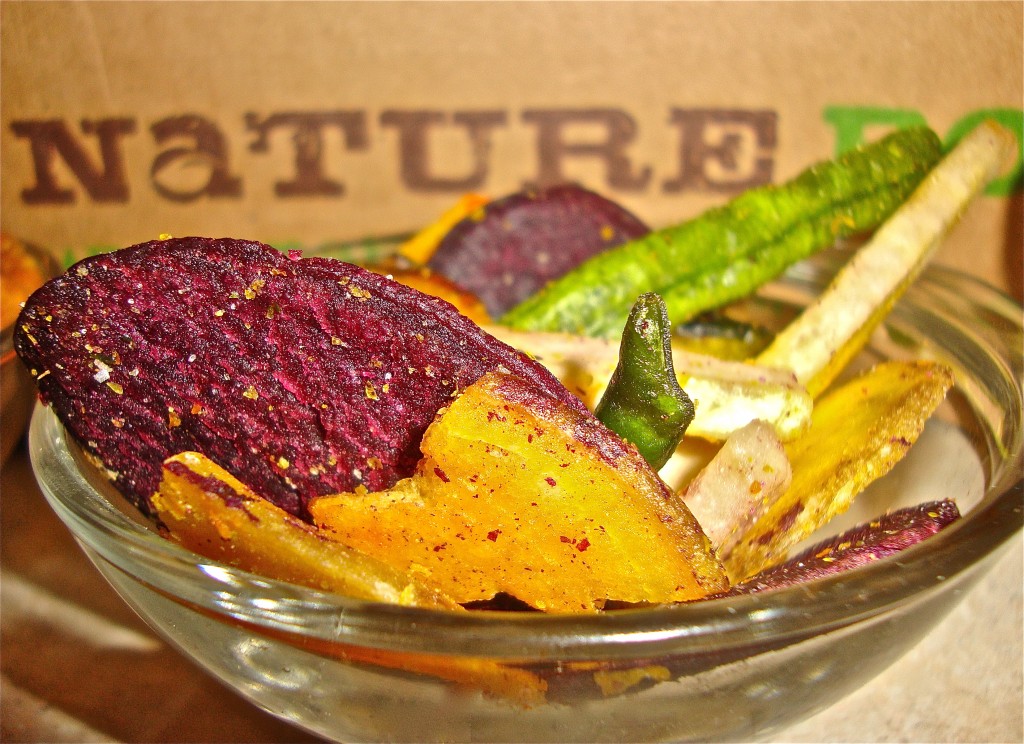
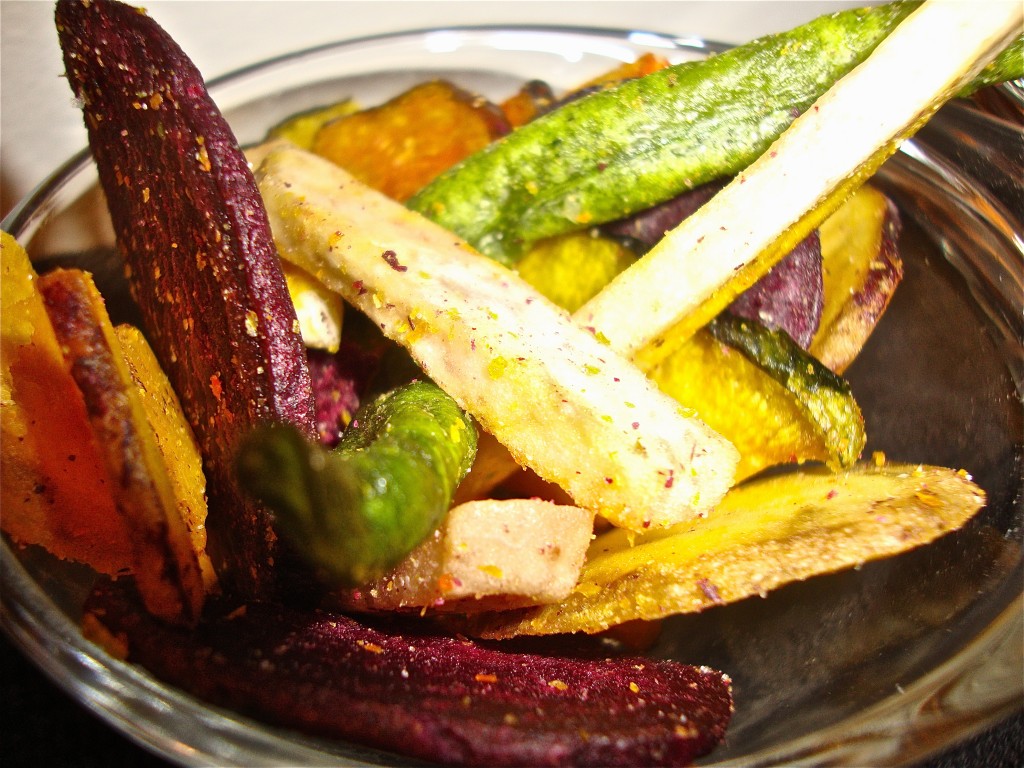
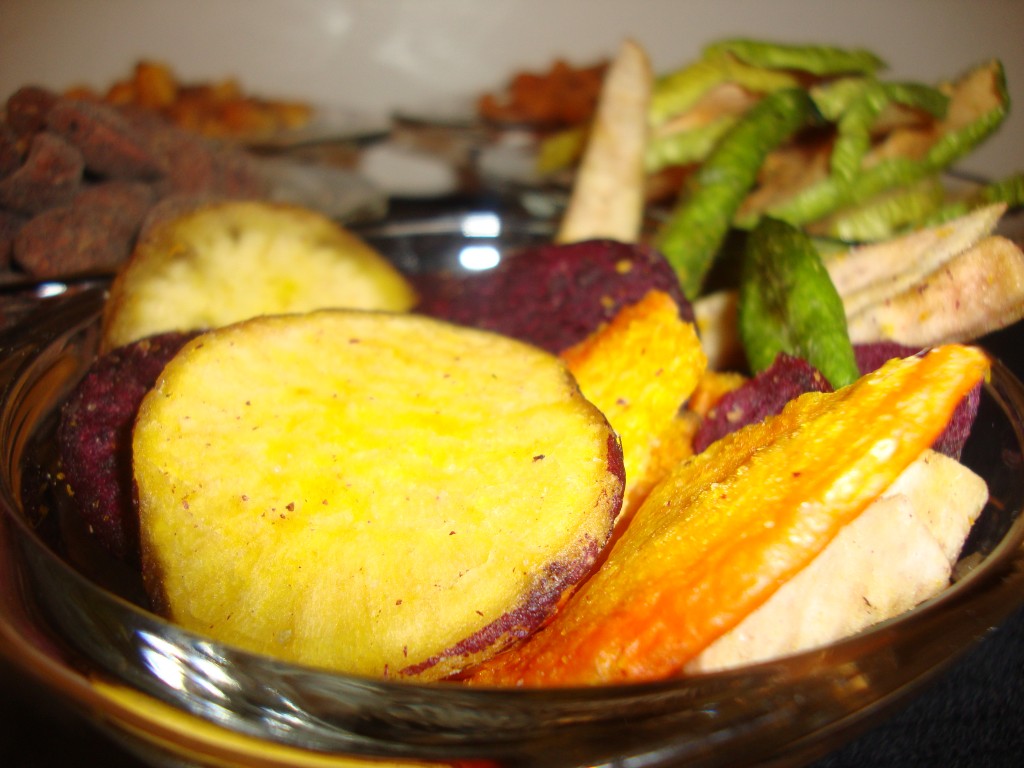
Sunshine Chips:


.

.

.

BEWARE: These crunchy chips and sticks made of sweet yellow potato, squash, taro, carrot, green beans, and sweet purple potato are highly addictive. Not too salty, slightly sweet, and delightfully reminiscent of the true veggies themselves, this snack is a guilt-free way to satisfy your 3:00PM salty/crunchy cravings. I found it hard to stop at just one–and at only 4 grams of fat (none of which is saturated) and 130 calories per serving…it’s okay to go back for that second handful ;) . My favorite chips in the mix? The beet slices and the taro sticks!


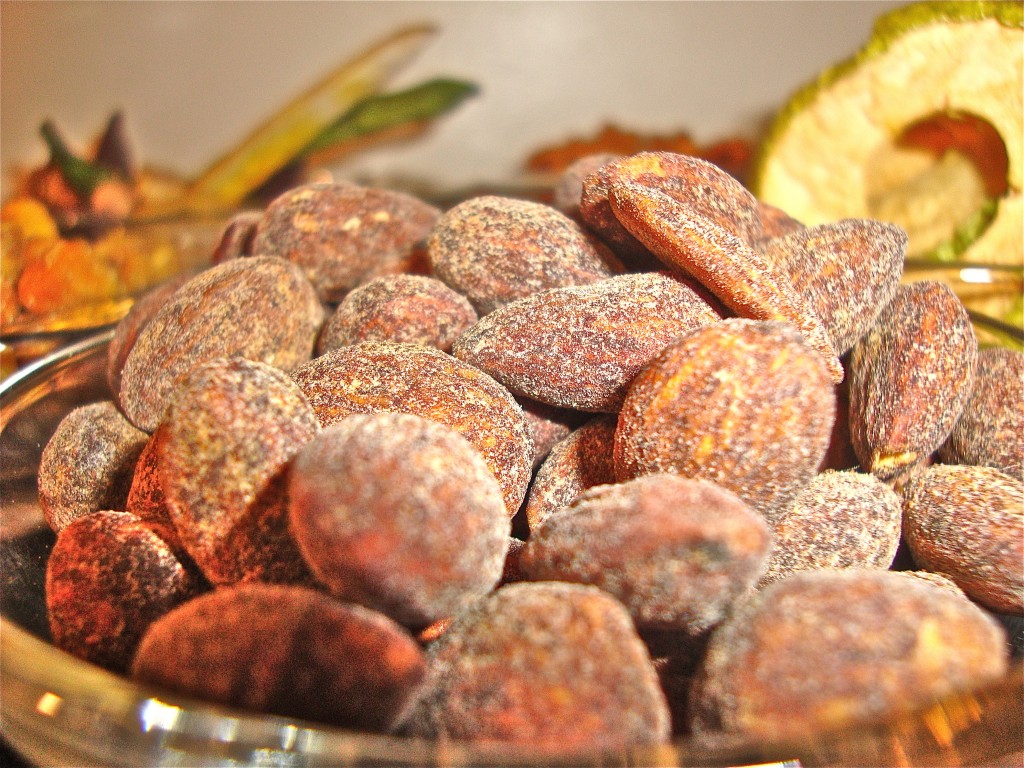
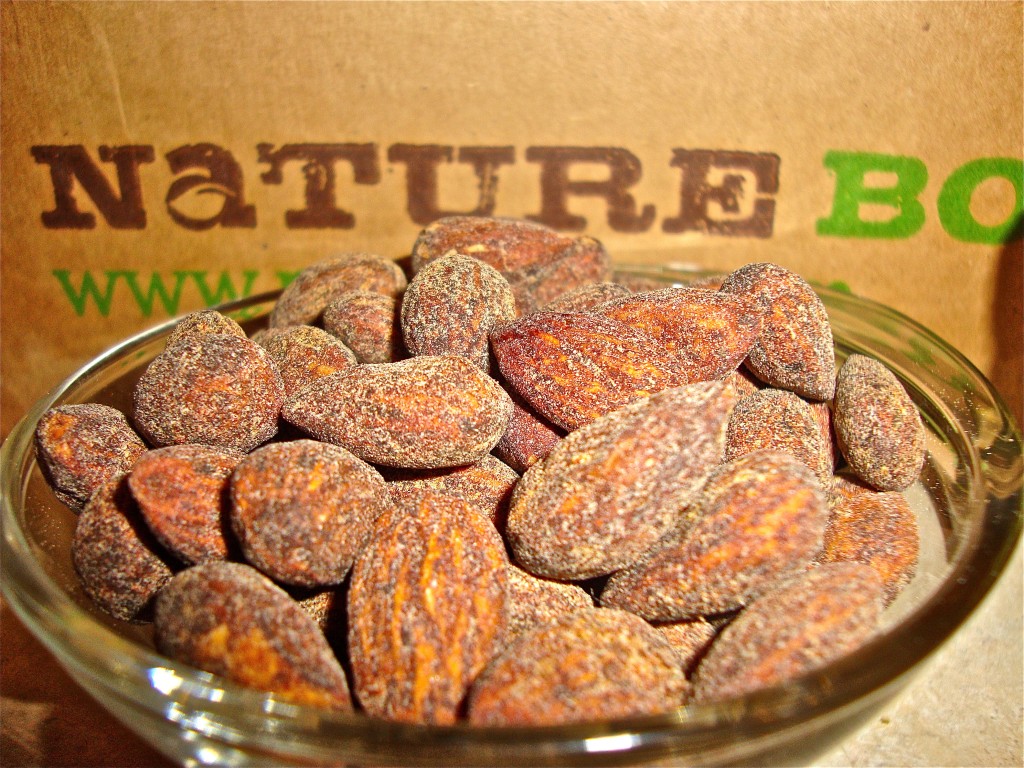
Honey Mesquite Almonds (not for strict vegans due to the honey):

.

.

.


.

Tired of plain old raw almonds? Then these smoked almonds are just the thing you need to kick your afternoon snack up a notch. The almond’s smoky taste is robust enough without being too overpowering (thanks to a touch of honey which sweetens these guys up a bit), and they taste just as good on their own as they do tossed on top of a salad. This snack reminds me of summer barbeques, warm weather, and campfires :) . Make your own trail-mix-to-go by tossing these almonds together with some golden raisins, dark chocolate chips, and your choice of cereal for an easy snack you can take along with you no matter where you go.


Roasted Kettle Corn (not for strict vegans due to honey):

.

.

.

.

This snack is quite possibly the most addictive of them all. The ingredient list may be short and simple–Non-GMO whole kernel corn, sugar, sunflower oil, honey and salt– but the flavor is HUGE. Think kettle corn popcorn minus the whole “popped” part. This snack is extra crunchy and will easily satisfy those late night salty/sweet cravings. My boyfriend and I found ourselves noshing on a small bowl of these kernels instead of our usual air-popped popcorn during movie night last weekend. Feeling crazy? Sprinkle some kernels on top of a bowl of vegan vanilla, banana, or coconut  ice cream. Yum!


Dried Granny Smith Apple Rings:

.

.

.

.


NatureBox has the right idea–why mess with a good thing? And that’s exactly why Granny Smith apples are the only ingredient in this snack. At 100 calories and zero grams of fat for 10 rings, this is just the treat you’ll need when your sweet tooth strikes. So put down the leftover Easter jellybeans people! Who needs candy when you can chew on sweet and tangy dried apple rings? No one. These treats are simply perfect.


Toasted Cheddar Sesame Sticks (not vegan):

.

.

.

.

Take one look at the ingredients on the back of a bag of Cheetos and then take a look at the list of ingredients on the bag of Toasted Cheddar Sticks. NatureBox’s cheddar snacks are made of things like unbleached wheat flour, soybean oil, ground bulgur wheat, sesame seeds, cheddar cheese, salt, and buttermilk while Cheetos are made of all kinds of stuff like corn meal, ferrous sulfate, niacin, thiamine mononitrate, riboflavin, frolic acid, vegetable oil  (or corn or sunflower oil), whey, salt, cultured milk, salt, enzymes, partially hydrogenated soybean oil, maltodextrin, disodium phosphate, sour cream (cultured Cream, non-fat milk), artificial flavors, monosodium glutamate, lactic acid, artificial colors (including yellow 6), and citric acid. So. Which snack would YOU rather eat? That’s what I thought :) . While I didn’t get to taste-test these cheddar sticks, my boyfriend did. He said they were pretty good, but he still prefers plain, non-flavored sesame sticks to these cheesy ones.

.


And juuuust when you didn’t think it could get any better…

.

It does.

.

For a limited time, use the coupon code SNACKHEALTHY and save $10 on your first NatureBox!


.

.


So what are you waiting for?! 

Sign up for NatureBox NOW.

.

After all…

Variety is the spice of life :)


.


.

Healthfully Yours,

.

Ashley Michelle


.


(Please Note: I am endorsing NatureBox and writing this review 100% on my own–I am not receiving any sort of compensation from the company).


Wake-up with Pre-Workout Chia Shots!

Photo Credit: discovergoodnutrition.com

.

.

Wake up with determination.

.

Go to bed with satisfaction.


.

I’ve always been a morning person. I was that girl who signed up for those dreaded 8:00 am classes in college and gladly took an internship which required me to get up at 4:30 am everyday during the summer and senior year (I worked for a morning show at a TV station and I LOVED every second of it).


Yes, Some may call me crazy.

But I prefer to call it dedicated :) .


Fast forward a few years later and I’m still exactly the same. I’m very particular about what time I get up in the morning and I even set my alarm on the weekend (I consider sleeping past 7:00 am late– for me at least!). I’m suppose this is because I’m super particular about how I like my day to pan out–i.e. I’d rather tackle my errands and responsibilities as early as possible so that I have more time to relax (and blog!) later in the day as opposed to rushing around trying to get things done before bedtime. It probably doesn’t surprise you, then, that I was also the girl who finished her papers/projects days before they were due. No all-nighters in the library for me! I know. SUCH a dork.


I find that the same level of particularity can be applied to workout schedules–people tend to be either morning workout warriors or late night sweat sesh gurus. Some people like to hit the gym after dark to work off the stress of the day while I love to get in a hardcore workout first thing in the morning (shocker, I know) because I believe it sets a healthy tone for the rest of my day.


The problem with this?

Breakfast.


During the week, I get up at 5:00 am and I’m at the gym by the time it opens at 5:30. The last thing I want to do that early in the morning is eat, but halfway through my morning spin class… I’m always absolutely starving. Ironically, however, breakfast is my absolute favorite meal.  I find nothing more relaxing than waking up on a weekend, making a hot cup of tea, catching up on the news and preparing a healthy breakfast before I hit the gym. I’ve also noticed that when I eat a nice substantial meal… that’s when I get in my very best workouts. Still, during the week, it’s been difficult for me to make this happen.


If there’s one thing I know, it’s that people and breakfast are weird. For example, my boyfriend could be running 30 minutes late to work but he’ll still find a way to sit down to eat a bagel with cream cheese and leisurely drink two cups of coffee every. single. morning. Me on the other hand? I’ll spend the extra time doing my make-up, whipping up lunch, or ironing an outfit while I scarf down a handful trail mix and make a run for the bus. I also have a friend who prefers to eat an entire dinner and then go for a nice long run. The mere idea of running on a full stomach nauseates me, but it works for her. The real trick is finding what works (and feels) best for you. I clearly needed to find something that worked for me and my early morning workout routine, so that’s when I started brainstorming….


What can I eat first thing in the morning that’s easy on the stomach yet provides enough energy to power me through a workout?


Enter Chia Shots :)


Now, if you’re a frequent reader of my blog you know exactly how I feel about the powerful little guys known as chia seeds (you can read all about them plus get a pretty delicious recipe in my post here). To make a long story short, they’re amazing! Don’t believe me? Just check out all of these fabulous health benefits they have to offer below:


  • They deliver the max amount of nutrients with the least amount of calories.
  • Chia seeds have 2x the protein of any seed or grain.
  • They have 3x as much iron as spinach.
  • Chia seeds increase stamina and energy over long periods of time (they are becoming a favorite among marathon runners!)
  • They can aid in weight loss (chia seeds absorb up to 7x its weight, and expand to curb appetite/make you feel full).
  • They are rich in alpha-linolenic acid, also known as ALA.
  • Chia seeds can reduce overall cholesterol and increase good cholesterol (HDL)
  • They are heart-healthy in that they have one of the most concentrated sources of Omega-3 than in any other food (even salmon).
  • They also contain high amounts of Omega-6 (both Omega-3 fatty acids and Omega-6 fatty acids cannot be made internally and must be obtained through diet).
  • They contain the essential minerals such as sodiumphosphoruspotassium (2x as much as bananas), manganese, and calcium (5x more than in milk!).
  • They are FULL of antioxidants (3x as much as blueberries!).
  • Chia seeds have 11 grams of dietary fiber in one ounce (the soluble fiber improves digestion and helps to reduce glycemic spikes)
  • They do not need to be ground like flax seeds in order to reap their benefits.
  • Chia seeds have a long shelf life and do not spoil as quickly as other seeds (like flax-seed).
  • They soothe heartburn and calm the digestive system due to the gel-like substance they form when mixed with a liquid (this is especially helpful for people with IBS).
  • Chia can relieve itchy skin (in oil form)
  • They can help to balance blood sugar/prevent glucose spikes


Sounds like the perfect powerhouse food to me!


Now, I will be honest– chia seeds can take a little getting used to. When soaked in liquid, they expand up to 7x their weight and develop a gel-like coating. The consistency reminds me of tapioca pudding (I grew up eating tapioca and rice pudding, so it has never bothered me that much). Don’t worry, there are plenty of other ways to reap the benefits of chia seeds if you don’t love the texture in a pudding form (blended into a smoothie, sprinkled over a salad, mixed into my Weekend Workout Oatmeal–don’t worry, recipe to come!), but I urge you to give the soaked version a try– when you discover how great you feel after eating them you won’t be turning back :) . PLUS, the best part of all is that you can mix this recipe up the night before, toss it in the fridge, and voilà! It’s ready for you in the morning before you head to the gym.


Now you can have a quick and tasty-pre-workout snack that will power you through your gym sesh!


Pre-Workout Chia Shots


Ingredients:

  • 2-3 tablespoons of chia seeds
  • 1/3 cup of unsweetened almond milk (add more or less milk depending upon how thick you want the consistency of the chia shots– i.e. do you want to drink it or eat it with a spoon like a pudding)
  • Slightly under 1/4 teaspoon of vanilla extract (or almond extract)
  • 1/2 packet of stevia
  • Cinnamon or pumpkin pie spice (to taste)
  • Optional: Add in some powdered peanut butter or cocoa powder (to taste), raisins, a spoonful of granola, a few chocolate chips, a drizzle of 100% maple syrup, or a some slices of banana.


Directions:

  • Measure out chia seeds in a small glass, mug or bowl.
.
.
.
.
  • Pour almond milk over the chia seeds.
  • Add stevia, your extract of choice, and any other fun surprises you might like. Mix well.
.
.
.
.
  • Chill in the fridge overnight (just give the chia pudding a good stir before you eat it in the morning) or wait 10 minutes and mix well if you want to eat it right away.
.
.
  • For an actual “chia shot,” pour chia pudding mixture into shot glasses and shoot em’ back! (Actual shot glasses are totally optional– feel free to use a spoon if you’d like :) ).
  • Follow these chia shots with a small, healthy breakfast post-gym and you’ve set the groundwork for a nice, healthy day!
  • Note: Of course these shots can be eaten any time of the day for a healthy snack or even for some protein-rich post-workout fuel. And if you’re looking for a more substantial snack, breakfast, or a healthy dessert– simply double up the recipe for a bigger bowl of Chia Power Pudding.
.
.
.

So eat up early birds!

.

And never go hungry during a workout again. 

.

Cheers to that! ;)

.
.

.
.

.

Healthfully Yours,

.

Ashley Michelle

.

.

.


Healthy Hangover Cures

Photo Credit: tumblr


x

Happy St. Patrick’s Day everyone!


Let’s face it– no one can be a health-nut 100% of the time. And when St. Patrick’s Day falls on a weekend, there’s no denying it’s going to be tough to be good and not give in. So go on. Be safe. Have fun. Join in the celebrations. But be ready to face the consequences…


After a weekend of Irish bar hopping, dancing, singing and plenty of indulging in green beer (while you’re at it check out this list of vegan-friendly beers) your body is going to need some serious damage control. And as much as you’d like to stuff your face with greasy fries and a burrito at 9:00 AM the morning after the fun festivities…allow me to be that little conscious on your shoulder telling you “STOP!!! DON’T DO IT!”


Sorry… (not sorry).

You’ll thank me later.

Promise.


So, instead of eating unhealthy foods, wasting the entire day away in bed, and pretty much hating yourself for doing so afterwards… grab a tall glass of water and allow me to share some of my healthy hangover tips that will help to get you back on your feet and feeling better in no time :) .


Have a Healthy Hangover:

x

Photo Credit: busanhaps.com


x

  1. Take your vitamins:

    Alcohol causes inflammation. Inflammation causes health problems (including hangovers).  Omega-3 fatty acids combat inflammation. So, the easy thing to do? Pop a couple of omega-3s to reduce inflammation. An added bonus? They’ll help with those questionable puffy, red eyes of yours as well. Another vitamin that helps with hangover symptoms is vitamin B. Vitamin B (which plays a key role in the functioning of the brain and nervous system) is known to speed up the metabolism of alcohol, so it’s a good idea to take a vitamin B complex before you go out and first thing in the morning when you wake up.


  2. Sip peppermint tea:

    Start your morning off with peppermint tea. Peppermint leaves have a soothing aroma and some pretty great therapeutic powers. When made into a tea, they settle the stomach and help with indigestion– two major hangover culprits. Peppermint also helps to cleanse and detoxify the liver, and by cleansing and detoxifying the liver you’ll able to speed up the hangover recovery process. Since the liver is in charge of filtering alcohol and other toxins from your body, it’s probably a good idea to give the poor guy a break (after all those green beers, it’s the least you can do). Lastly, peppermint tea contains antioxidants– while antioxidants may not help with your nausea, they do help to get your skin looking great–and chances are your skin could use a little boost after all that dehydrating alcohol anyways. So, drink up!


  3. Have a green smoothie:

    I know the idea of getting all the ingredients together to make a green smoothie is about as appealing as a shot of tequila right about now…but trust me on this one. You’ll feel 100x better after drinking this healthy concoction.  After a night out, your poor body is already working hard enough to process all that poisonous alcohol filtering through your liver– so the last thing you should do is make it work even harder by filling up your belly with greasy, fatty junk food that takes extra time to break down (Please don’t cry. I know that’s what you really want, but it will do you no good). The better option? A healthy smoothie. My Green Superstar Smoothie is crammed with vitamin C, antioxidants, and hydrating nutrients that will help you to kiss your hangover goodbye. Detoxifying ingredients like lemon juice, parsley, and cilantro will have you feeling refreshed and revived in no time, the banana will level out your potassium levels, the pear and apple will give your system a healthy dose of vitamin C to stimulate the liver (and potentially fend off any germs you may have picked up the night before), the spinach is also full of hangover fighting vitamin C as well as sulfur and folic acid, and the water will rehydrate your very dehydrated body.


  4. Order miso soup:

    After a night out on the town, chances are you’re dehydrated and devoid of the proper sodium, water, and nutrients your body needs due to the diuretic effects of alcohol. Miso soup, the popular soup you can order in Japanese restaurants,  is chock full of beneficial enzymes, nutrients and bacteria that can help to undo some of the damage you did the night before. Miso soup is also fermented and the healthy bacteria created through the fermentation process can help settle an uneasy stomach.


  5. Drink kombucha tea:

    Once again the Japanese have it right. Kombucha tea is that fancy bottled tea you can find at Whole Foods with weird stuff floating at the bottom. That weird “stuff” is actually a symbiotic culture of bacteria and yeast, and when it’s fermented, the healthy bacteria created actually helps to settle a queasy stomach. It sounds a lot yuckier than it really is, and the slightly alcohol-y  taste may take a little getting used to (there are trace amounts of alcohol in the tea as a result of the fermentation), but this tea contains probiotics which are great for your gut, especially after it’s been stripped down and abused by booze from the night before. I like GT’s Kombucha Tea best.


  6. Brew a cup of green tea:

    Instead of making the trek to Dunkin Donuts or immediately reaching for that pot of coffee to get your caffeine fix, brew up a nice warm cup of green tea instead. Green tea is chock full of antioxidants that can help to fight free-radicals (which are released by alcohol) and the caffeine in green tea can help to ease your headache.  Another trick that may ease your hangover? Drink a cup of green tea when you get home from a night out and about and let those anti-oxidants do their restorative work while you sleep.


  7. Sweat it out with exercise:

    Okay people. I know you are probably rolling your eyes at me right about now, but hear me out. Exercise gets the blood circulating, and the sweat going which helps to eliminate waste and all of those nasty toxins produced by the alcohol that makes you feel so gosh darn awful in the first place. Plus, exercise releases endorphins. Endorphins make you feel happy. And let’s be serious–when you’re hungover, you need all the happy feelings you can get. (I also know I don’t need to remind you that alcohol isn’t exactly figure-friendly…so it’s a good idea to get moving in order to balance out those unhealthy calories).


  8. Crack open a coconut water:

    When you’re hungover, don’t reach for the Gatorade (have you read about the scary ingredient in the popular drink that’s also found in flame retardants?). Coconut water is nature’s sports drink. It’s low-calorie, fat-free, cholesterol-free and has far less sugar than other juices or recovery drinks. It’s also full of vitamins, minerals and those all-important electrolytes that the human body needs to function properly. Electrolyte imbalance (too much or too little) can cause the muscles in your body–including your heart–to malfunction. When this happens illness can occur. Thankfully, coconut water has five of the same electrolytes also found in human blood. Potassium, one of the most important electrolytes, regulates the body’s water level so you don’t retain too much water or dehydrate. Potassium also conducts electrical impulses for heart contractions, nerve conduction, and skeletal muscle movement. Just one serving of coconut water contains 250 mg of potassium (the recommended daily allowance is 2,000 mg). Need more proof that this stuff is amazing? Fun Fact: 100% coconut water has been used  intravenously when conventional hydration fluids were not available. Talk about healthy!


  9. Chew on some crystallized ginger:

    Ginger has been used to treat nausea, morning sickness, and inflammation for years, but its strong flavor may not be pleasant to everyone. If you like the taste of ginger tea, drink a cup first thing in the morning to settle your uneasy stomach. I’m not a huge fan of ginger tea myself, but crystallized ginger (which is sugar-cured ginger root) is a much more palatable way to enjoy the benefits of this potent spice, especially first thing in the morning. This is a much better alternative to drinking ginger ale, which often has caramel color and high fructose corn syrup– unhealthy ingredients that won’t help your overall health or ease your hangover one bit. You can find crystallized ginger in health food stores or the natural section of most supermarkets.


  10. Jump in a hot shower/bath:

    Peel yourself off the couch or roll out of bed and get into a steamy hot shower or a nice relaxing bath. Not only is it soothing for your feet, your head, and your belly, but maybe (just mayyybe) you’ll be motivated to get out of the house at some point during the day if you wash off the scent of booze from the night before. An added bonus? The steam will open up your pores, get your skin breathing, and increase circulation so you can get that healthy, pre-hangover glow back.


  11. Take a nap:

    PHEW! Aren’t you happy to see this fun activity on the list? Consider this one a gift. After you’ve worked out, eaten well, and taken a shower…GET YOUR REST! I’m giving you permission to nap and watch all the trashy TV you want (preferably anything on Lifetime, TLC, Bravo, The Food Network, or E!). Enjoy :) .


    Rest up, relax, and feel better soon everybody!

    x


    Photo Credit: Pinterest


    x


x

Healthfully Yours,

x

Ashley Michelle


x

Sources: 

Potassium Levels in Coconut Water 

Time Magazine: Coconut water is nature’s hangover relief

CNN: Hangover remedies

Wholesome Hangover Helpers

Livestrong: Crystallized Ginger

Glamour Magazine: Hangover cures

Hangover Cures You’ll Need for the Holidays

Bon Appetit: Healthy Smoothies

VegNews: Vegan Beer