CONFESSION:
.
I have a dangerous addiction…
.
.
.
.
To smoothies, that is.
Okay…so “dangerous” might seem like too strong a word, but that’s exactly what my smoothie concoctions are…dangerously delicious ![]() . In fact, I’ve rarely met a smoothie I haven’t liked. I mean, it’s pretty hard to make a mistake preparing something that gets pulverized into a drinkable form– no boiling, baking, sautéing, or julienne-ing necessary. Seriously. It’s pretty much the easiest snack, meal, or treat you can (quite literally) whip up!
. In fact, I’ve rarely met a smoothie I haven’t liked. I mean, it’s pretty hard to make a mistake preparing something that gets pulverized into a drinkable form– no boiling, baking, sautéing, or julienne-ing necessary. Seriously. It’s pretty much the easiest snack, meal, or treat you can (quite literally) whip up!
Pressed for time? Make a smoothie!
Hungover? Make a smoothie!
Looking to revamp your diet? MAKE A SMOOTHIE!
Okay, okay. I know what you’re thinking– I understand how booties, baubles, and a killer pair of heels can make a girl go wild, but can a smoothie really be that exciting? In one word, YES! And after taking a quick trip to the grocery store you’ll be creating healthier, tastier smoothies while increasing their nutritional value in no time at all. JUST BEWARE– not all smoothies are created equal! If you’re not careful, your “healthy” beverage can quickly become a sugar and fat trap. But don’t worry! With a little guidance you’ll be drinking your way to heath and wellness. Thankfully, I’m just the gal to show you how it’s done ![]() .
.
Step 1 : Choose your base
(Ready to have your mind completely blown? THERE AREN’T ANY SPECIAL HEALTH BENEFITS OR NUTRIENTS EXCLUSIVE TO DAIRY MILK! You can easily get vitamins, minerals, protein, and healthy fats from a variety of non-dairy milks– and YES– this includes calcium. But buyer beware– make sure the milk you purchase is fortified, and ALWAYS choose the unsweetened version to avoid excess sugar).
- Almond milk
- Cashew milk
- Coconut milk
- Coconut water (coconut water contains a decent amount of sugar– take care to cut back on high-sugar fruit like bananas, mangos, figs, tangerines, cherries, and grapes when incorporating a base with high sugar content).
- Hazelnut milk
- Hemp milk
- Oat milk
- Soy milk
- Water
- Pretty Fit Note: Stay away from juice! If you are already adding fruit to your smoothie this will cause it to have wayyy too many grams of sugar and carbs (and not to mention calories) for one drink.
Organic nut, soy, hemp and oat milks are fantastic alternatives for those trying to cut dairy from their diet. Personally, almond milk is my favorite smoothie base. The creamy texture and nutty taste give my smoothies just the right consistency and flavor I’m looking for. Plus, almond milk is super low in calories (only 35 to 40 calories per cup in the unsweetened brands) and contains the calcium and vitamin D my vegan body needs! With any of the milks mentioned above, be sure to buy the unsweetened versions or you could find yourself unknowingly drinking over 15 grams of sugar before you even add anything else to the blender. Yikes! I also suggest taking a look at the ingredients list and aim to avoid purchasing milk with the ingredient carrageenan– a seaweed-derived texturizer found in meat, dairy, toothpaste, processed foods (even some organic products and infant formula!) which can lead to severe gastrointestinal inflammation among other health risks. My favorite (safe!) brand is Whole Food’s 365 Plain Unsweetened or Unsweetened Vanilla Almond Milk. (Research regarding the side effects of this controversial additive is still new but growing. I encourage you to do some research on your own, or check out some helpful links in my Sources List below).
Step 2 : Pick your greens
(Leafy greens –full of vitamins, minerals and disease-fighting phytochemicals– are some of the healthiest foods you could ever eat. Their high water content keeps you hydrated, while their high fiber content fills you up, lowers your blood-pressure, and lowers your bad cholesterol. For more detailed information about the specific health benefits of the greens below, visit this link).
- Collard greens (rich in calcium!)
- Cucumber
- Dandelion greens
- Kale (rich in calcium!)
- Lettuce
- Mustard greens
- Spinach
- Sprouts (Sprouts can contain up to 100 times more enzymes than raw veggies and fruit– this helps your body to extract more amino acids, vitamins, minerals, and essential fats from foods you consume– so eat up!).
- Swiss chard
- Turnip greens
- Watercress
According to the latest dietary guidelines, the average person should aim to consume at least 2.5 cups of vegetables a day (Pretty Fit Note: For lettuces and other raw leafy greens, you would need to eat 2 cups to get the equivalent of 1 cup of vegetables). Now, for someone like me who eats veggies with every meal, hitting 2.5 cups doesn’t seem like much trouble, however, the majority of Americans don’t reach the recommended daily dosage–and that’s where I come in ![]() . Adding greens to your smoothie is the easiest and most painless way to help get proper the nutrients you need in one quick and easy swoop. I go through bags upon bags of spinach in one week alone– I find it’s the easiest to blend. Still weirded out by the green tint in your drink? Don’t worry! You’ll be adding so many other tasty ingredients to your smoothie you won’t be able to taste a thing– I promise. So don’t go holding back on me now! This is your chance to get a little nutrient crazy. Your body will thank you.
. Adding greens to your smoothie is the easiest and most painless way to help get proper the nutrients you need in one quick and easy swoop. I go through bags upon bags of spinach in one week alone– I find it’s the easiest to blend. Still weirded out by the green tint in your drink? Don’t worry! You’ll be adding so many other tasty ingredients to your smoothie you won’t be able to taste a thing– I promise. So don’t go holding back on me now! This is your chance to get a little nutrient crazy. Your body will thank you.
Step 3 : Get fruity!
(Fruit is full of fiber, vitamins, minerals, antioxidants, and phytonutrients that ward off disease and keep you healthy! The bonus? It will satisfy your pesky sweet tooth too! The natural sugar is a better alternative to the unhealthy, refined stuff.)
- Apples
- Apricots
- Bananas
- Blackberries
- Blueberries
- Cantaloupe
- Cherries
- Guava
- Honeydew melon
- Kiwis
- Lemons
- Limes
- Mangos
- Oranges
- Papaya
- Peaches
- Pears
- Pineapple
- Raspberries
- Strawberries
- Watermelon
Step 4 : Mix it up!
- All-natural extracts (almond, anise, chocolate, cinnamon, coconut, hazelnut, peppermint, vanilla).
- Almond meal (for when you need a dose of healthy fats and extra protein!)
- Avocado (this ingredient creates a silky, smooth, indulgent smoothie!)
- Bee pollen (not for strict vegans– bee pollen is said to enhance energy, boost the immune system, and support the cardiovascular system).
- Canned pumpkin (full of vitamin A, iron, and fiber)
- Chia seeds (blend or mix these in at the very end and let you smoothie sit for 20 minutes or so– the chia seeds will expand in size and thicken your beverage right up. Plus they’ll give you a healthy dose of Omega-3 fatty acids to boot!).
- Coconut oil (full of medium chain triglycerides that have the ability to raise HDL– good cholesterol. Coconut oil may also help to encourage weight loss).
- Dates (a heathy alternative to sugar)
- Flavor-infused liquid stevia (you can find this at Whole Foods or online– I love the SweetLeaf or NuNaturals brands).
- Flax seeds (always choose ground flax– this allows for better absorption).
- Honey (in moderation! Not for strict vegans).
- Maple syrup (in moderation!).
- Molasses (in moderation!).
- Powdered stevia
- Powdered peanut butter (100% organic, 95% less fat, and 45% fewer calories than regular peanut butter– perfect for when you’re craving that peanut taste without all the extra fat calories!).
- Protein powder (I stick to organic, raw protein powders like Garden of Life RAW and limit protein powders that contain soy protein isolate-- a genetically modified type of soy that resembles estrogen).
- Shredded carrots
- Spirulina
- Sweet potato (gives your smoothie great texture).
- Tofu (preferably mori-nu silken tofu– it comes in a small cardboard box and lacks the aftertaste present in your typical water-packed tofu).
- Vanilla beans (enhances flavor BIG TIME).
- Yogurt (plain soy or coconut-milk based–sometimes I like to use a few tablespoons to thicken up my smoothie. Just keep an eye out for sugar content on those nutrition labels!)
- Xanthan gum (a thickening agent that will make your smoothies more pudding-like–but BE WARNED! A little pinch goes a long way!).
.
Step 5 : Get spicy!
- Cilantro (a powerful, natural cleansing agent).
- Cinnamon (regulates blood sugar, lowers LDL (bad) cholesterol, contains natural anti-infectious compounds).
- Nutmeg (aids in sleep, strengthens your immune system, acts as an anti-microbial, helps ease digestive troubles, keeps your brain sharp/may help protect it from degenerative diseases).
- Cayenne pepper (boosts your metabolism, fights inflammation, prevents stomach ulcers, and reduces bad cholesterol levels).
- Ginger (eases digestion, eases nausea, reduces inflammation, and protects against certain cancers such as colon and ovarian).
- Parsley (protects against rheumatoid arthritis and is a rich source of anti-oxidants and folic acid).
- Raw Cocoa Powder (cocoa is one of the highest polyphenol-containing foods!).
- Turmeric (turmeric is a powerful, natural anti-inflammatory– I take turmeric pills every day).
Spices have incredible health benefits–some have the ability to curb inflammation, detox the body, boost flavor, curb appetite, and lower blood pressure. They’re also the perfect addition to any smoothie! I adore the combination of cocoa powder and cayenne pepper (spicy chocolate is one of my FAVORITE flavors) as well as nutmeg and cinnamon (it reminds me of the cozy holiday season!). For my water-based green smoothies, I’ll throw in a handful of cilantro and parsley to help balance my body and get it back to an alkaline state. (For more information about transitioning your diet and body to an alkaline state, check out this link).
Step 6 : Ice, ice baby
This one’s easy. Toss in a few ice cubes to make your smoothie extra cold and creamy ![]() . I wouldn’t have mine any other way!
. I wouldn’t have mine any other way!
Step 7 : Blend it up
If you are lucky enough to own a Vitamix, you can blend any and every ingredient under the sun in one of those babies. While I don’t personally own a Vitamix (yet!) I do own a Ninja blender (which I use on the regular) and it’s pretty amazing. I’ve also used the Magic Bullet and Nutribullet in the past– they can blend most things pretty well, but I prefer to make big batches of smoothies at a time so I can prepare/freeze them for the whole work week (therefore, upgrading to a blender-style Ninja was the best option for me). Now, all that’s left for you to do is blend up all those crazy ingredients you pulled together and let the magic begin!
Step 8 : Top it off
- Almonds
- Chopped walnuts
- Coconut butter
- Coconut cream (stick a can of full-fat coconut milk in your fridge overnight, pour off the liquid that has risen to the top, whip it up in a bowl with some vanilla and stevia, and you have thick and creamy coconut whipped cream! Perfect for a dessert smoothie).
- Dark chocolate shavings (in moderation!).
- Hazelnuts
- Hemp hearts (increases satiety, prevents spikes in blood sugar, acts as an anti-inflammatory, improves digestion, and is full of amino acids, Omega-3 fatty acids, and metabolism-regulating Omega-6 fatty acids).
- Honey (not for strict vegans).
- Goji berries
- Granola (watch out for too much sugar!).
- Macadamia nuts
- Nut butters (almond, hazelnut, cashew, peanut butter…).
- Peanuts
- Pecans
- Pistachios
- Raisins
- Raw cocoa nibs (a healthier, lower-sugar alternative to chocolate!).
- Sea salt (just a pinch can create a tasty flavor profile).
- Sesame seeds
- Soyatoo (soy-based, canned whipped cream– you can purchase this in the milk section at Whole Foods).
- Soy nuts
- Spices (see above)
- Unsweetened coconut
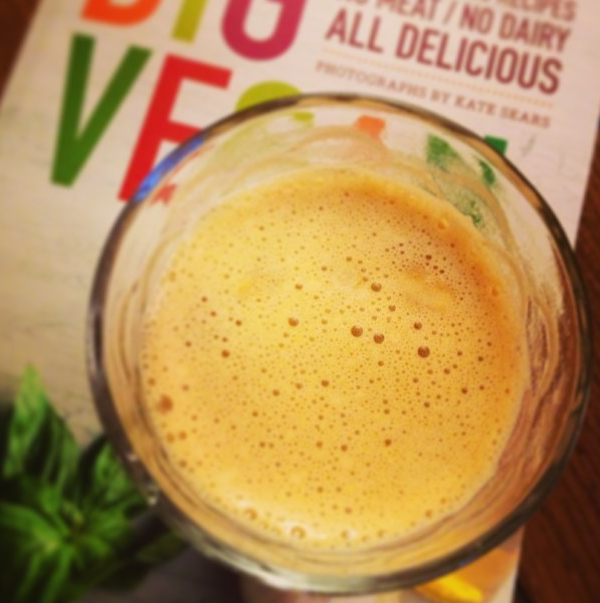
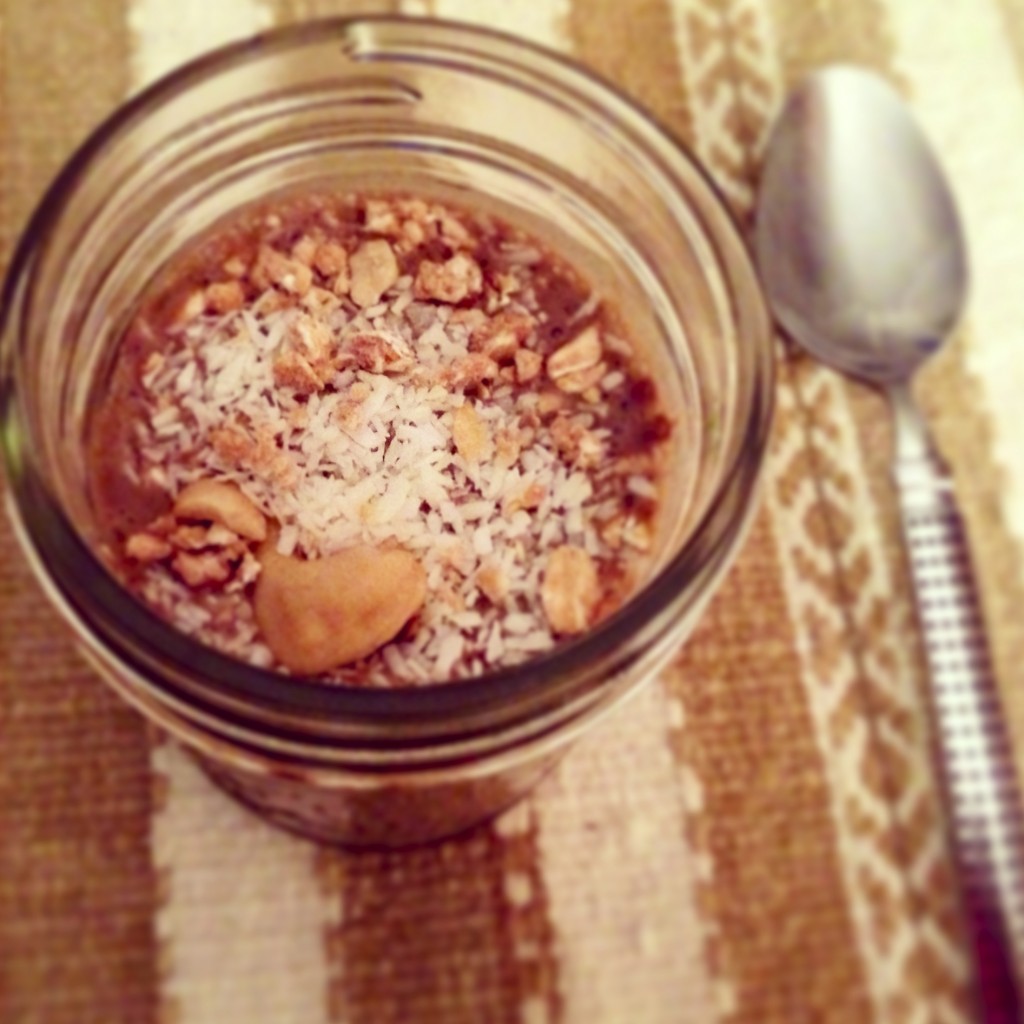
I just can’t deal with a naked smoothie! As soon as I pour the final product into a big tall glass, I have this incessant need to get all fancy smancy– I MUST make my smoothies pretty after they’re done (hence why my Instagram is filled with #smoothie pics ![]() #sorryimnotsorry). Aside from looking lovely and tasting great, many of these toppings have a variety of health benefits that can also boost the health benefits of your beverage. Some of my favorite toppers are hemp hearts, raw cocoa nibs, and unsweetened coconut.
#sorryimnotsorry). Aside from looking lovely and tasting great, many of these toppings have a variety of health benefits that can also boost the health benefits of your beverage. Some of my favorite toppers are hemp hearts, raw cocoa nibs, and unsweetened coconut.
Well. There you have it folks! For all of you who thought smoothies were boring…THINK AGAIN! If these lists don’t get your imagination going, I don’t know what will ![]() . And don’t be afraid to get a little crazy— after all…that’s where the fun begins! I’d love to see all the creative combinations you come up with, so feel free to tag me on Instagram @prettyfitlife, or use the hashtag #prettyfitlife. HAPPY BLENDING!
. And don’t be afraid to get a little crazy— after all…that’s where the fun begins! I’d love to see all the creative combinations you come up with, so feel free to tag me on Instagram @prettyfitlife, or use the hashtag #prettyfitlife. HAPPY BLENDING!
.
Healthfully Yours,
.
Ashley Michelle
.
Sources:
Doubts surface aboutsafety of common food additive, carrageenan
Harvard– Vegetables and Fruits: Get Plenty Every Day
5 Surprising Health Benefits of Hemp
Health Benefits of Cayenne Pepper
Difference Between Non-Dairy Milks

