Best Ever Oatmeal Cookies (with chia seeds!)


.


When I’m bored, things can get pretty dangerous.

Particularly if I’m anywhere in the vicinity of a kitchen…

.

You see, I don’t do well with being “bored.” I’m the kind of person who feels the need to be in a constant state of motion–always doing, creating, and working on something.


The bonus?


Boredom is pretty much an open invitation for some serious recipe experimentation– no matter what the hour (and you can’t put a time cap on inspiration people!). When I’m bored, I will literally rummage through every one of my cupboards and every inch of my refrigerator and try to create a masterpiece out of whatever I can find. And believe me, when you stock the kitchen like I do, It’s a Christmas miracle if I can pull a decent dinner together! But what can I say…I love  a challenge. “Chopped” has nothing on me.


Thankfully, what often starts off looking like a dangerous experiment typically turns into a delightful surprise – I’ve actually come up with some of my best recipes during these random bouts of boredness. So it’s a good thing I got a little ancy last weekend…because inspiration struck around, oh, 11:00 on a Saturday night when I suddenly found myself hell-bent on creating this quick and easy vegan oatmeal cookie recipe…

.

.

You see, the boyfriend and I had just gotten back from watching the Red Sox game at a bar down the street when I decided it has been far too long since I’ve put up a recipe post (I know, I know. Please forgive me :( ?). Originally I had the idea to whip up some overnight oatmeal (don’t worry, recipe to come!) so that breakfast would be all set and good to go pre-spin class the next morning…but I had a little hankering for a midnight snack ;) .


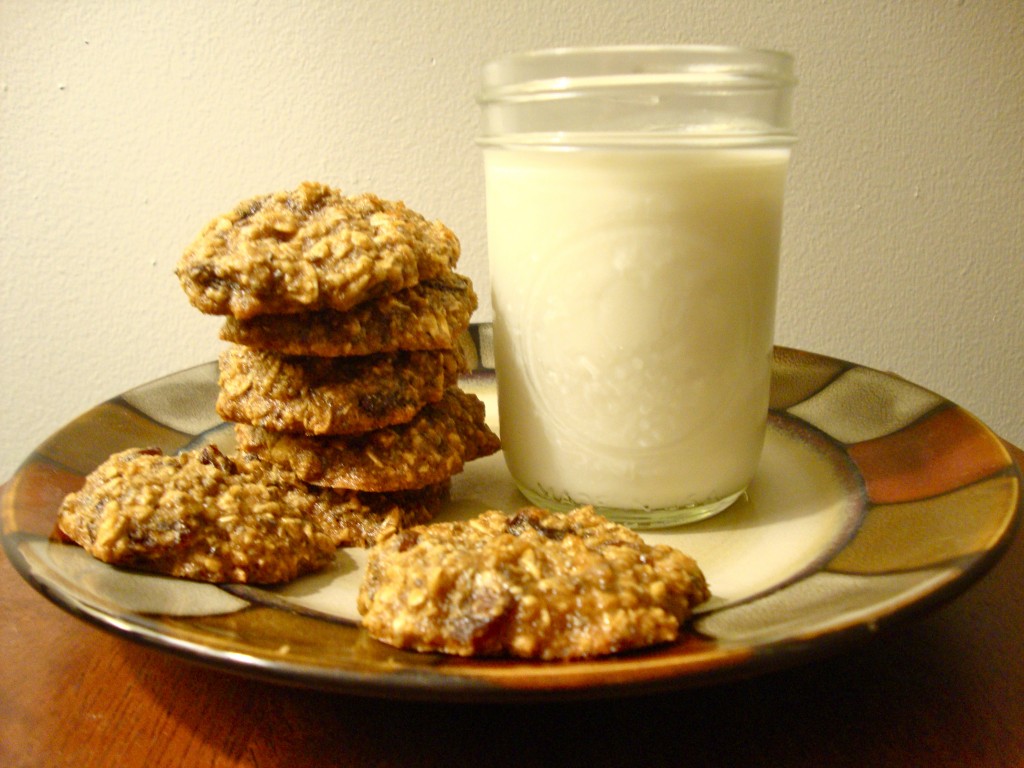
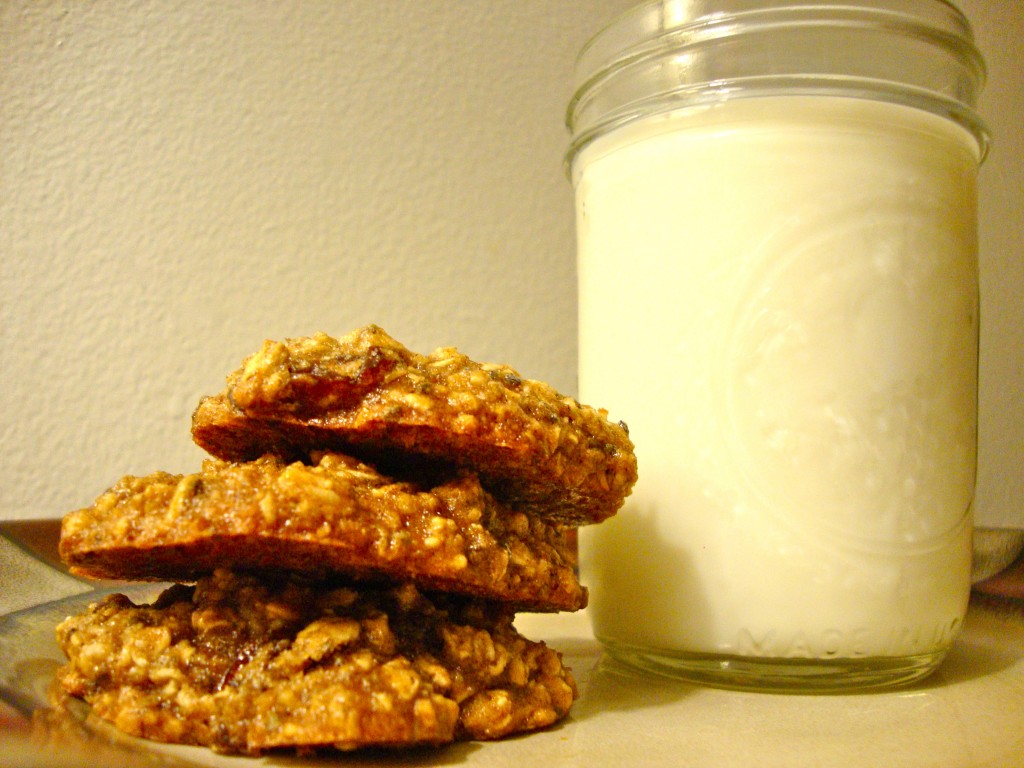
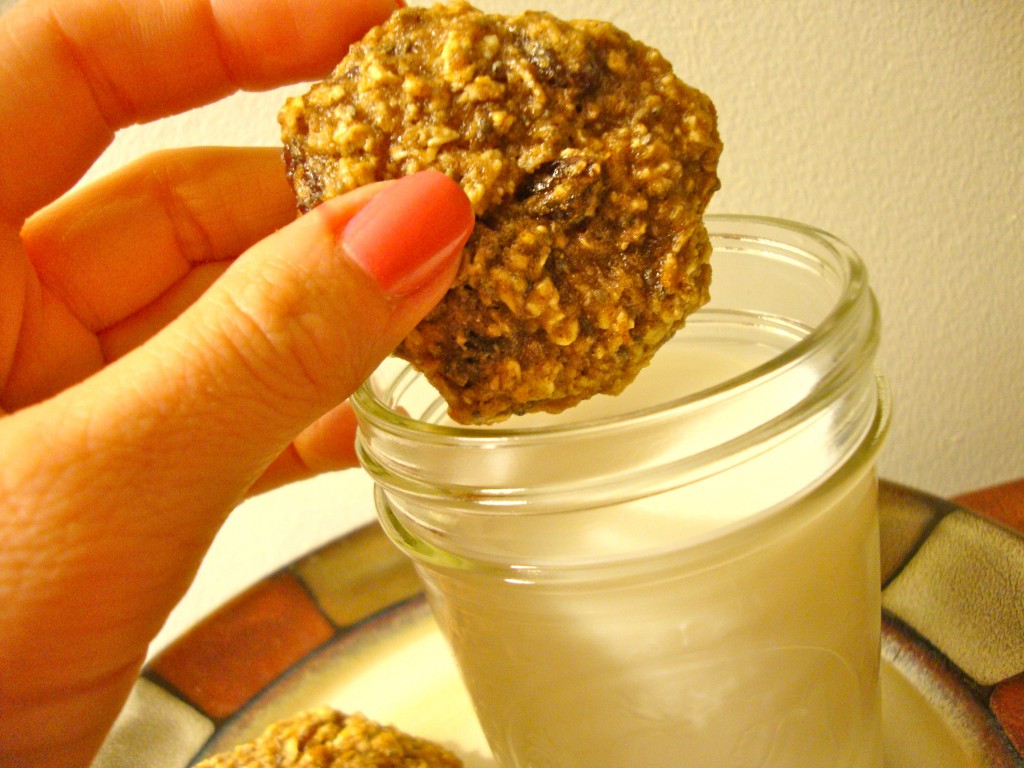
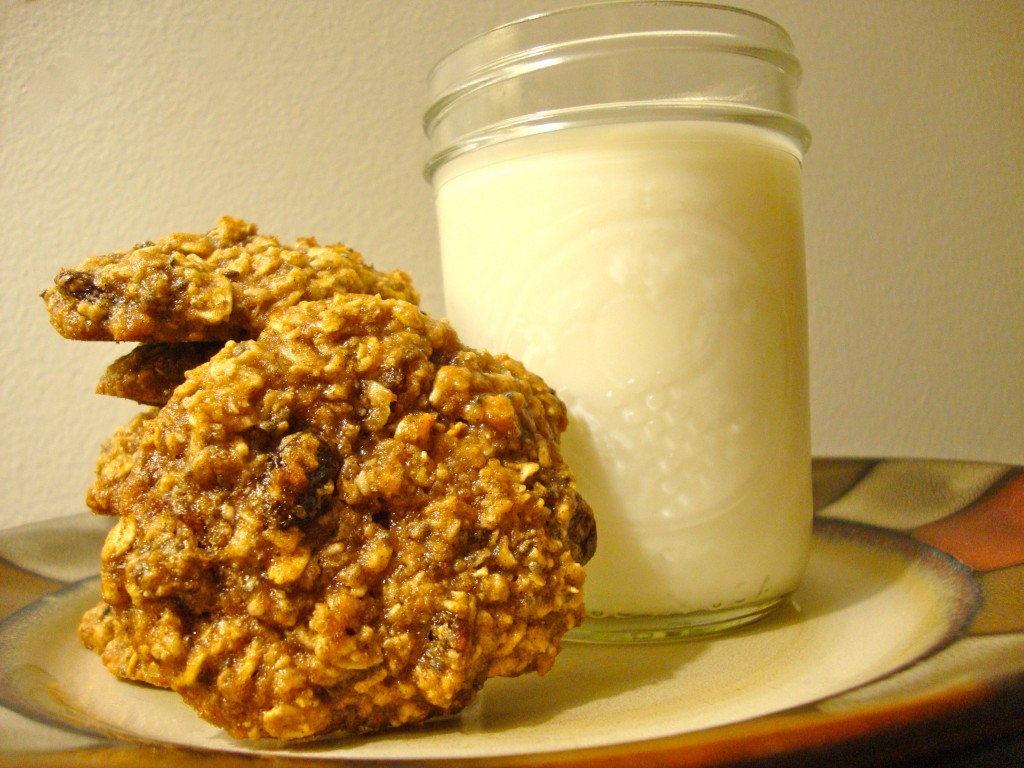
Cookies and milk anyone?

.


.

So.

There I was. 

11:30 at night. 

Baking…

.

.

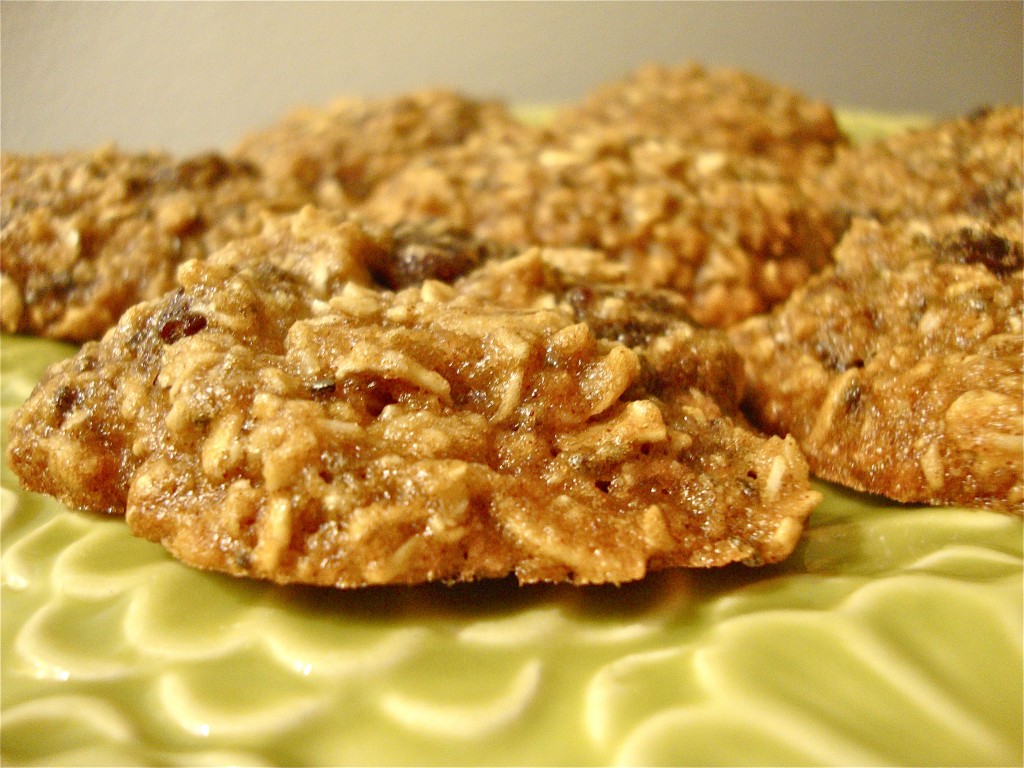
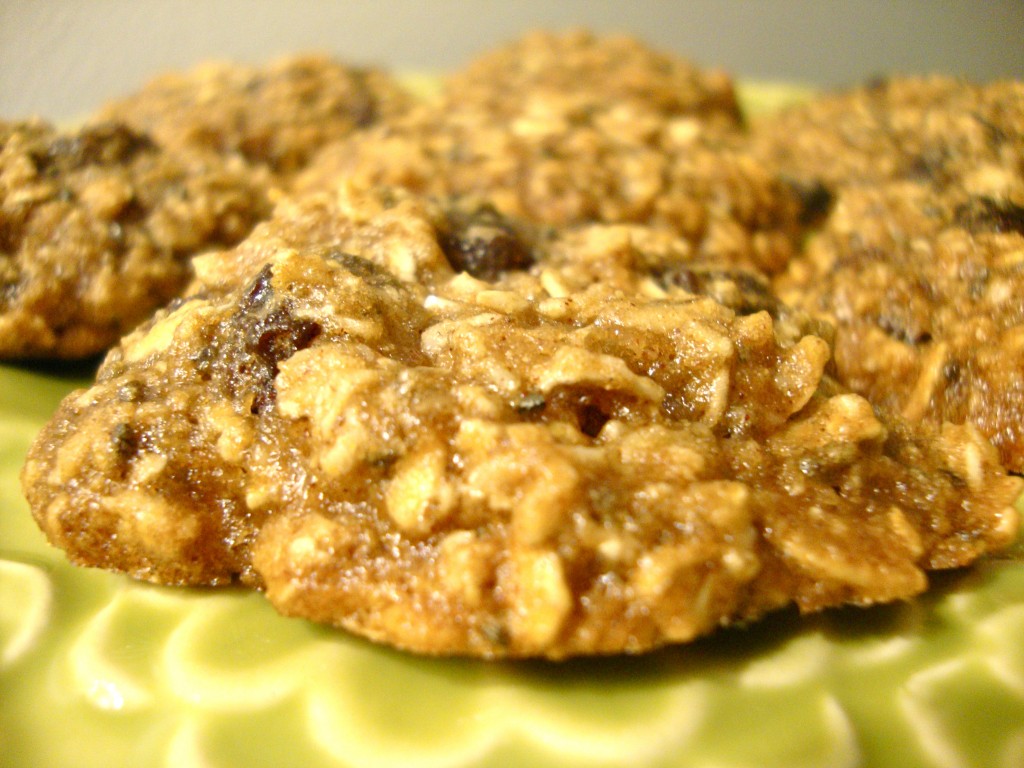
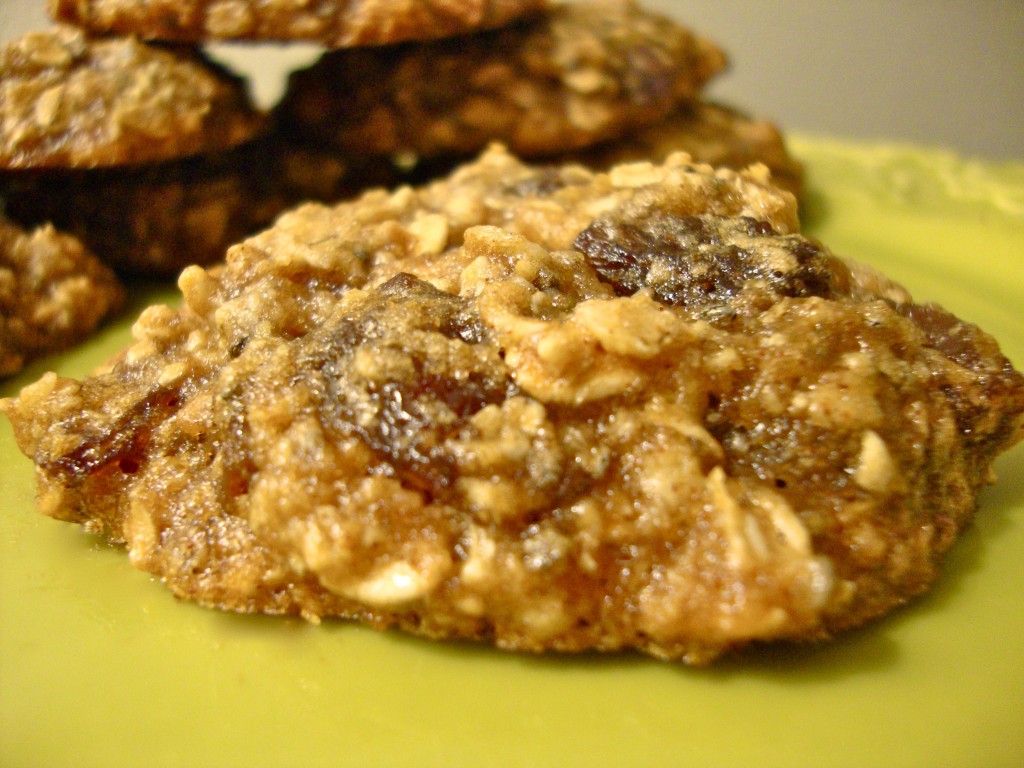
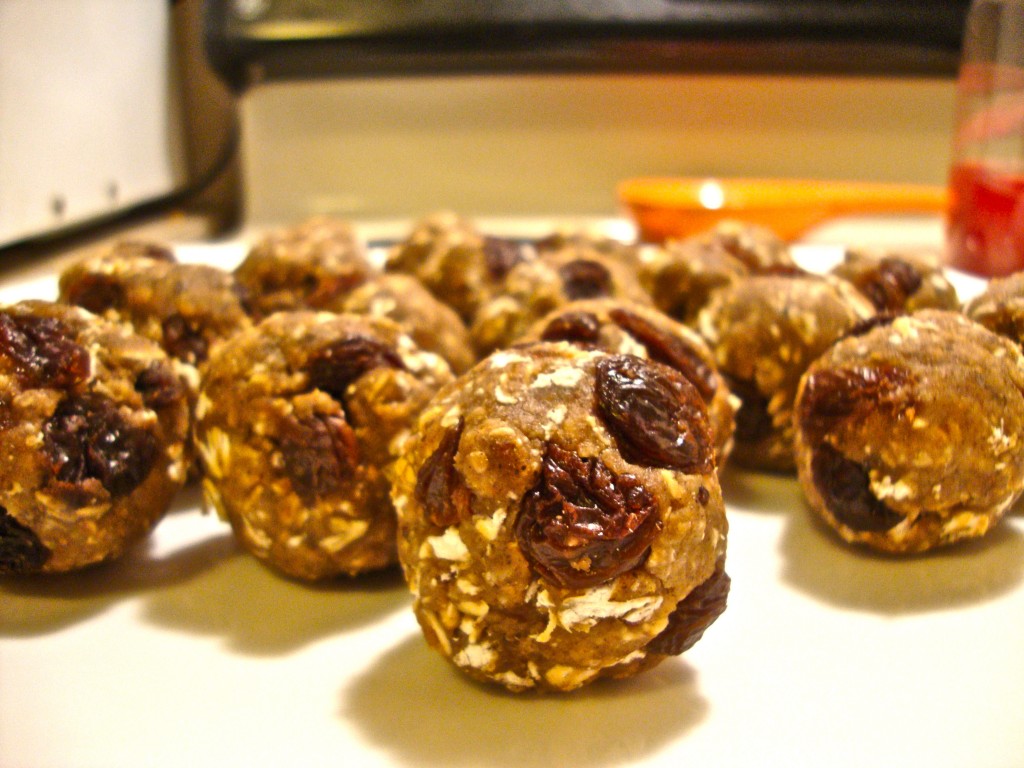
I starting tossing together a whole bunch of ingredients (eyeballing rather than measuring them) and in about 10 minutes, a dozen soft and chewy oatmeal cookies emerged on a plate ready for the boyfriend to taste-test…

.

.

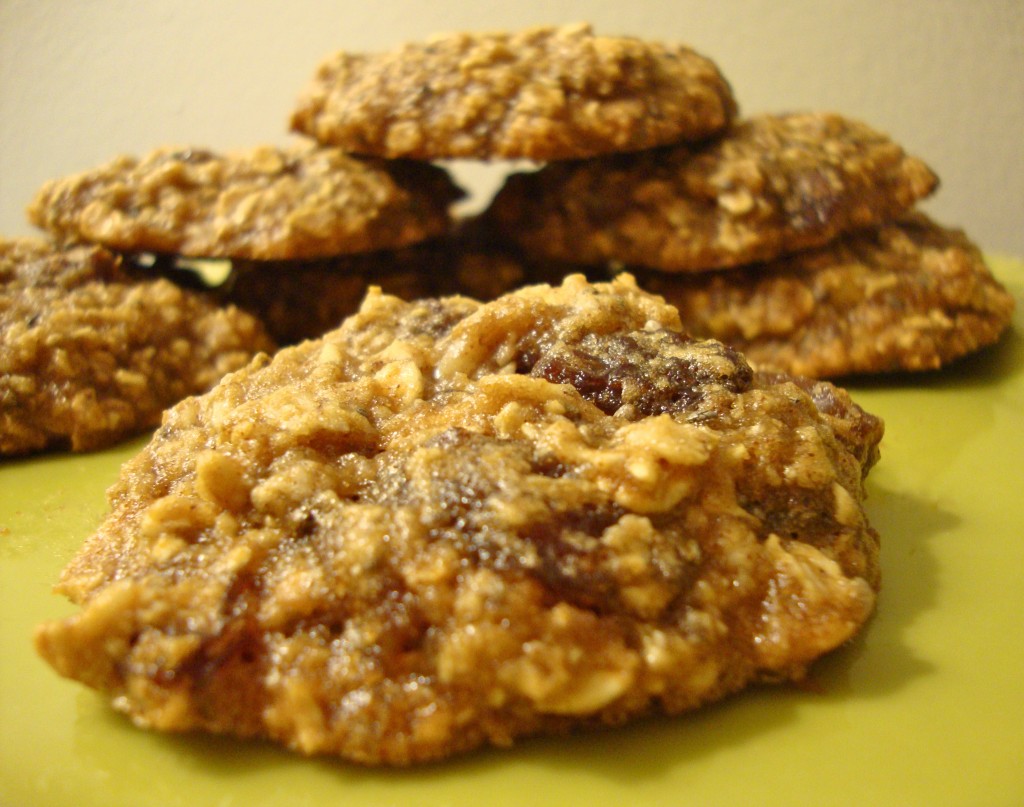
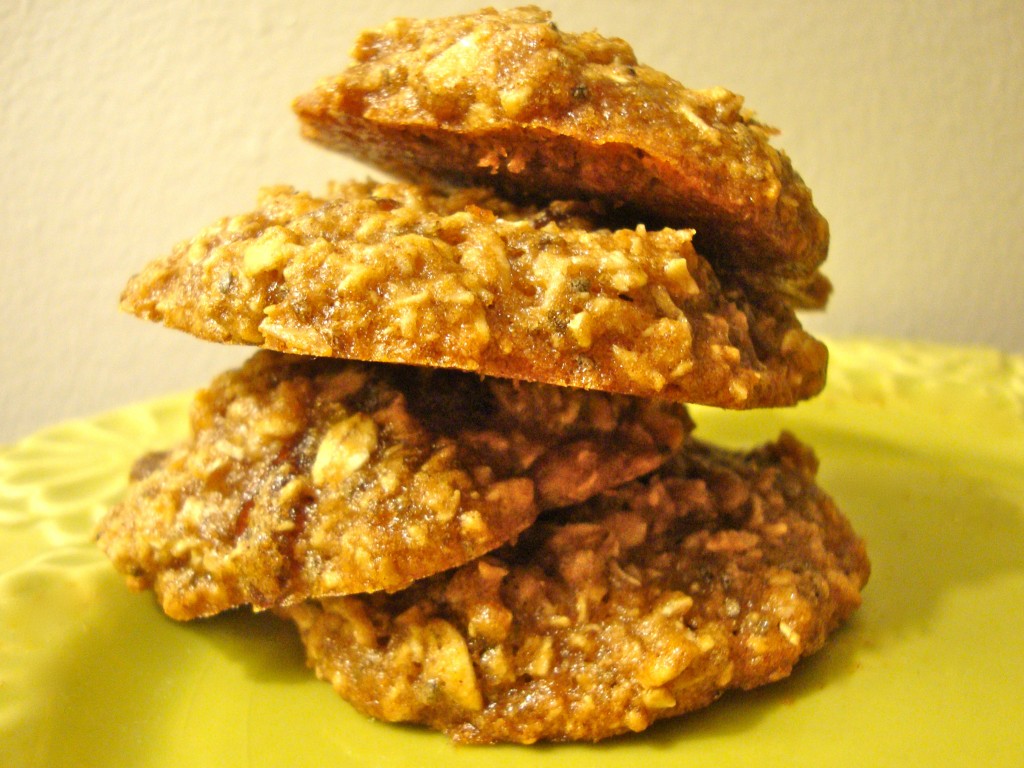
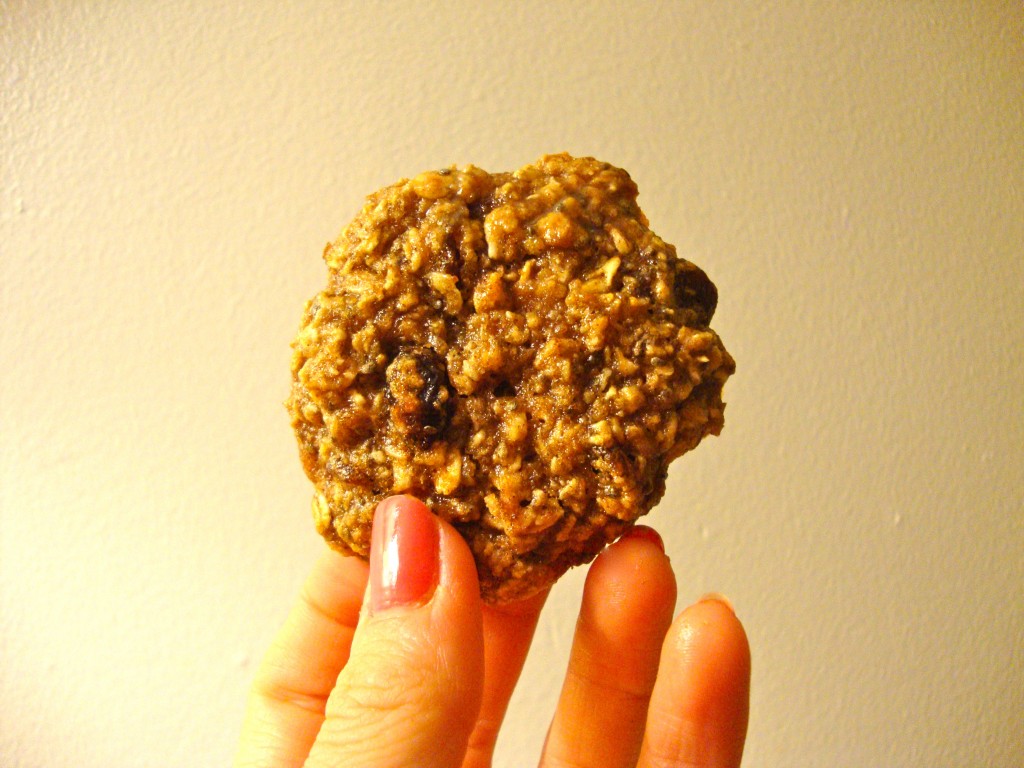
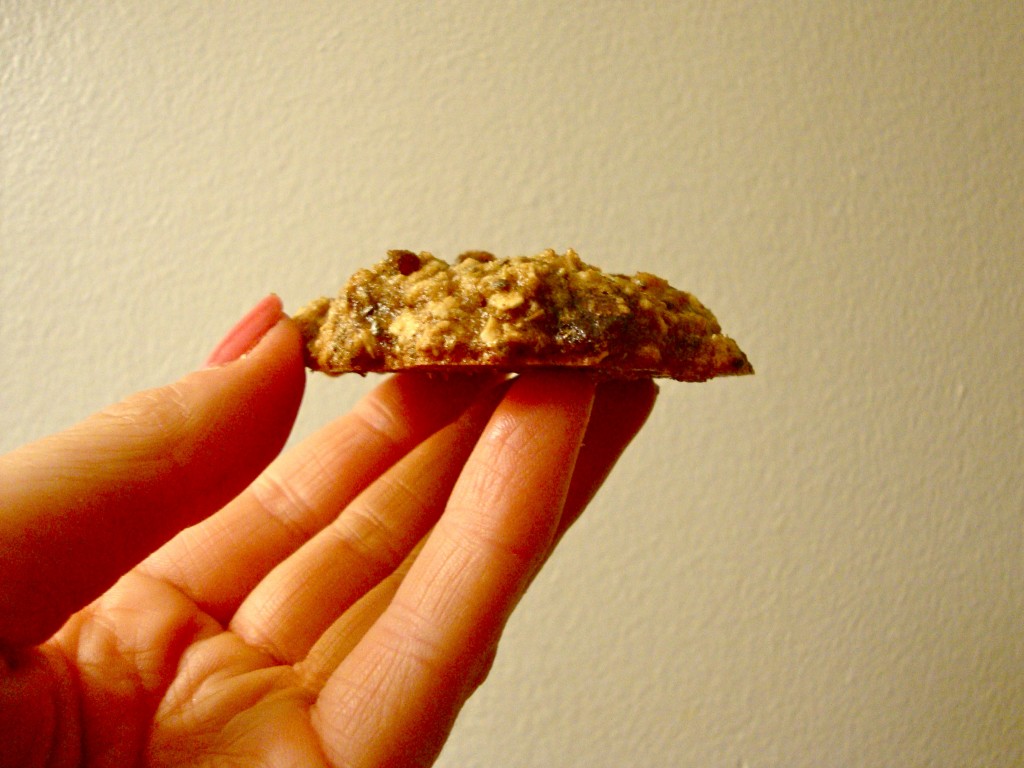
After a moment of hesitation and the “look” — that “how on EARTH did you bake something in 10 minutes?” look– he took a bite and declared “These are the BEST oatmeal cookies… EVER!” And the best part of all? Aside from being 100% delicious and 100% whole grain… these vegan cookies are lower in sugar and lower in fat than your traditional oatmeal cookies. Plus, the added chia seeds provide a healthy dose of omega-3s for good measure!


Betcha wonder where I got the name, huh? :)

.

.


Comfy pj’s, ice-cold almond milk, and warm and cozy cookies?

Go ahead.

Tell me that’s not heaven.

.

.


Needless to say, the first batch of oatmeal cookies didn’t last very long. And to be honest, since I tossed the ingredients together without doing any measuring, I was worried I wouldn’t be able to replicate this amazing recipe again…


But don’t worry!

EVERYONE REMAIN CALM.

Here it is :)

.


.

Cookie on.

.

.


.

Best EVER Oatmeal Cookies

.

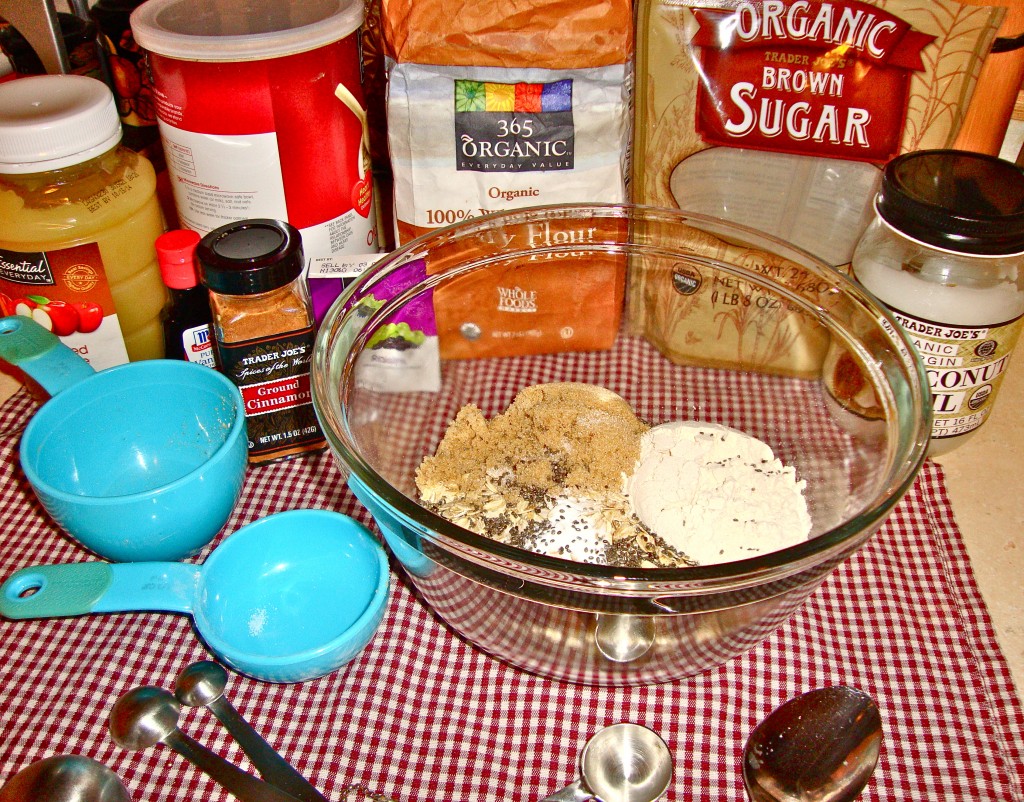
Ingredients:

  • 1 cup whole-grain oats
  • 1/3 cup whole-wheat pastry flour (regular flour will also work if you don’t have pastry flour. Looking to make these gluten-free? Sub extra oats for flour)
  • 1/2 cup brown sugar (for a lower-sugar version, feel free to cut back on the sugar and sub in a little stevia. Just be sure increase the applesauce by 2-3 tablespoons so the batter isn’t too dry)
  • 1 tablespoon chia seeds (optional, but are a healthy way to get your omega-3s!)
  • 1/2 (heaping) teaspoon cinnamon
  • slightly over 1/2 teaspoon baking soda
  • 1/4 teaspoon salt
  • 1/3 (heaping) cup of applesauce
  • 1 & 1/2 tablespoons coconut oil (you can try to cut this out for fat-free cookies, but I cannot vouch for the taste/texture without it…plus, a little healthy fat is perfectly okay!)
  • 1-2 individual boxes of raisins
  • Optional: try adding in 1 tablespoon of maple syrup, 1 tablespoon of shredded coconut,a small handful of chocolate chips or a few drops of vanilla stevia (for extra sweetness)


Directions:

  • Pre-heat the oven to 350°.
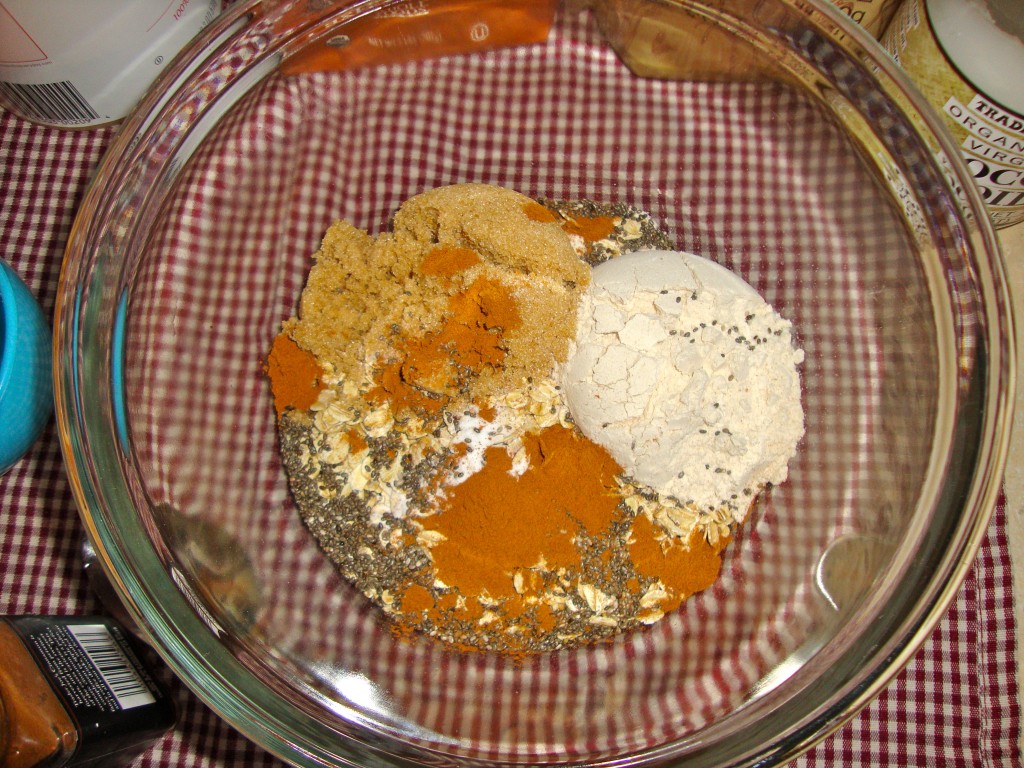
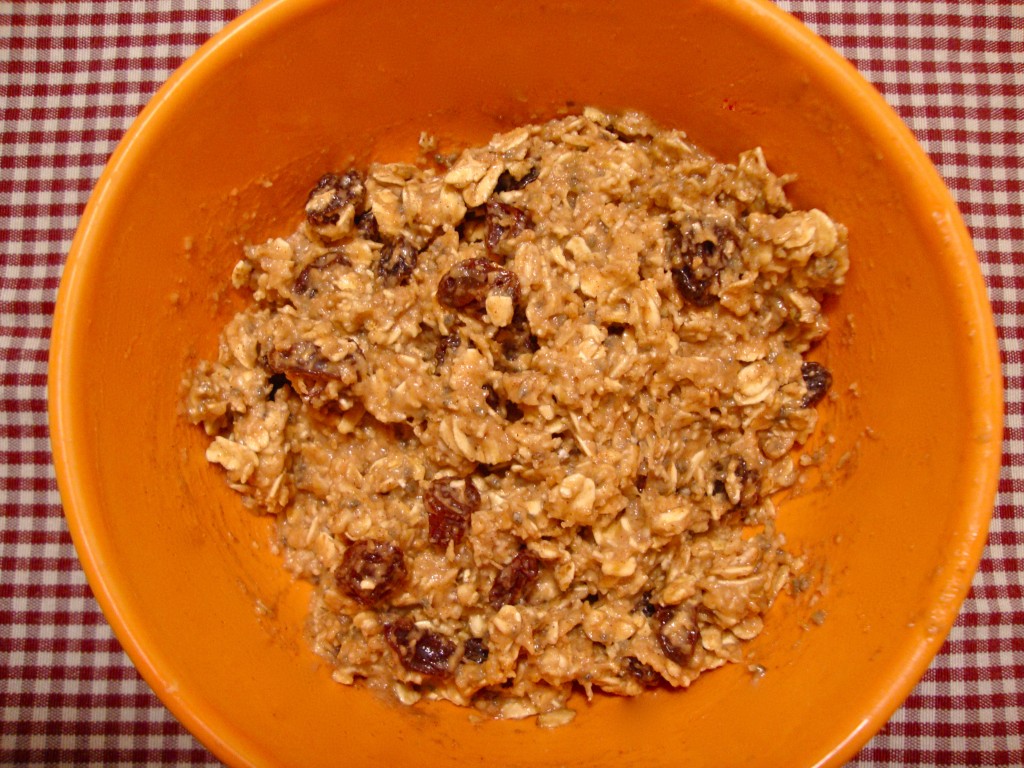
  • Mix all the dry ingredients in a bowl and set aside.

.

.

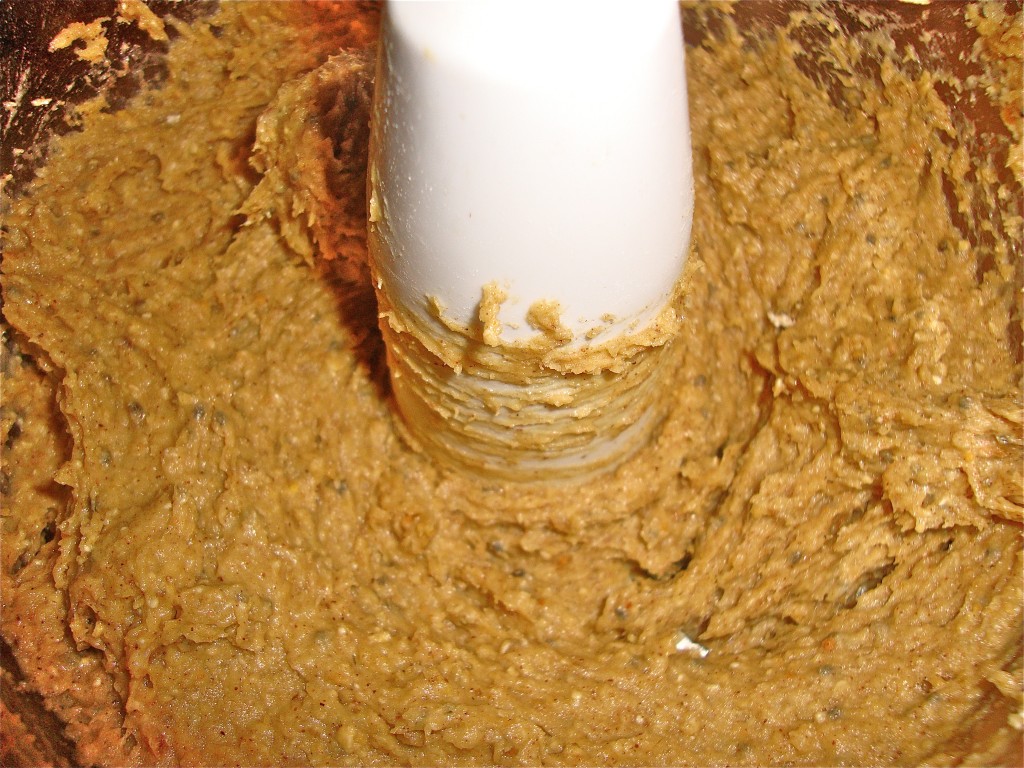
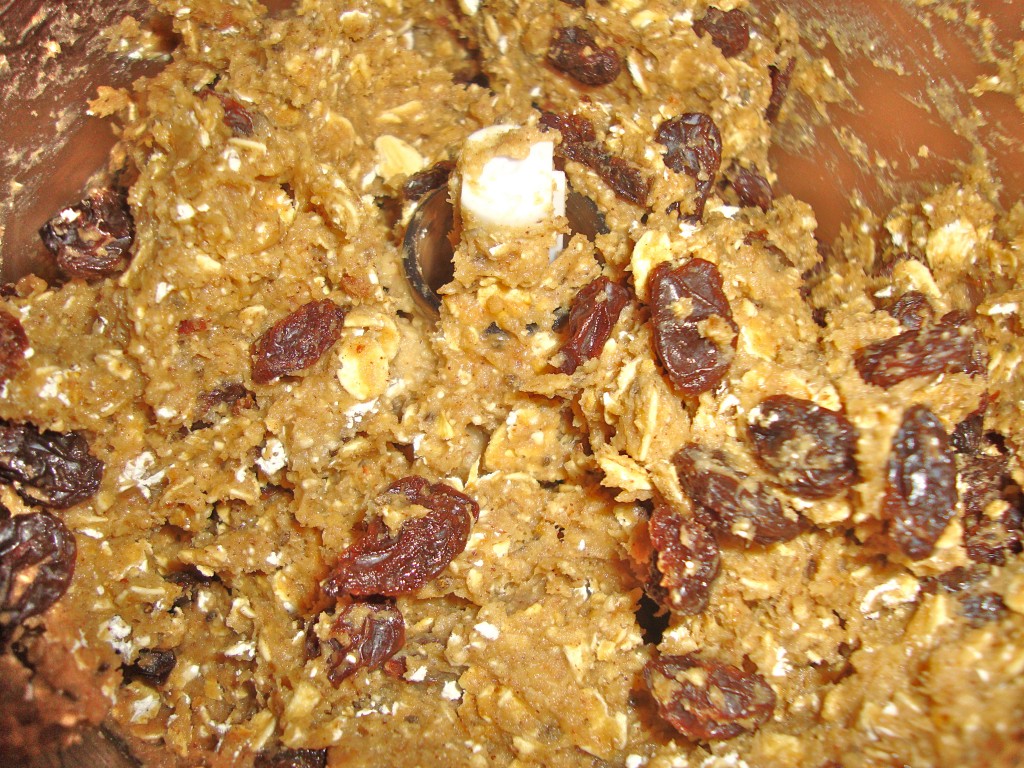
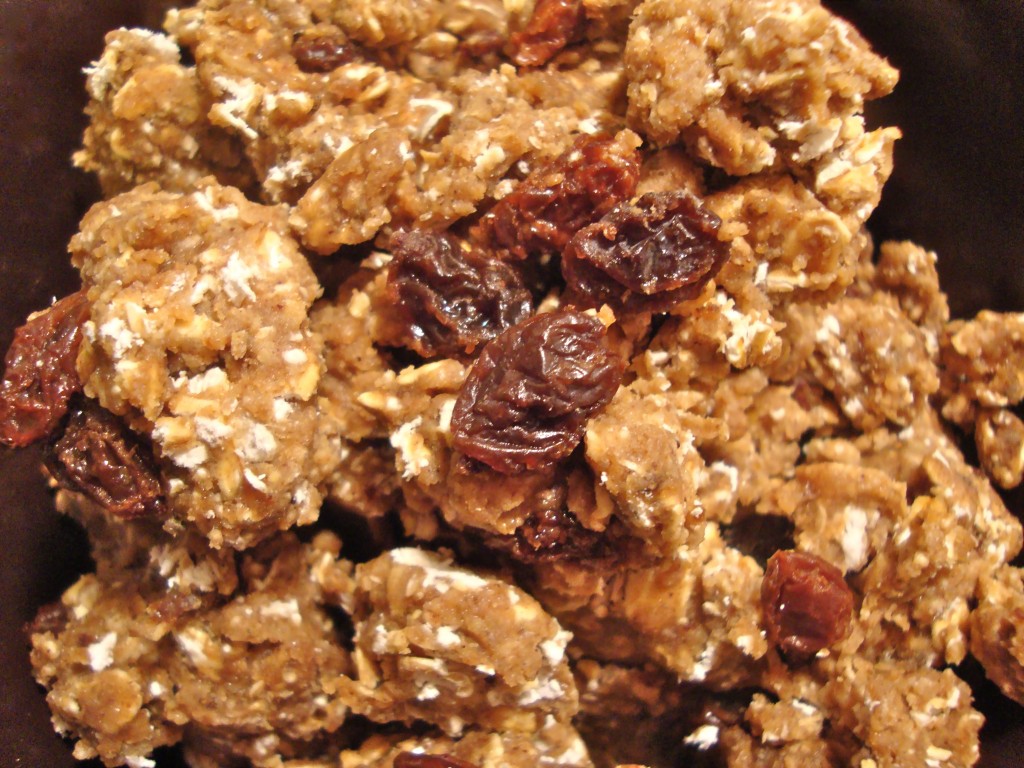
  • Mix all the wet ingredients in another bowl and add to the dry ingredients– mix well.
.
.
  • Grease a cookie sheet with all-natural, non-stick spray or coconut oil.
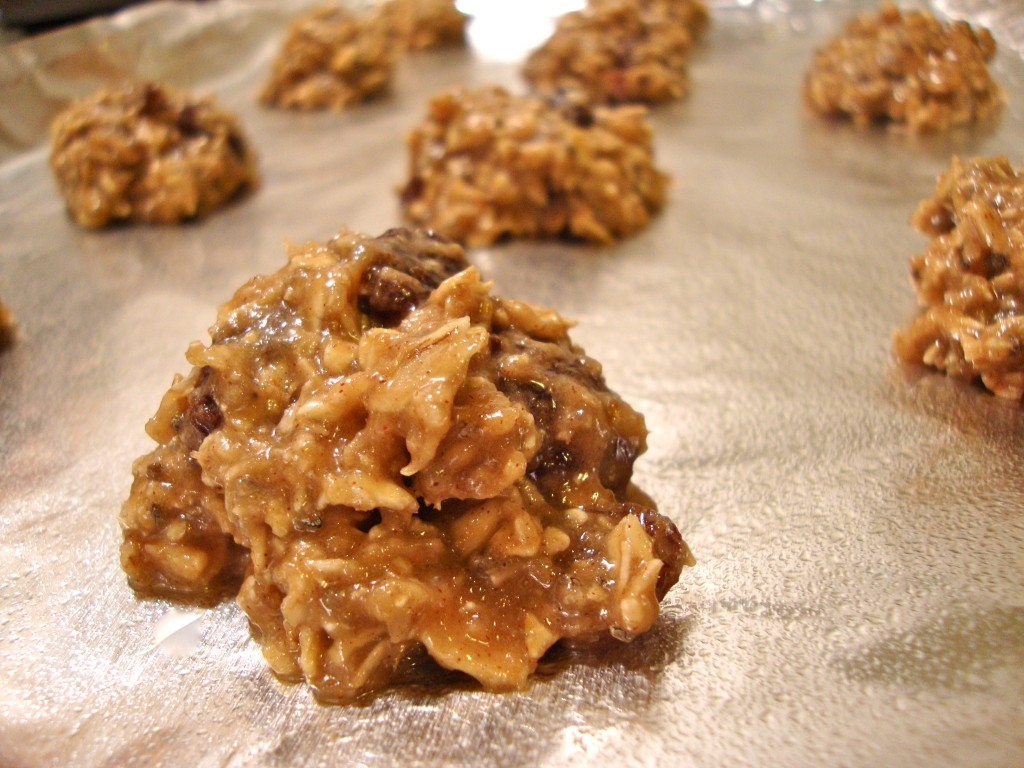
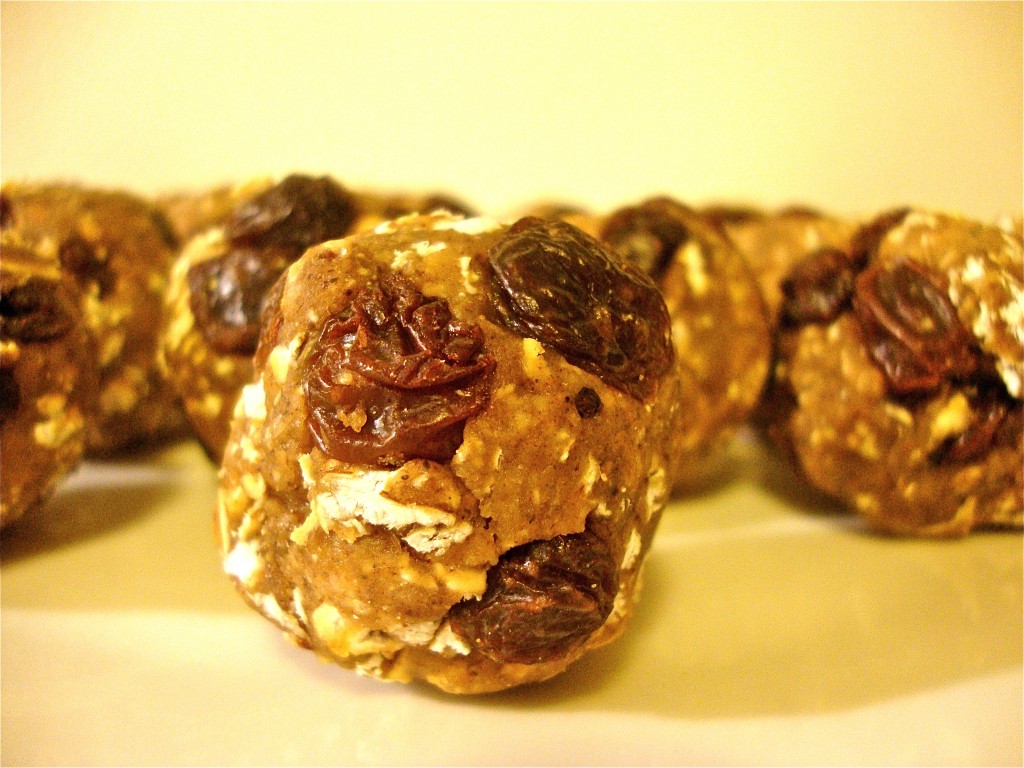
  • Spoon batter into little balls (slightly smaller than a golf ball) and place them on the cookie sheet.
.
.
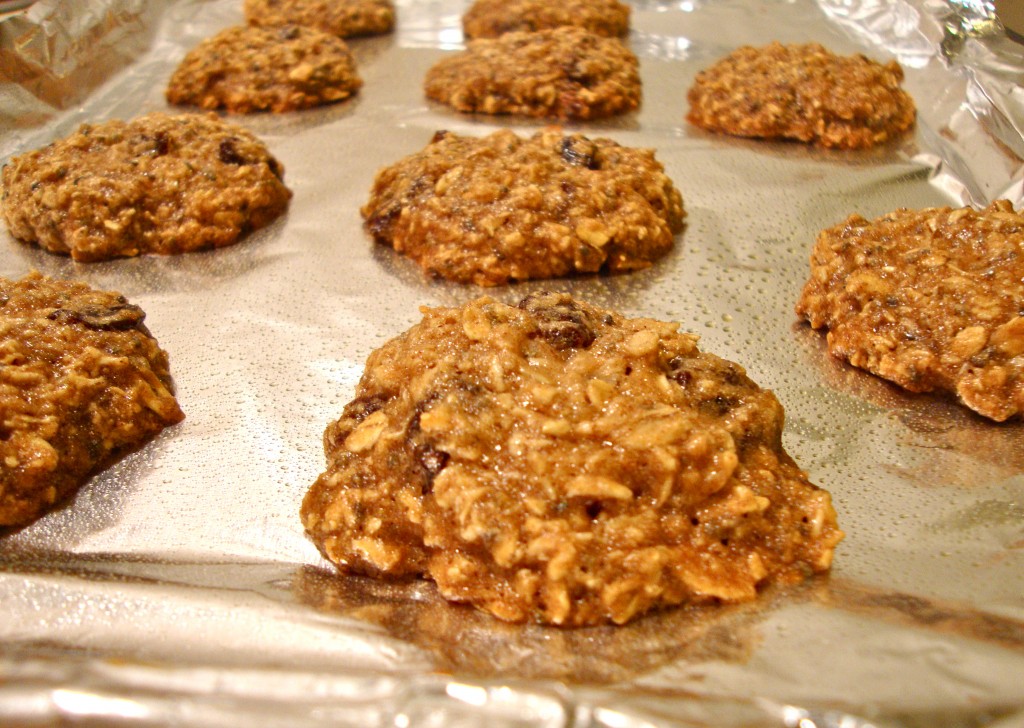
  • Bake for 8 to 10 minutes (or until they start to brown around the edges).
.
.
  • Note: The cookies will be very soft when you take them out of the oven and may not look done– don’t worry–they will firm up as they cool.
.
.
  • Serve with an ice-cold glass of almond milk :)
.
.
  • Store cookies in an airtight container in the fridge for up to 5 days (if you don’t eat them right away that is!)
.

.

Go on.

Show those late night munchies who’s boss!

.

.

Healthfully yours,

.

Ashley Michelle

.


Healthy No-Bake Oatmeal Cookie Bites


“Our greatest weakness lies in giving up.

x

The most certain way to succeed is always to try just one more time.” – Thomas A. Edison


This week is weird.

I don’t know if it’s due to the fact that I only had 4 days of work because of the Monday holiday or what but I am just SO not on top of my game. I slept through my alarm not once, but twice, I brought two different sneakers to the gym, and in the past 2 days I’ve tested out 4 new recipes—NONE of which I was happy with (the cake wouldn’t rise, the cookies were too dense, the bars burned, and the cupcakes were a catastrophe)… #FAIL.


Clearly it was time for me to step away from the oven.

I was just about to throw in the towel and say “Forget it! There will be no recipe post this week!” when it hit me.


No bake cookie bites.


No baking involved? It’s practically fool-proof! SIGN ME UP.


And you know what? That’s exactly what they are. Foolproof. In fact, these babies are SO easy, even on your clumsiest (or laziest) of days it’s pretty impossible to mess them up. Just throw the ingredients in a food processor or blender, roll the dough into balls and eat your face off stick em’ in the fridge :) . Sounds like the perfect breakfast, pre/post-workout snack, or dessert  to nosh on while lazily lounging in your pj’s this Sunday.


The best part of all?

You don’t even have to feel guilty about stuffing your face because this cookie dough is HEALTHY!

Yup. It’s true.


My cookie dough bites are sugar-free (instead of sugar I use dates and stevia), low-fat (a little bit of peanut butter goes a long way!), gluten-free (no flour, oats only), and they even have some protein (garbanzo beans please!).  So…since I’m feeling especially clumsy and lazy today, I’m gonna keep this post short, sweet, and simple :) .


Easy as pie.

I mean, cookies.

Healthy cookies.


Healthy No-Bake Oatmeal Cookie Bites


Ingredients:

  • 1 can of garbanzo beans (drained)
  • 13-16 whole pitted dates (feel free to toss in a few more if you want the cookie dough to have a caramel-y taste)
  • 1/2 small, ripe banana
  • 1/2 tablespoon chia seeds
  • 1 tablespoon of peanut butter (or another nut butter– feel free to add more if you want a more indulgent-tasting cookie dough)
  • 4 droppers full of liquid vanilla-crème stevia (Please note: This amount will vary for everyone depending upon how sweet you’d like your cookie dough. You could also use powder stevia–just reduce the blended oats by 1/2 tablespoon– or you could use maple syrup, molasses, or any other liquid sweeteners you like.)
  • 1/4 cup plus 2 tablespoons of blended oats (add more if the batter is too sticky to roll into balls)
  • 1/4 teaspoon baking soda
  • 1 teaspoon vanilla extract
  • dash of salt
  • 1/3 cup of raisins
  • 3 tablespoons whole grain oats (not blended)
  • Optional: Chocolate chips


Directions:

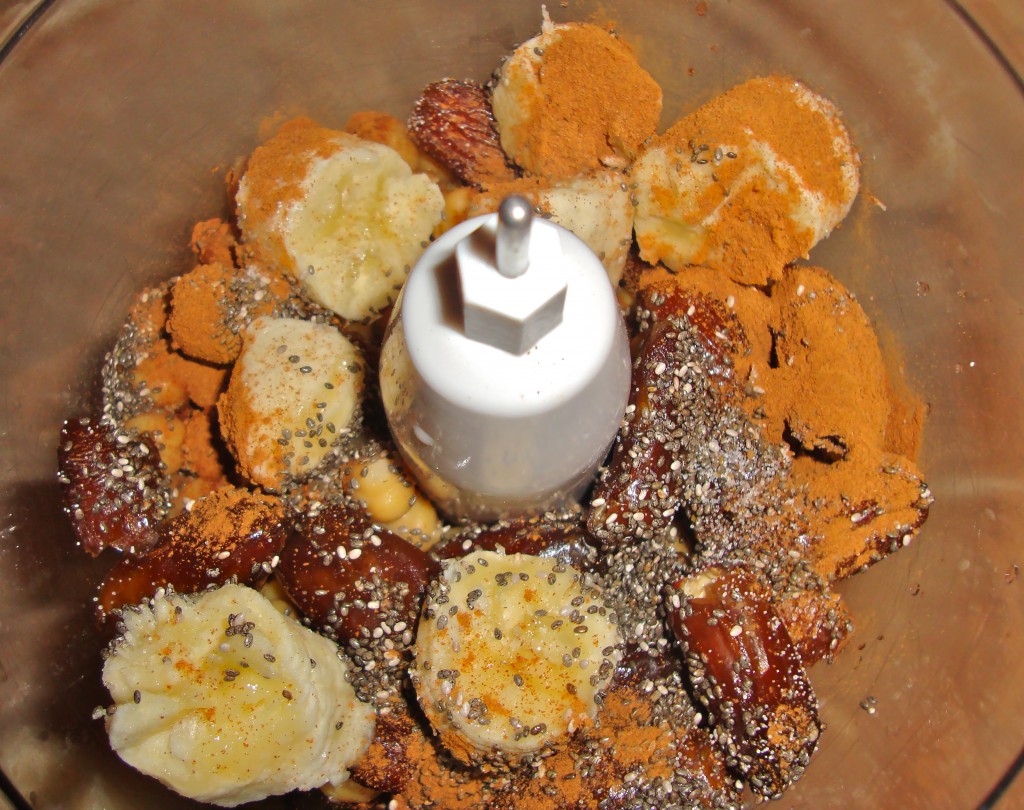
  • Blend the first 10 ingredients (not the raisins and oats) in a food processor or blender until you achieve a cookie dough-like consistency (5 or 6 minutes).

(You can't see it but there's blended oats in there somewhere!)


  • Mix in raisins and a few tablespoons of whole oats if you’d like them to look a little more “oatmeal-y” (this is when you can also add chocolate chips if you’d like).
x
x
x
x
  • Roll the dough into balls and refrigerate for an hour (if you aren’t patient enough to do this, like me, feel free to eat the cookie dough balls right away :) ).
x
x
x
x
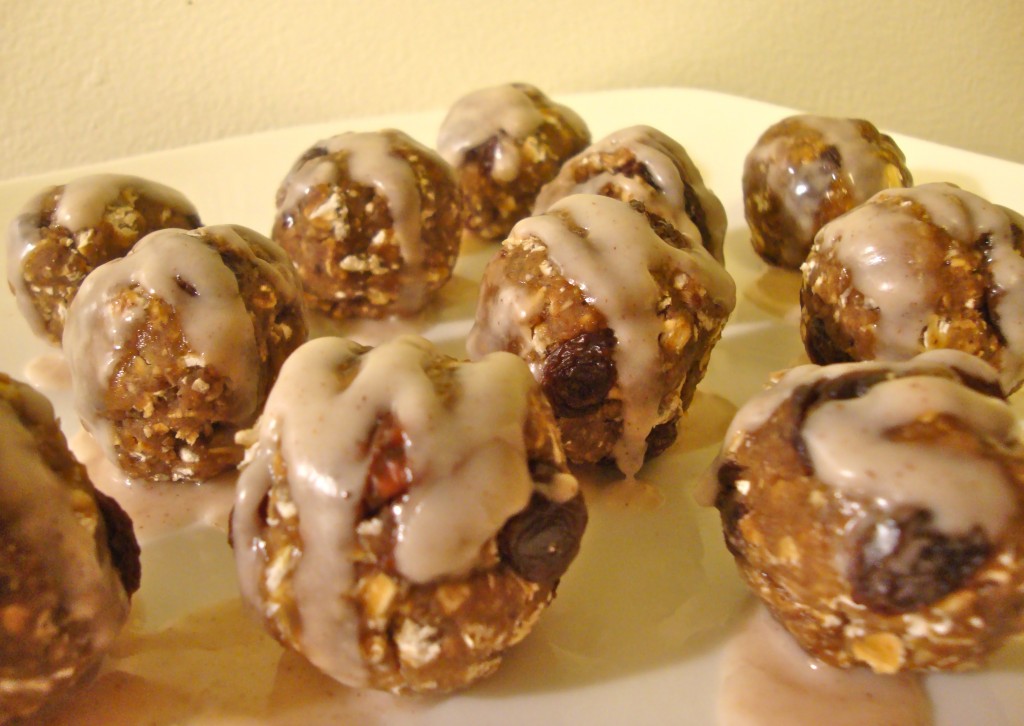
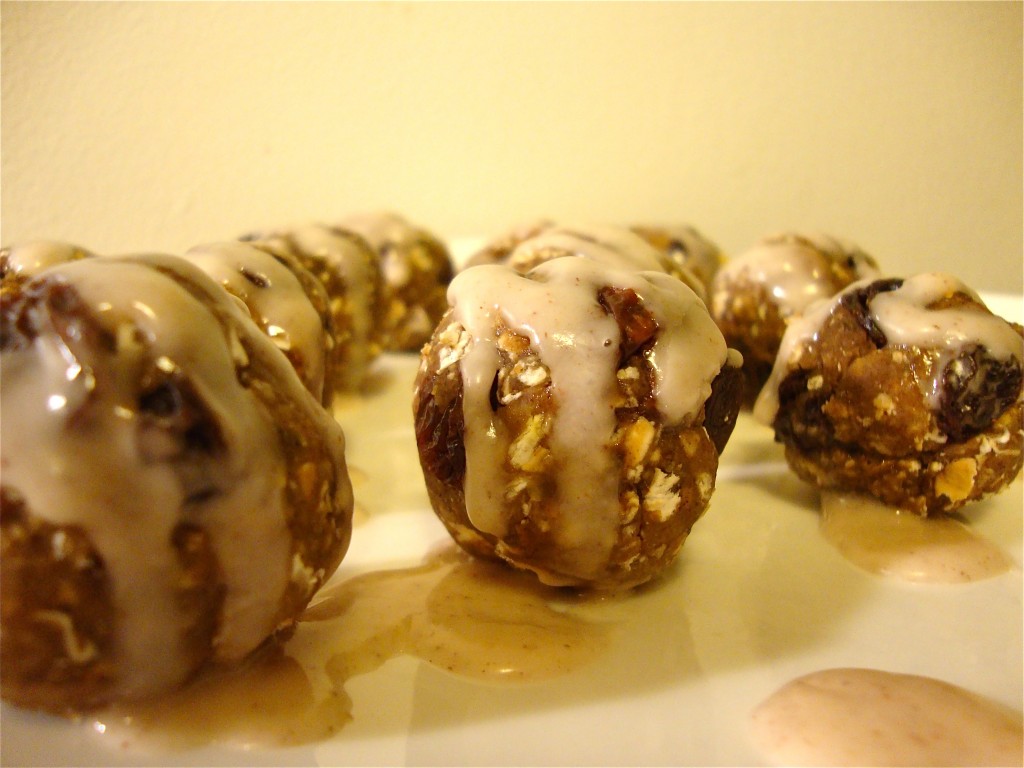
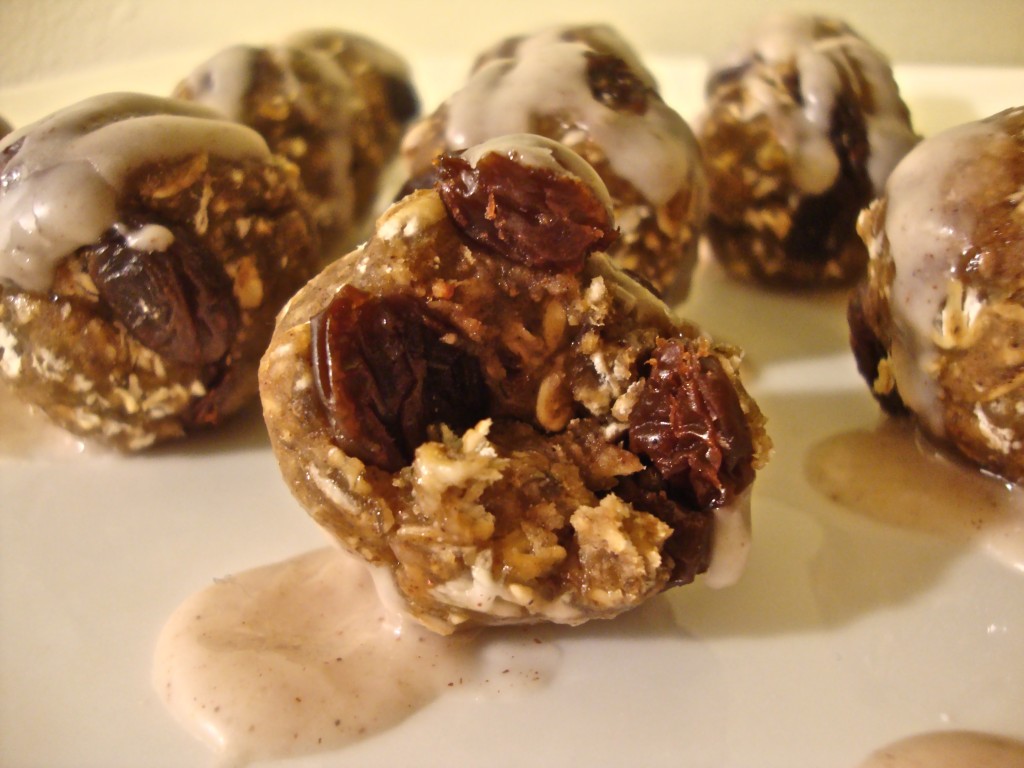
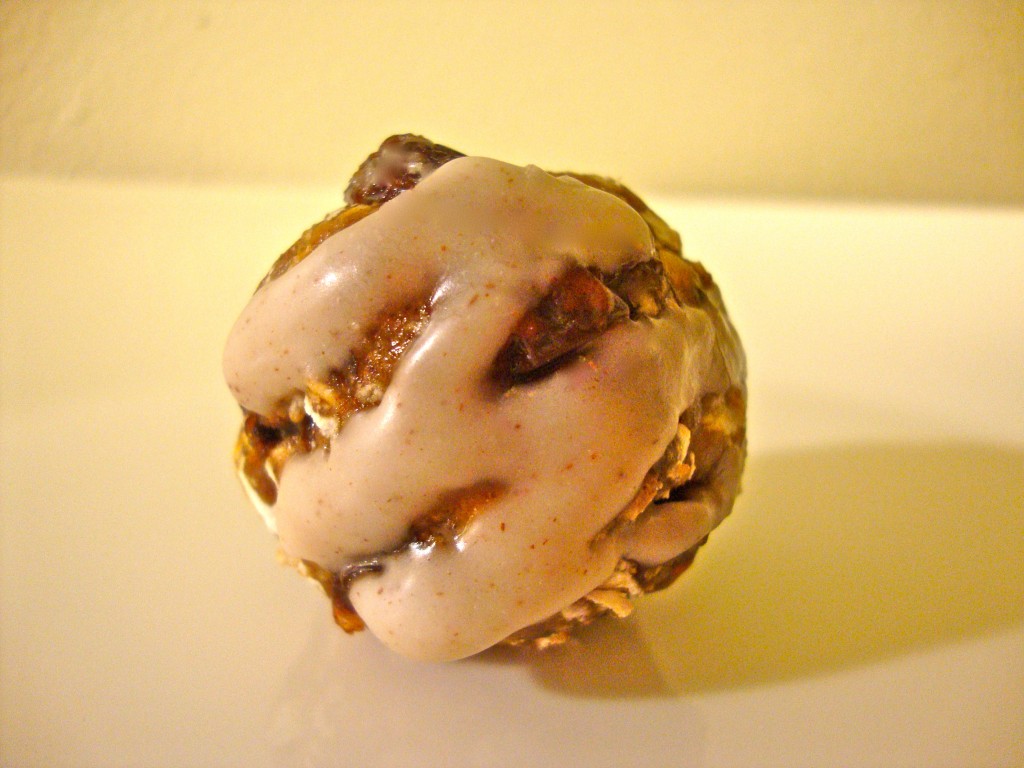
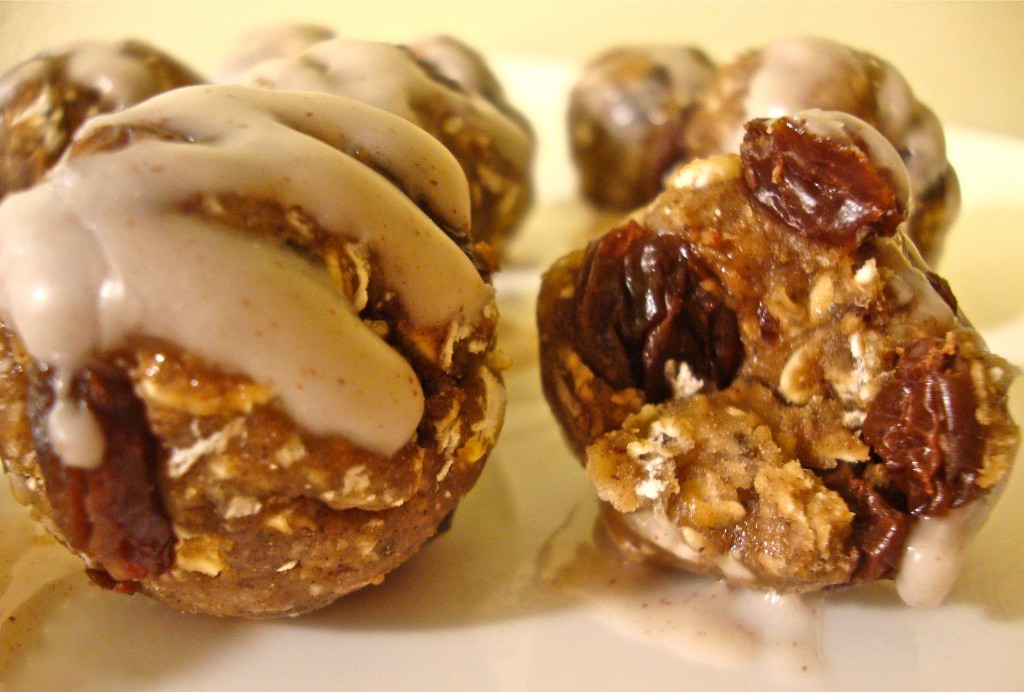
  • Decorate the cookie dough balls with my cinnamon pumpkin-pie glaze, roll in coconut, or dip in chocolate!
x
x
x
x
x
x
x
x
x
x
  • Store extra cookie dough balls in the freezer for an easy, on the run snack you can throw in your purse or gym bag (just be sure to give them 15 minutes or so so thaw!).

x


x

Hey, being lazy tastes pretty darn good  :)

x


Healthfully Yours,

x

Ashley Michelle


x


Easy Vegan Baking Swaps


Photo Credit: dipity.com


x


“Life is uncertain.  Eat dessert first.” Ernestine Ulmer


AHEM! This Ernestine guy had better be talking about healthy dessert! ;)


Okay, so it’s no secret to those of you who know me that I’m a little bit a lot a bit of a health nut :) . I eat clean, I exercise regularly, I avoid GMOs, I take vitamins and I get plenty of Omega 3′s. And while I believe in eating a plant-based diet that limits added sugars, refined carbohydrates, and unhealthy fats, I also understand that we are all human– aka every now and then, you just need a gosh darn slice of cake! A little bit of dessert here and there is perfectly fine, as long as you can successfully include it in your diet. This means DON’T GO OVERBOARD! I find that many people finally get on track with eating well and working out for a few days…only to cave at the sight of something frosted or dripping in chocolate.


Their excuse?

“I’ve been soooo good. I deserve it!”


But can you guess what happens next? They overdo it. I’m not saying that you should cut out sweets 100% of the time, but what I am saying is that you should be mindful of your behavior/mindset around sweets and make healthy choices that will still allow you to stay on track without feeling deprived.


So, what are the keys to healthy dessert eating?


Practice MODERATION and make SUBSTITUTIONS!


I obviously enjoy making desserts (just check out my recipe page), but the trick to most of my recipes is that they’ve been stripped of unhealthy ingredients and swapped out for healthier ones. My line of thought? Healthy or not, dessert is still dessert, BUT if you’re going to enjoy a treat, you might as well make it a little less guilty while still tasting just as sinful ;) . Thankfully stealthy, healthy ingredients are my specialty (in fact, before I settled on the name “Pretty Fit Life” I was actually toying with the name “Stealthy Healthy Chef!”). If I had a dollar for every time someone asked me “You put WHAT in this?!” when I reveal my secret ingredient of choice, well, I’d be rocking a pair of these flashy little numbers on my next girls night out. So I don’t have these sexy shoes, but I do have something just a fabulous (okay, almost as fabulous). And the best part of all? It’s much cheaper than those shoes ;) .


Below, I’ve put together a list of healthy vegan baking swaps so you can “healthify” some of your favorite dessert recipes. This way, you can let yourself indulge every now and then without all the extra guilt and calories. I promise…everything will taste so amazing you won’t even know the difference!


Vegan baking is a cinch with the right ingredients!
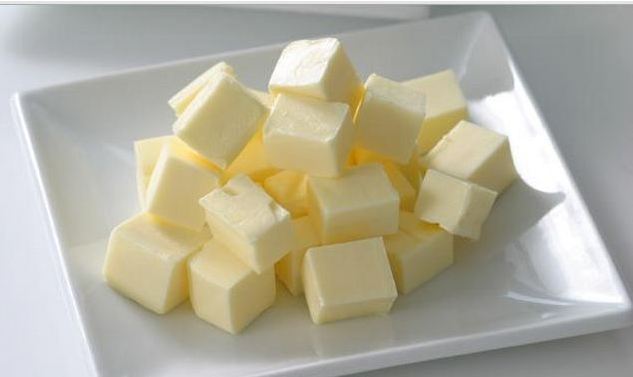
 

Photo Credit: funadvice.com

x


Butter Replacers:

(Fats add flavor, texture, and moisture to baked goods)

  • Olive Oil (spice cookies, cakes, breads)*
  • Sesame Oil (spice cookies, cakes, breads)*
  • Canola Oil (use w/liquid sugars)*
  • Coconut Oil (adds richness, thickness, coconut-y flavor)
  • Vegan Buttery Spread (Earth Balance)
  • Avocado (great for cookies)


 Fat Free Options!

  • Applesauce (all natural, unsweetened)
  • Pumpkin (use the 100% pure, canned kind NOT sugary pumpkin pie filling!)
  • Banana (mashed or banana baby food!)
  • Prunes (pureed or prune baby food!)
  • Peanut butter replacer: Just Good Stuff Powdered Peanut Butter

Note: *1/3 up of oil = 1 stick of butter



Photo Credit: dailymailco.uk

x


Egg Substitutes:

(Eggs are used for moisture/binding/thickening or leavening: identify which of these agents you need & experiment!)*

  • Flax (1T: 3T water= 1 egg)
  • Banana (¼ c. = 1 egg)
  • Applesauce (¼ c. = 1 egg)
  • Canned Squash/Pumpkin (¼ c. = 1 egg)
  • Tofu (silken & firm: ¼ c. = 1 egg)
  • Soy Milk + Lemon Juice (¼ c. soy milk + 1T lemon juice= 1 egg)
  • Soy/Coconut Yogurt (¼ c. yogurt = 1 egg)
  • Cornstarch/Water (1 T cornstarch + 3 T water= 1 egg)
  • Chia Seeds (1T chia seeds + 1T water = 1 egg)
  • Pureed Beans (equal parts can stand in for eggs)
  • Commercial Egg Replacer (Ener-G brand or Bob’s Red Mill- read directions for amounts)
  • Bread crumbs, tomato paste, oatmeal, nut butters (for binding)
  • Baking powder/H2O/Vinegar (1 tsp. baking powder + 1 tsp. water + 1 tsp. vinegar = 1 egg*)
  • Baking Soda/Water (2 tsp. baking soda + 2 T warm water = 1 egg)**
  • Baking Soda/Vinegar (1 tsp. baking soda + 1 T white/apple vinegar= 1 egg)**
  • Lemon Juice + Baking Soda (2 T. lemon juice + 1 tsp baking soda= 1 egg)**

* If the egg is used as a leavening agent in a recipe, you will need to incorporate baking soda and/or baking powder in the recipe for your dessert to rise. Read my notes at the bottom of this post on baking soda and baking powder for leavening instructions.

**Use if this is only leavening agent– do not double up on baking powder/soda!
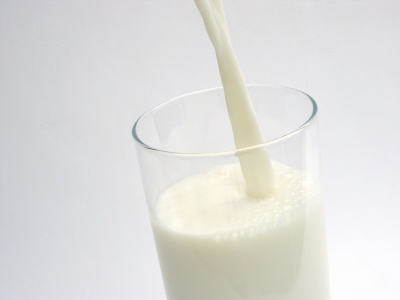


Photo Credit: topnews.in

x


Milk Replacements:

(amounts = interchangeable)

  • Almond Milk
  • Soy Milk
  • Rice Milk*
  • Coconut Milk (canned and carton)
  • Vegan “Buttermilk”: 1 cup non-dairy milk (above) + 1 tsp. lemon juice or vinegar

*Rice milk tends to be best for soups/sauces as opposed to baking due to it’s low fat content/thin consistency


Photo Credit: ehow.com

x


Flour Substitutes:

(interchangeable aside from exceptions below)

  • Oat Flour
  • Almond Flour*
  • Peanut Flour
  • Millet  Flour
  • Brown Rice Flour
  • Buckwheat flour*
  • Spelt Flour**
  • Coconut Flour*
  • Quinoa Flour*
  • Buckwheat flour*
  • Chickpea Flour*
  • Xanthan Gum/Guar Gum***

*These flours will result in a denser product: mix 1/3 cup of any of these flours with 1 c. millet flour, 1 c. starch, and 1 tsp. xanthan gum for an easy  gluten-free blend. The following are starches for gluten-free baking (potato starch, cornstarch, tapioca starch, & arrowroot)

**Spelt flour is not acceptable for those with Celiac disease

***These stand in for gluten as thickening agents. Xanthan gum is best for baking and is used in batter with high acidity. Guar gum is best for cold foods (pastry fillings, ice cream)


Photo Credit: browningsbakersco.uk

x


Whipped Topping Swap:

(Amounts will vary depending upon your recipe)

  • Coconut Milk Cream (canned, full-fat!)*
  • Cashew Cream (soaked + water )**
  • Soy alternatives (Soyatoo)
  • Tofu Cream (tofu + lemon + powder sugar + flavored extract + flour)***
  • Agar Flakes (agar + water, salt, sweetener, extract)****

* Put a can of full fat coconut milk in the fridge overnight. Turn upside down so liquid comes to top, Turn right-side up, open & drain liquid. With an electric mixer, whip the hardened cream in a bowl with a little sugar & vanilla.

** One c. raw cashews soaked overnight/drained. Blend with 1.5 c. water (add more or less depending upon desired texture), 2-4 T sweetener, dash of salt.

***1 package mori-nu silken tofu, juice from 1 large lemon slice, 1-2 tablespoons powdered sugar,  ¾-1 tsp almond, vanilla, or maple extract, & 3-4 T whole wheat flour (if you’d like it thicker). Whip/blend VERY well.

**** Mix 2 & 2/3 c. non-dairy milk with 2 T agar flakes (boil, simmer 7 minutes, cool, refrigerate until firm). Blend with 3 T water, 1/8 tsp. salt, add a few drops of your choice of flavored extract, and sweeten/flavor to taste–stevia, cocoa powder etc…

Check out more agar recipes here


Photo Credit: thedailymail.com

x


Say Goodbye to Sugar!

(Amounts you use depend upon your own personal sweet tooth preference)

  • Dates (soaked/blended)
  • Bananas (mashed or sliced)
  • Raisins (soaked/blended or whole)
  • Stevia (calorie-free, 300x sweeter than sugar, liquid or powder)
  • Dextrose (a.k.a glucose is 30% less sweet than sugar)*
  • Xylitol (33% fewer calories than table sugar)
  • Coconut Sugar (NEW: low GI, low fructose, natural, high in nutrients)**
  • Molasses**
  • Maple Syrup**
  • Brown Rice Syrup**
  • Honey***
  • Spices, Citrus Zest
  • Nut Extracts (adds an indulgent aroma)
  • Baby Food (banana, prune, plum, apple and other sweet fruits)

*Dextrose= Is a natural sugar found in fruits/starches. The body can readily absorb it & use glucose for energy & to power cells.

** While these are a less processed, natural option, they are still high in calories (Dextrose included). Use sparingly!

*** Honey is not for strict vegans. As mentioned above, use sparingly!
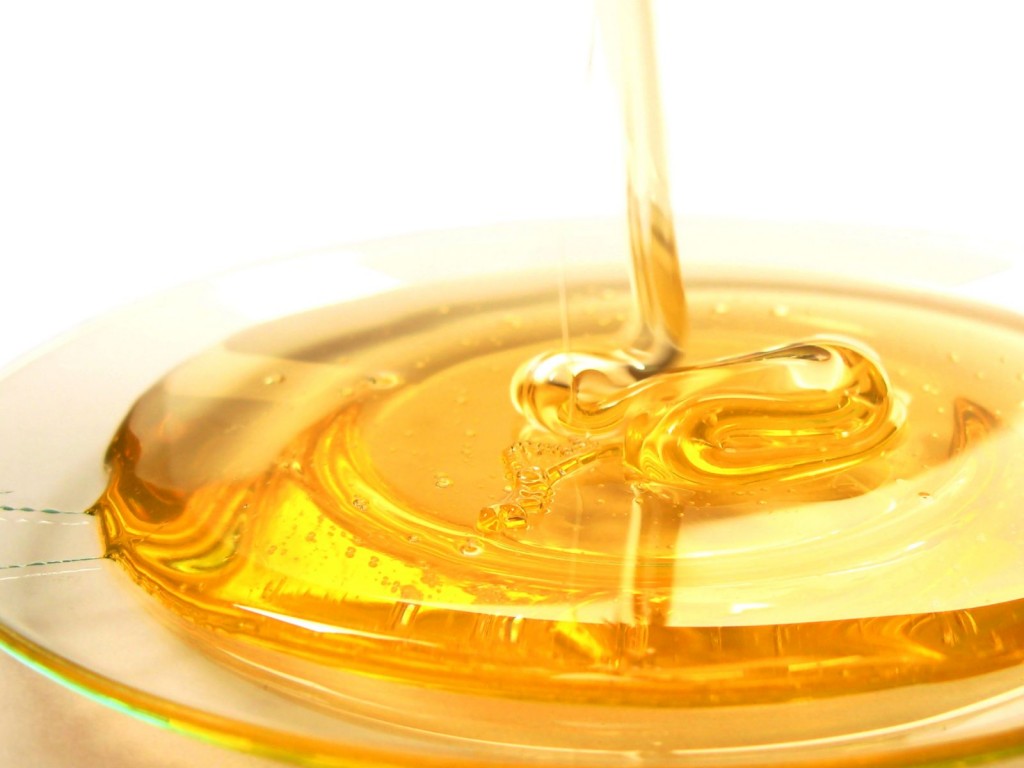


Photo Credit: ifoodx


x

What about Agave?

You may have noticed that agave isn’t on my list of sugar swaps–that’s because there has been a lot of research out there lately that suggests it’s not quite as healthy as you think (you can blame the marketing companies for that). I’ve highlighted some of these recent claims below.

  • 20 calories per teaspoon
  • 1.5 times sweeter than sugar
  • Won’t spike blood sugar (low glycemic index)
  • HIGH in fructose (Agave ranges from 55%-90% fructose–high fructose corn syrup -HFCS- is 55% fructose!)*
  • Chemically processed (similar production to that of HFCS)
  • Doesn’t stimulate/shut off appetite hormones
  • Can lead to overeating, lowered metabolism, & lower insulin sensitivity
  • Raises uric acid levels (chronic low-level inflammation that leads to cardiovascular disease, cancer, stroke, arthritis, early aging)
  • Can decrease HDL levels, increase LDL, contribute to high blood pressure, high blood sugar, elevated triglycerides, fatty liver disease
  • Linked to increase visceral fat  & obesity
  • GI tract doesn’t absorb fructose easily and sends it to your liver (overloads, scars, develops triglycerides)

*Fructose is found in fruit and honey, which is healthy and fine because it is accompanied by fiber, vitamins and minerals – but it is not meant to be consumed in largely concentrated forms like agave.

You can also read more about the dangers of agave here


Photo Credit: pfdcast.net

x


Vegan Baking Tips and Tricks: Baking Soda vs. Baking Powder:

(These are chemical leaveners used to make baked goods.What you use depends on other ingredients)

Baking Soda = Best for cookies

  • When baking soda (100% sodium bicarbonate) is combined with an acidic ingredient (vinegar, lemon juice, chocolate, molasses, yogurt) CO2 is released, thus forming bubbles in the batter.
  • When heated, these bubbles expand and cause the finished product to lighten/rise (& give baked goods a nice brown color!)
  • Recipes with baking soda must be baked immediately or they will fall flat!
  • Baking soda can be mixed with some cornstarch and cream of tartar to replace baking powder.
  • Baking soda will leave a bitter taste unless counteracted by an acid.
 

Baking Powder = Best for cakes and biscuits

  • Baking Powder (sodium bicarbonate + cream of tartar + starch) contains an acid and a base and has a neutral taste.
  • Available in single-acting (which must be cooked immediately) or double-acting formulas (which can stand at room temperature for a bit).
  • Baking powder cannot replace baking soda because it already contains an acid (cream of tartar).

(Powder & soda might both be used because you may have enough soda to neutralize acidic batter, but not to lift batter. A little baking powder can do this job. If you use just baking powder however, it could be too acidic. Both together also give the batter a bit of a tangy taste—good for cookies!)


Hopefully you’ve discovered some surprising new ingredients from my lists above, and I hope I’ve inspired you to get a little crazy and experiment the next time you’re in the kitchen. Remember, eating healthy doesn’t mean eating bland or depriving yourself. It just means you need be smart and you need to be willing to get a little more creative with your cooking :) .

Photo Credit: cupcakestakethecake


x 

Staying on track with your healthy diet while still being able to indulge in sweets?

x

Now THAT’S what I call having your cake and eating it too ;) .


x

Healthfully Yours,

x

Ashley Michelle


x


Skinny-fied Double Chocolate Cake

x

Calling all chocoholics!

x

Hey! I’m talking to YOU!

x

I have a very important announcement to make…

Chocolate CAN be good for you!

x

Now, before you go all kinds of crazy on me and make a bee-line to your kitchen cabinet for that leftover bag of chocolate chips (and don’t act  like you don’t sneak a few handfuls of chocolate chips every now and then ;) ) allow me to explain.

x

When I say chocolate is healthy, I’m not talking about chocolate bars, ice cream, brownies, and cake…

x

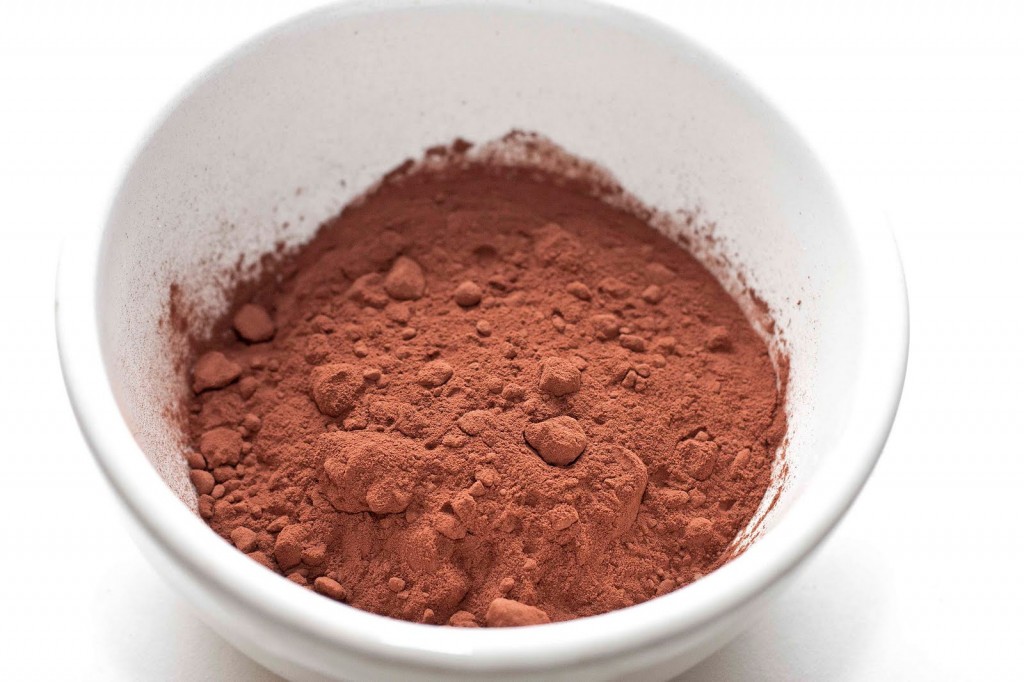
I’m talking about UNSWEETENED, UNPROCESSED, NATURAL cocoa powder.


Photo credit: http://www.veganbeautyreview.com

x

Cocoa is the brownish-colored powder left behind after cocoa butter has been completely removed from cocoa beans. Cocoa powder is also most popularly used for baking. You will find cocoa powder sold in stores in two different forms–natural and alkalized (also known as Dutch-processed).  Natural, unprocessed cocoa powder is a light brown color and has not had anything added to the cocoa beans while being pressed. Alkalized cocoa powder is dark (almost reddish) in color and is much less bitter than natural cocoa powder. While this kind of cocoa is often alkalized to reduce its acidity and improve the taste, it’s best to buy the natural kind. The alkalizing process significantly reduces the beneficial amounts of healthy phenols and antioxidants present in the cocoa powder (an example of alkalized cocoa powder would be Hersey’s cocoa powder).

x

Antioxidants and phenols??

SURPRISE!

I bet you didn’t know this guy was full of healthy, cocoa-y GOODNESS! ;)

x

x

It’s true! Cocoa powder packs some serious health-related benefits. In fact, its nutritional benefits are significant enough that they’ve been gaining a bevy of recognition from doctors, researchers, and dietitians alike–particularly in regards to cardiovascular and weight management advantages.

x

YES. Cocoa powder is DIET-FRIENDLY! 

Just one tablespoon has 20 calories, 0.5 grams of fat, no added sugar, and 3 grams of carbohydrates–two grams of which are fiber. But that’s not all! Read below to check out all the other great benefits of this delicious ingredient.

x

Health Benefits of Cocoa Powder:

  • LOW FAT (0.5 grams in 1 tablespoon!)
  • Sugar FREE!
  • Just 20 calories in 1 tablespoon.
  • High in fiber (2 grams per 1 tablespoon).
  • Diabetes-friendly (no sugar).
  • Contains trace vitamins and minerals like B-vitamins, magnesium, phosphorous, iron, and zinc 
  • Contains 10% of the daily required intake of manganese and copper.
  • Rich in heart-healthy sterols and free-radical fighting antioxidants (most notably the antioxidant Flavan-3-ol).
  • Contains more antioxidants than both green tea and red wine!
  • Improves blood flow, which increases cognitive ability, lowers high blood pressure, reduces the risk of blood clots, decreases stress, and improves skin complexion.
  • The presence of Phytosterols (also known as plant sterols) reduces cholesterol and improves heart health.
  • Supports the immune system.
  • Boosts mood due to the presence of phenethylamine (a neurotransmitter that acts as a natural antidepressant) and due to the subsequent release of serotonin following consumption.


But you know what the BEST benefit of all is???

Chocolate is SO DARN DELICIOUS!


And seeing as cocoa powder is already chock-full of health benefits, tossing it into a slimmed-up dessert is the perfect recipe for a completely delectable, yet totally guilt-free indulgence.

x

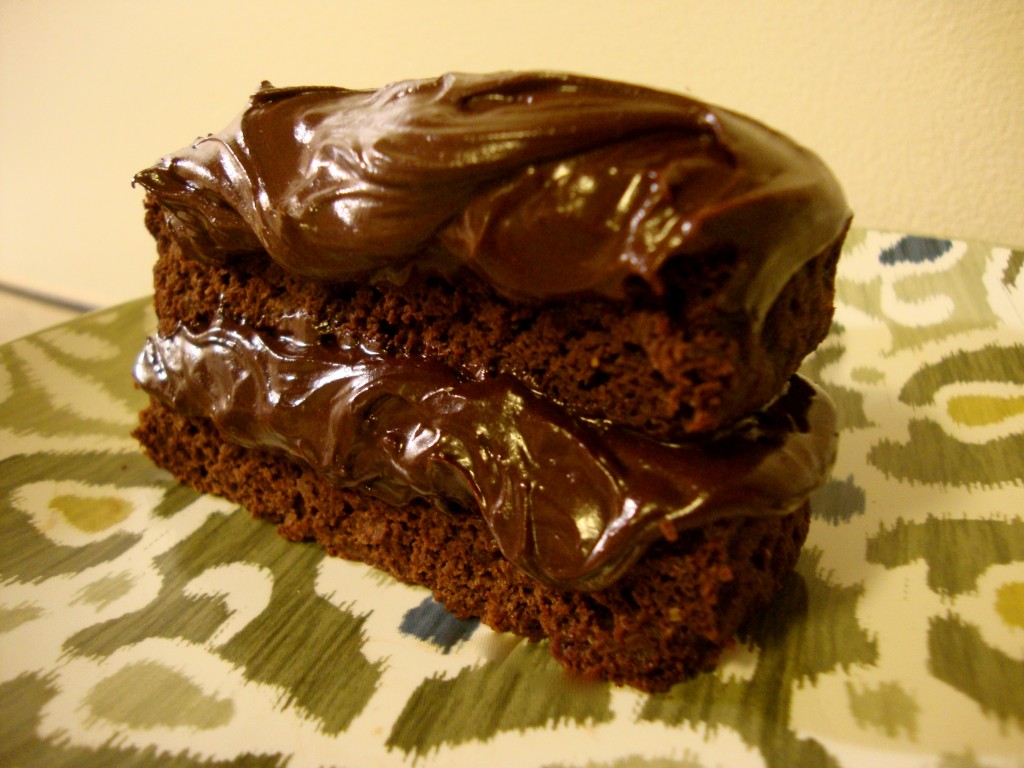
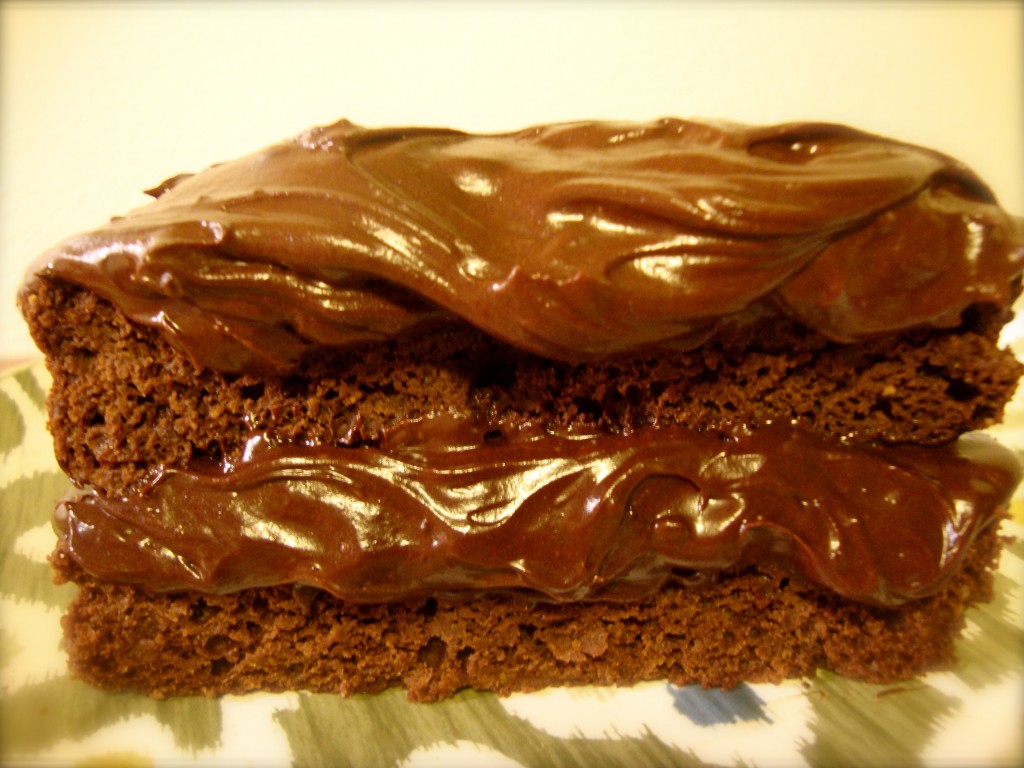
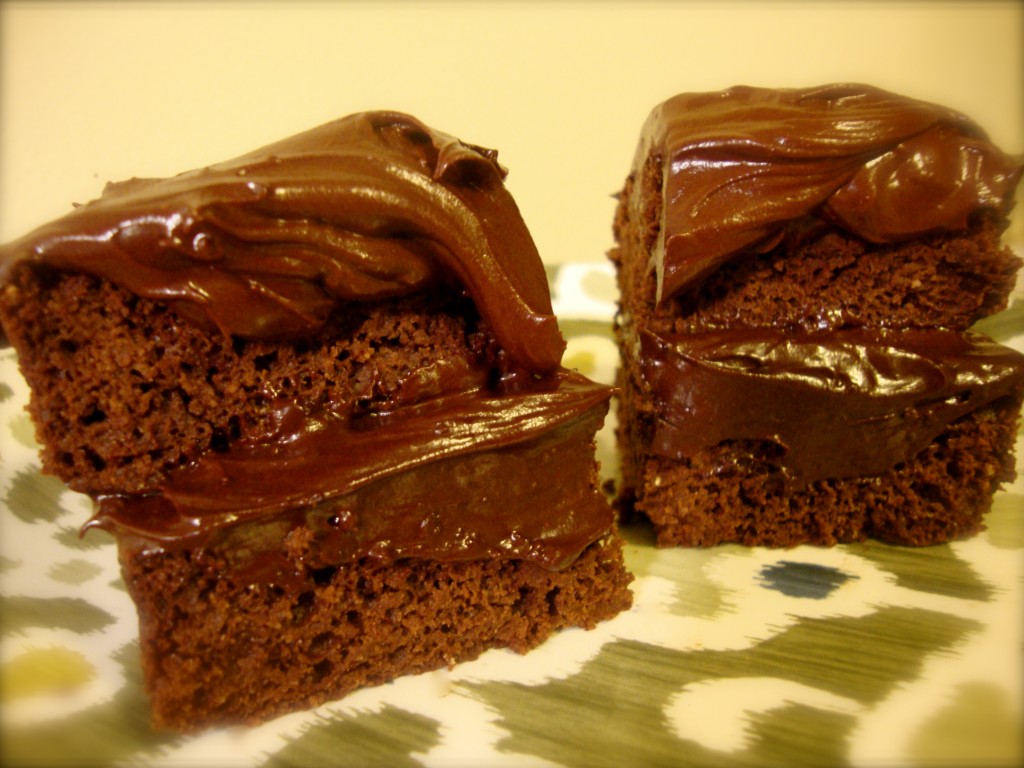
Skinny-fied Double Chocolate Cake

(This recipe serves up a monster piece of cake for one, or can be cut in half and shared with a friend!)


Dry ingredients:

  • 1/3 cup spelt flour (whole wheat flour will work to– but the cake may not be as light and fluffy).
  • 2 tablespoons unsweetened, unprocessed, natural cocoa (I like the Trader Joe’s brand, but you can also find it at Whole Foods and online).
  • Slightly under 1/2 teaspoon baking powder.
  • 2-3 packets stevia (or 2 tablespoons organic, all-natural sugar or 3 teaspoons Truvia– feel free to play around with the amount depending upon how much of a sweet tooth you have).
Wet Ingredients:
  • 1/4 cup plus 1 tablespoon almond milk.
  • 1 teaspoon natural vanilla extract.
  • 1 teaspoon coconut oil.
Directions:
  • Preheat the oven to 330º.
  • Mix all the dry ingredients in a bowl. Set aside.
  • Add all the wet ingredients into a separate bowl. Warm the mixture in the microwave for 15 seconds (until coconut oil is melted).
  • Combine the wet and dry ingredients, mixing just until smooth (do not over-mix).
  • Pour into a small baking dish (sprayed with all-natural cooking spray). I use this one from Pier 1 Imports.
  • Bake for 19-20 minutes (until the top of the cake begins to crack).
  • Once cooled, pop out of the baking dish and cut in half.
  • Slather in fudgy frosting on top and in between the two halves of cake to make a sandwich! (See below for my fudgy frosting recipe).

x

Fudgy Frosting

(makes 1 very large “frosting-lovers” serving or 2 regular-sized frosting servings)
  • 1/2 cup all-natural, organic powdered sugar.
  • 1 tablespoon plus 1 teaspoon of all-natural cocoa powder (you can find this at Trader Joe’s, Whole Foods, and online. Feel free to add more cocoa if you like dark chocolate frosting!)
  • 3 teaspoons of unsweetened almond milk.
  • 1 and 1/2 teaspoons Earth Balance Buttery Spread (at room temperature).
  • Optional: 1/4 teaspoon almond extract.
Directions:
  • Mix all the ingredients in a small bowl until smooth.
  • Spread allllll over your cake (that is, if you have any left after taste-testing straight from the bowl!)
 x

x

Now THAT’S what I call having your cake & eating it too ;)


Let’s Chat!

Are you a chocolate or a vanilla person? I’ve ALWAYS been a vanilla-girl at heart. In fact…I used to HATE chocolate! Yes, it’s true! The strange thing is, I’ve found I’m actually starting to like  (love?) chocolate more and more lately. I guess your taste-buds can change with age after all :)

x

x

Healthfully yours,


Ashley Michelle


x

Sources:

Livestrong: Benefits of Cocoa Powder 

Livestrong: Is Cocoa Powder Healthy?